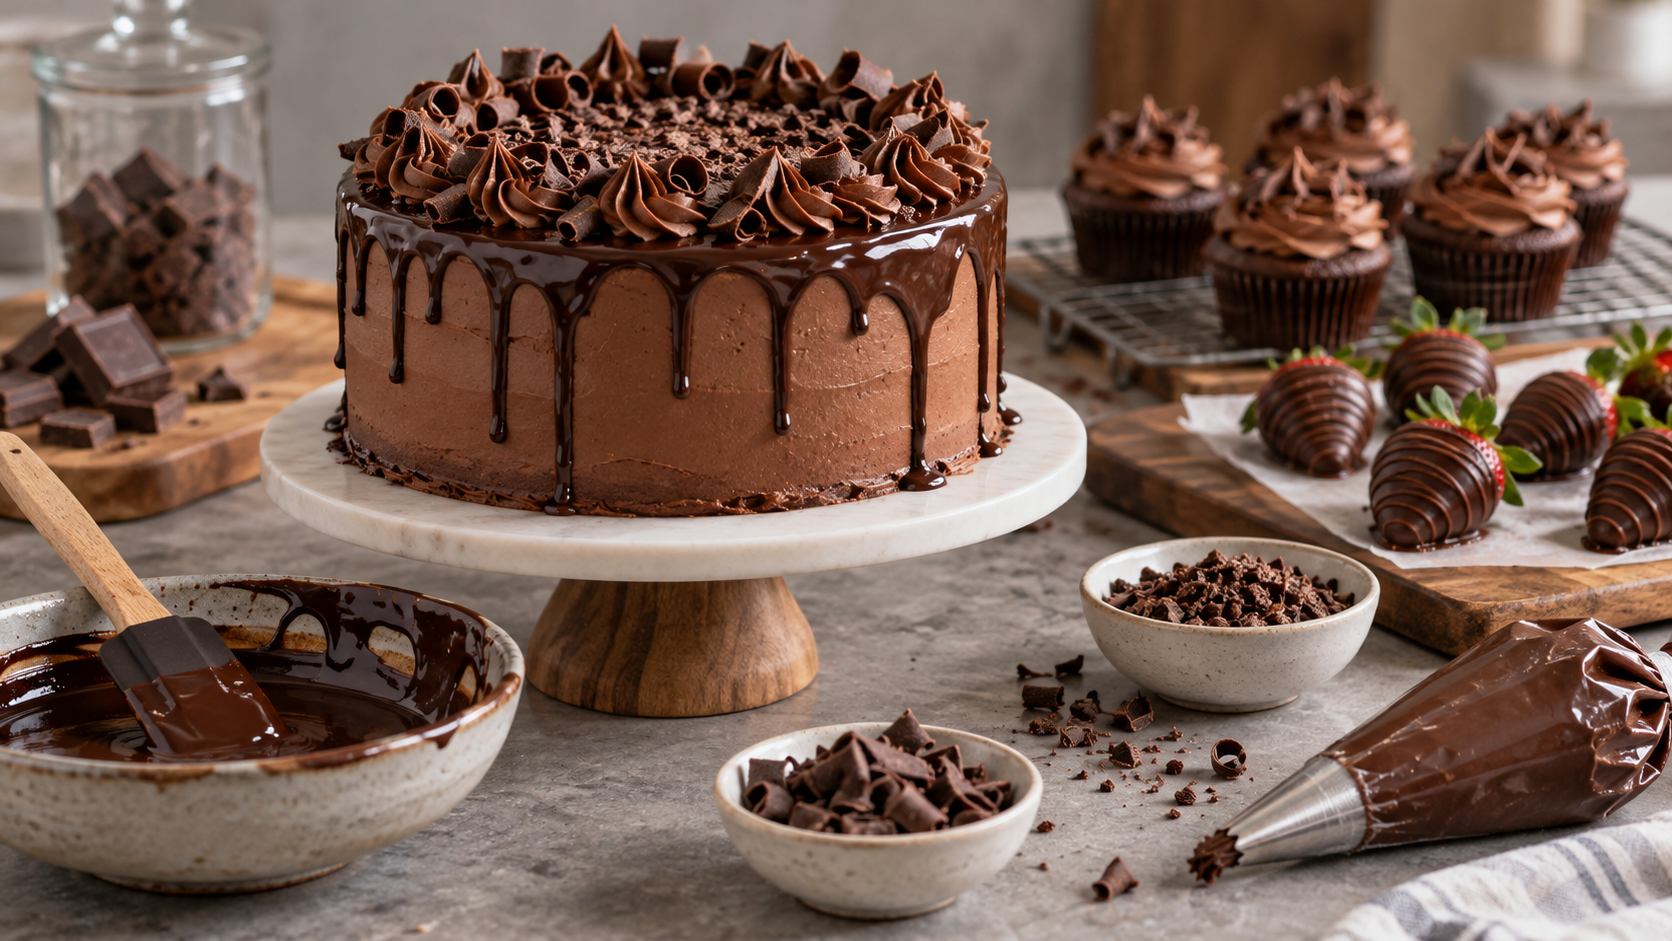

Ingredients and equipment
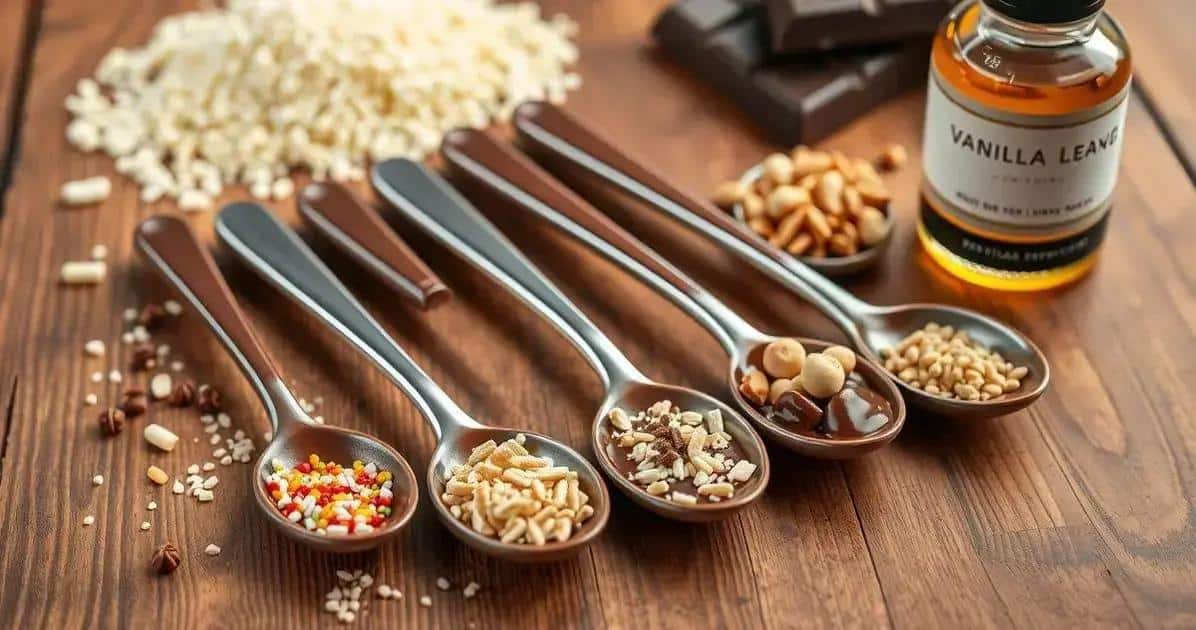
Use 300g good-quality chocolate, a clean silicone spoon mould, and optional chopped nuts or sprinkles. Use food-safe moulds rather than disposable cutlery as a mould.
Melt and temper
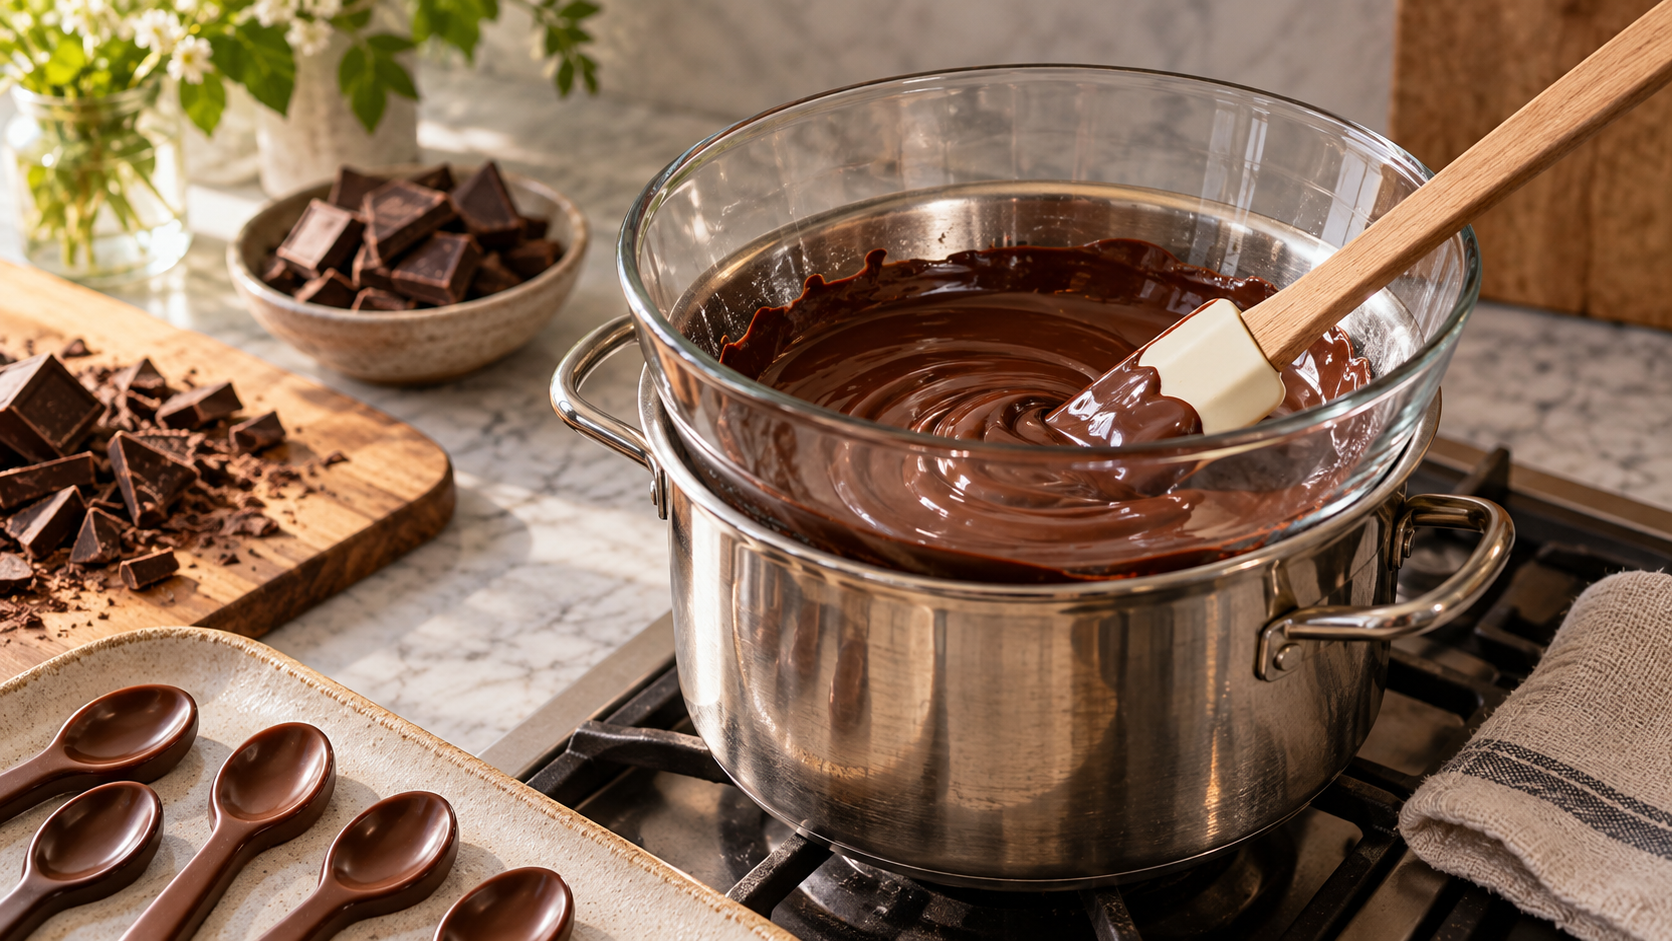
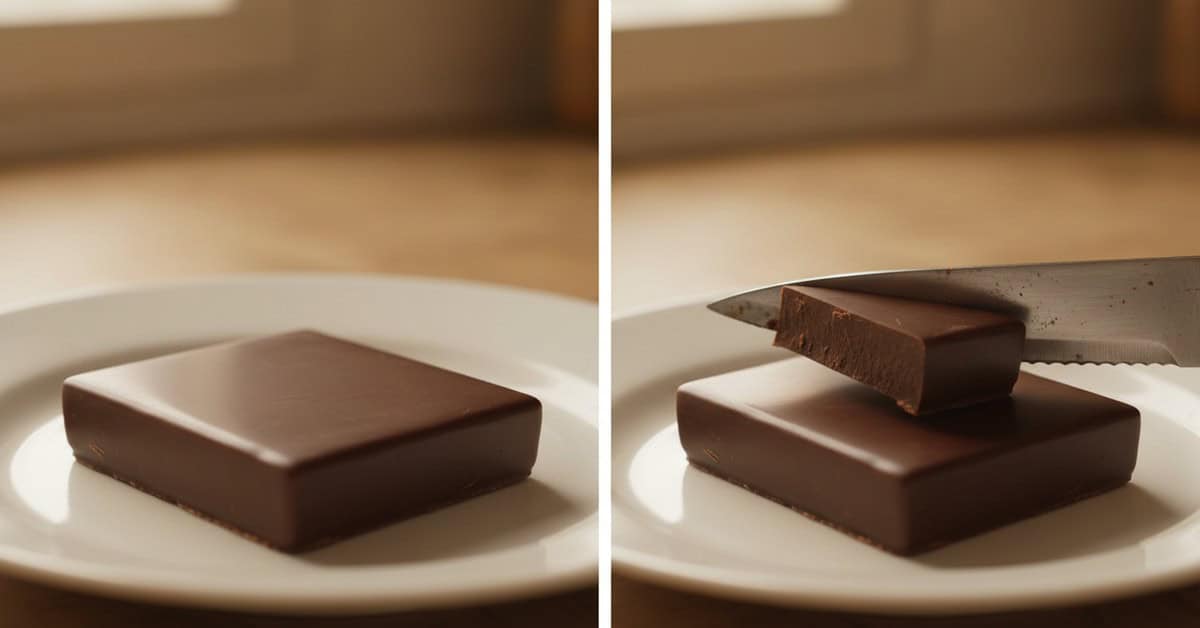
Chop the chocolate finely. Melt two thirds gently, remove from the heat and stir in the remaining chocolate until smooth. Keep every bowl and utensil completely dry because a drop of water can make chocolate seize.
Fill the mould
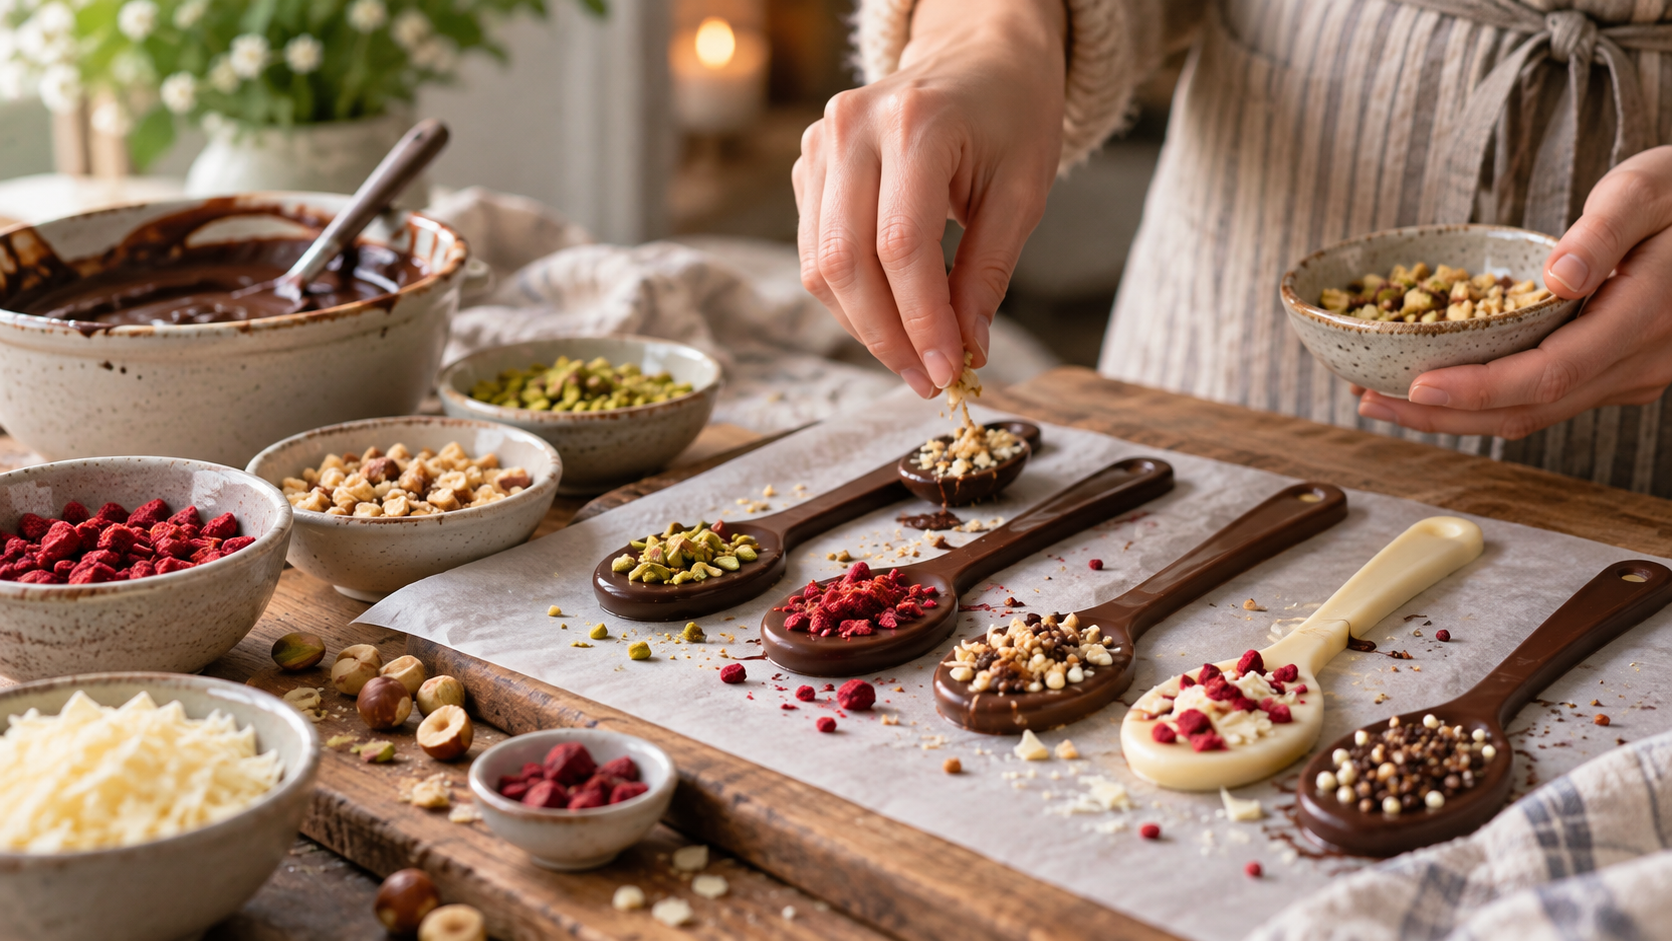
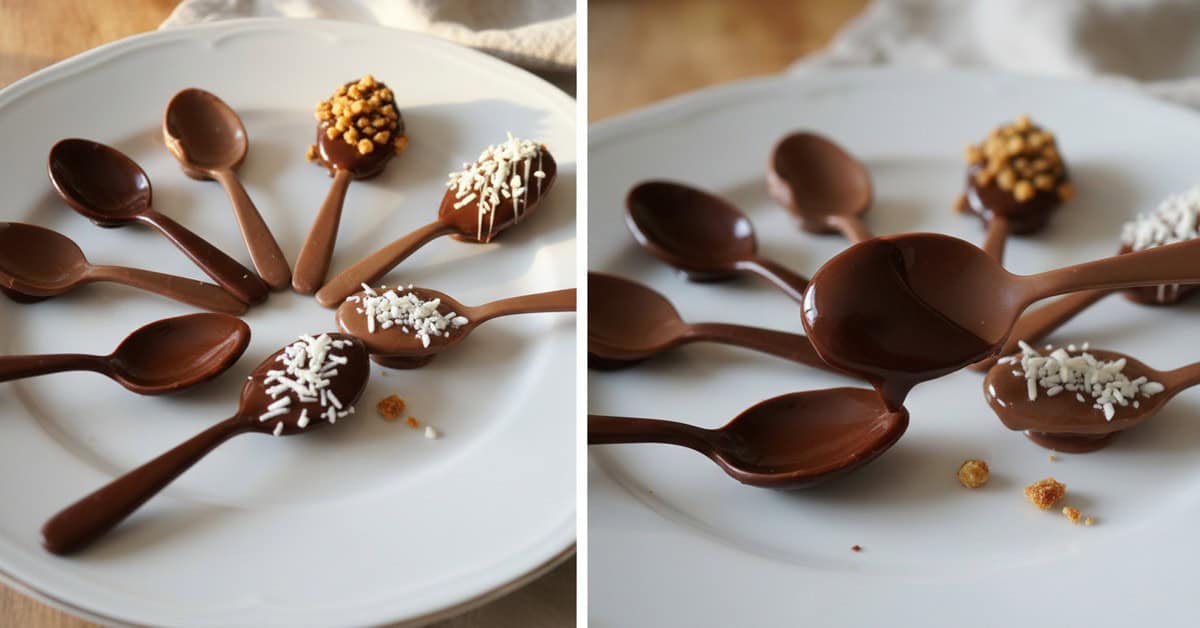
Spoon chocolate into the mould, tap it lightly to release air bubbles and level the surface. Add dry decorations before the chocolate sets.
Set and unmould
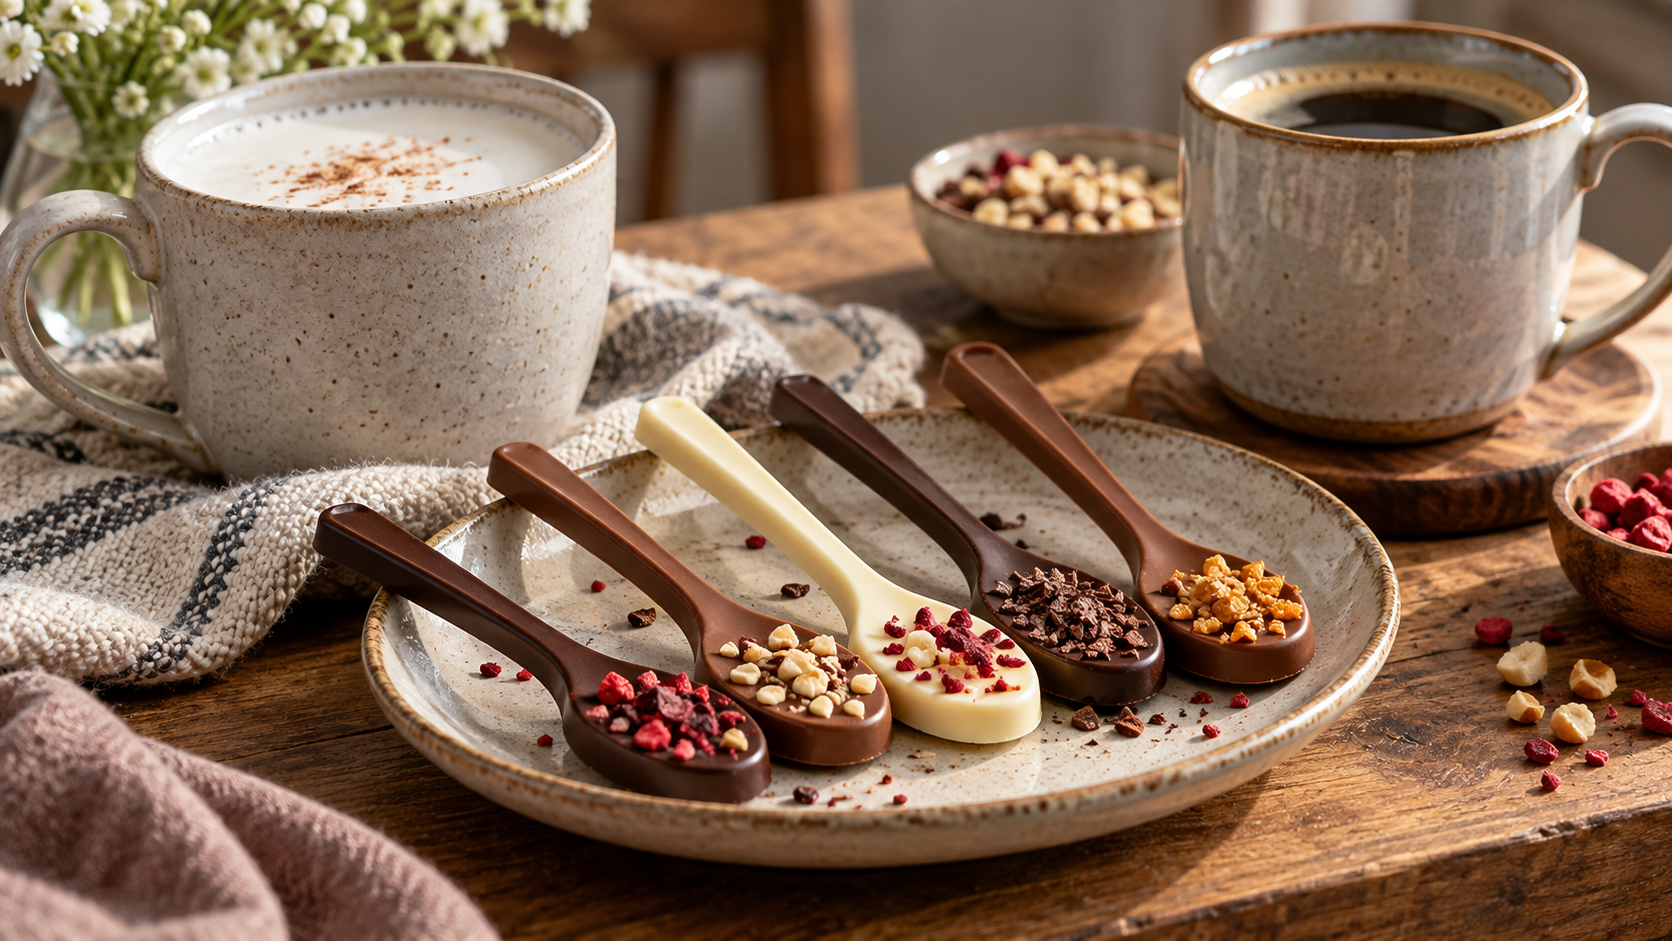
Leave in a cool room until completely firm. Unmould carefully without twisting the handles. Stir one spoon into a mug of hot milk, coffee or cocoa.
Wrap and store
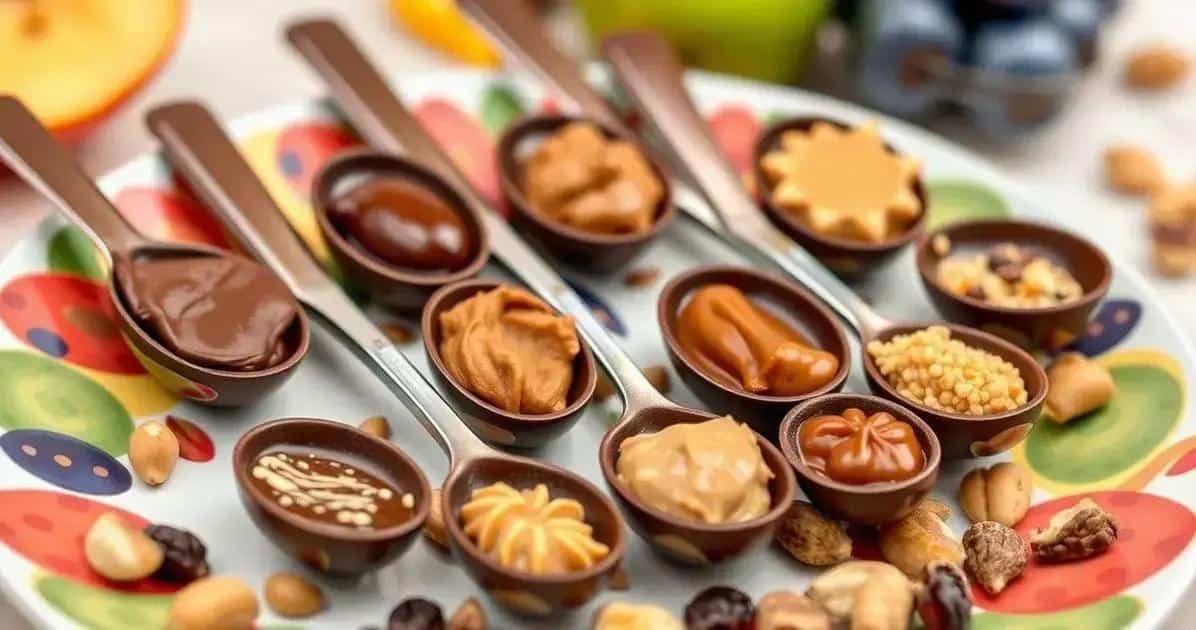
Wrap each spoon in a food-safe bag only after it has fully set. Store in a cool, dry place away from sunlight and strong odours. Include allergen information when giving them as gifts.
Variations
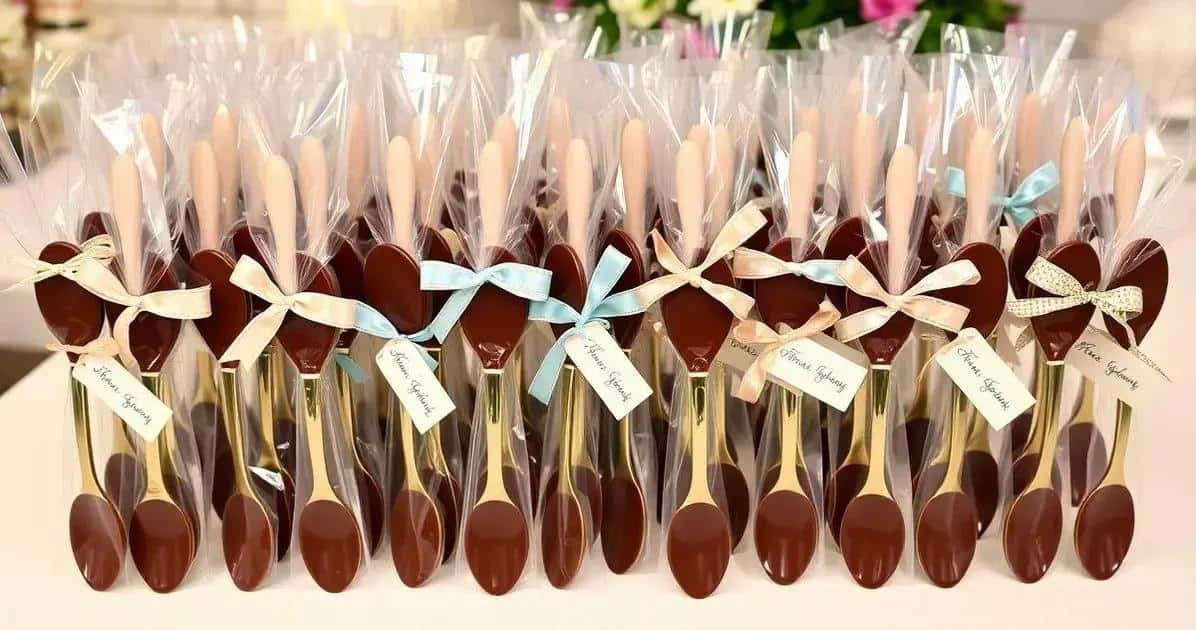
Try dark, milk or white chocolate, or add finely chopped toasted hazelnuts. Avoid wet fruit, which shortens shelf life and may make the chocolate bloom.
Frequently asked questions
Can I prepare it ahead?
Yes. Follow the storage instructions and add fragile decorations shortly before serving.
Can I use a different chocolate?
Yes, but cocoa percentage and sweetness will change the flavour and texture.
How should I store it?
Keep it covered as directed and refrigerate recipes containing cream, fresh fruit or other perishable fillings.
Can I reduce the sugar?
A modest reduction is possible, although sugar also affects texture and setting.
What allergens should I check?
Check every label for milk, gluten, eggs, nuts, peanuts and soya as relevant to the recipe.
How do I know it is ready?
Use the visual and texture cues in the method rather than relying only on time.