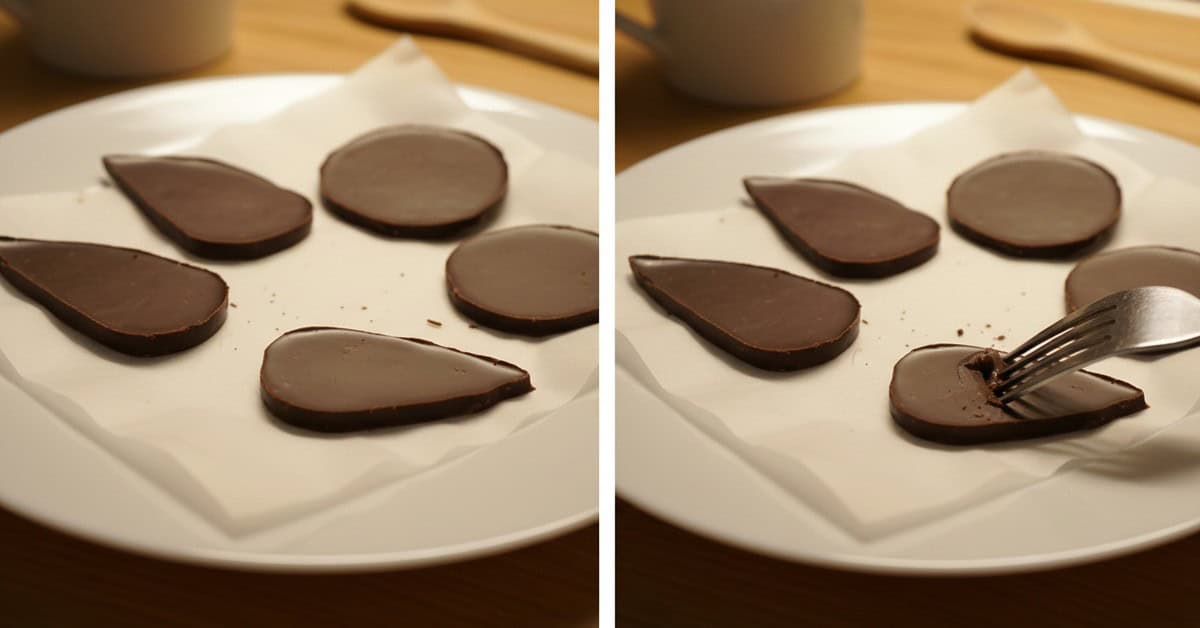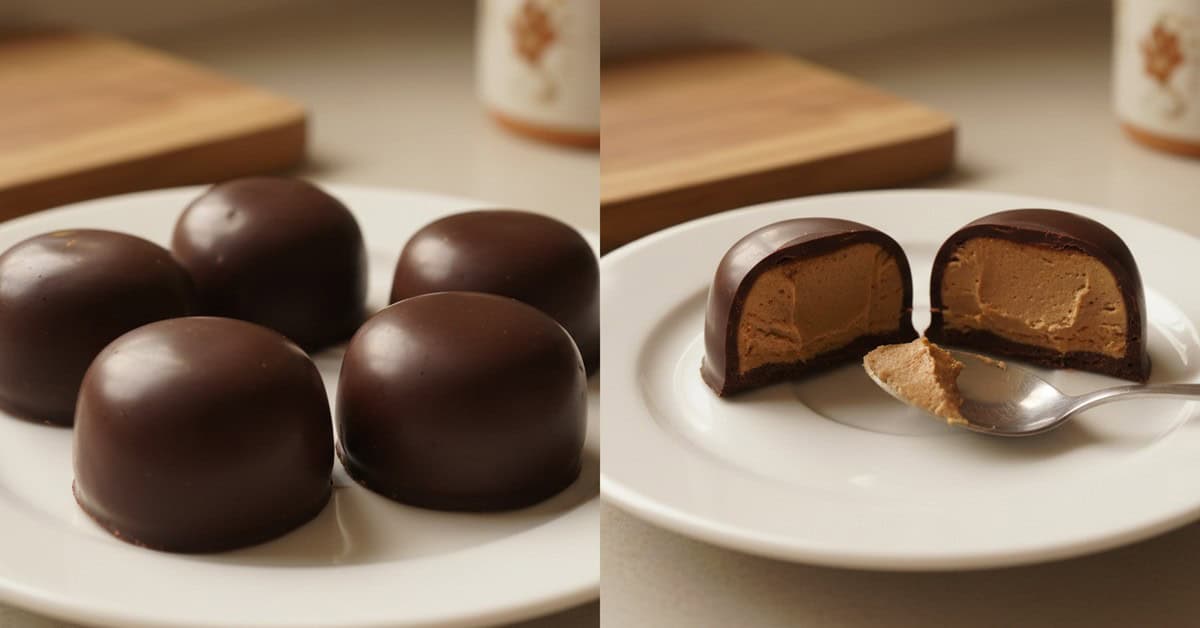

Prepare the moulds

Clean and dry the moulds completely, then polish rigid cavities with lint-free cotton. Dust, water and scratches can all mark the finished surface.
Use fluid tempered chocolate
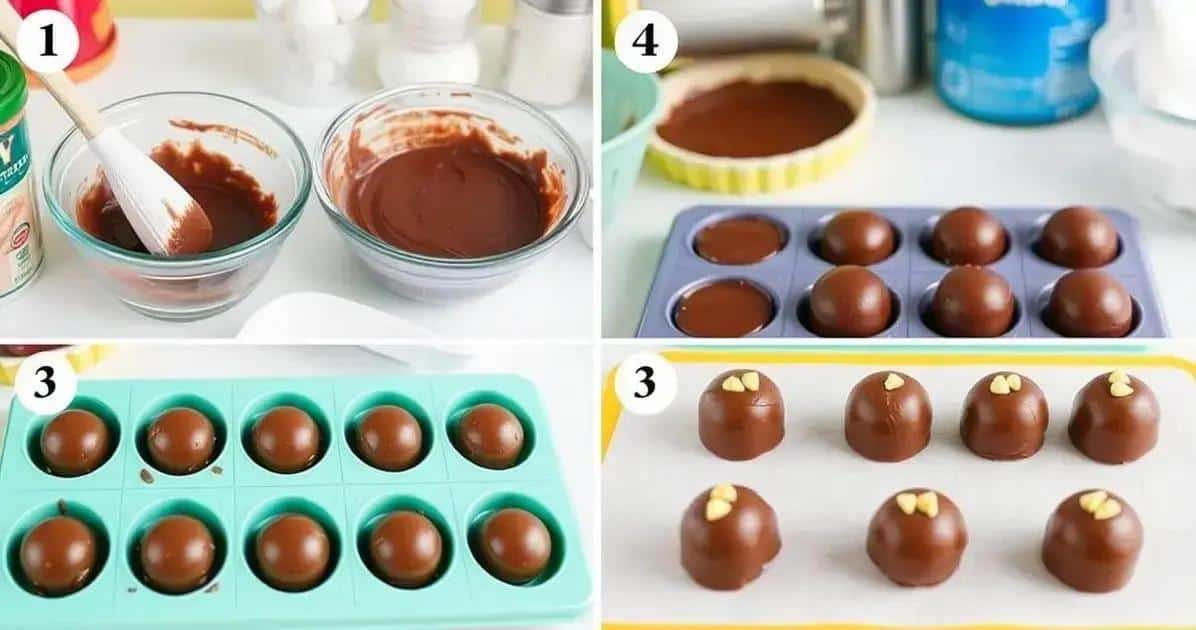
Temper couverture accurately and keep it within its working range. Chocolate that is too cool or thick traps air more easily.
Fill each cavity

Pour or pipe chocolate steadily into the lowest point of each cavity. Avoid whipping or vigorous stirring immediately before filling.
Release trapped air
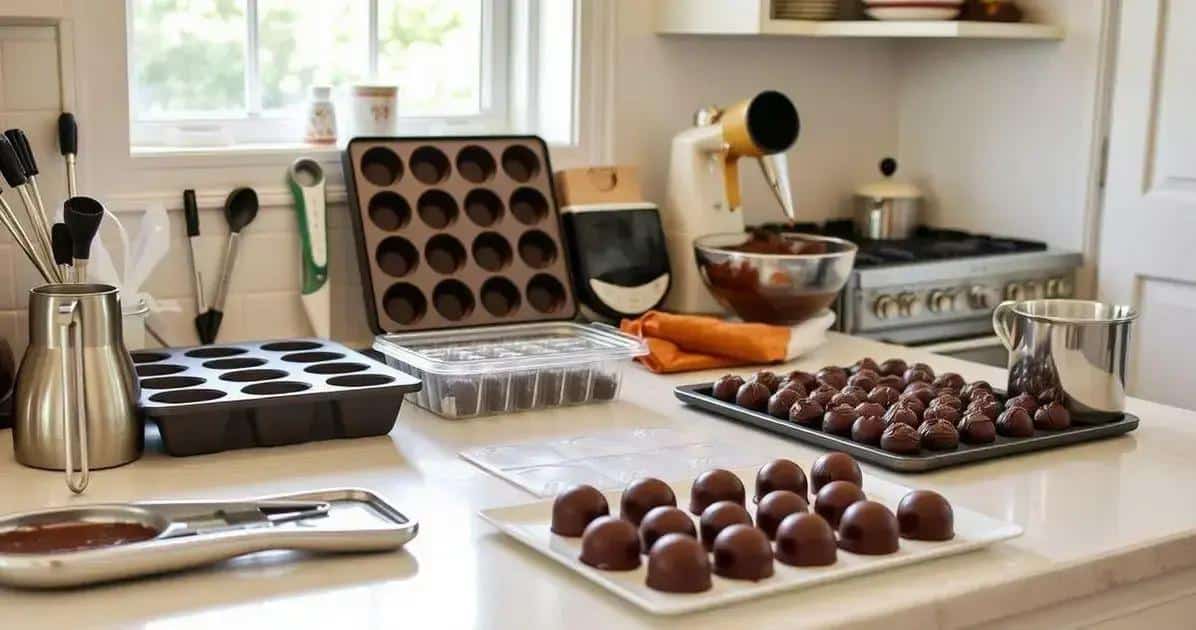
Tap the mould repeatedly but gently against the work surface. A small vibration helps bubbles rise; inspect detailed corners before the chocolate begins to set.
Scrape and set
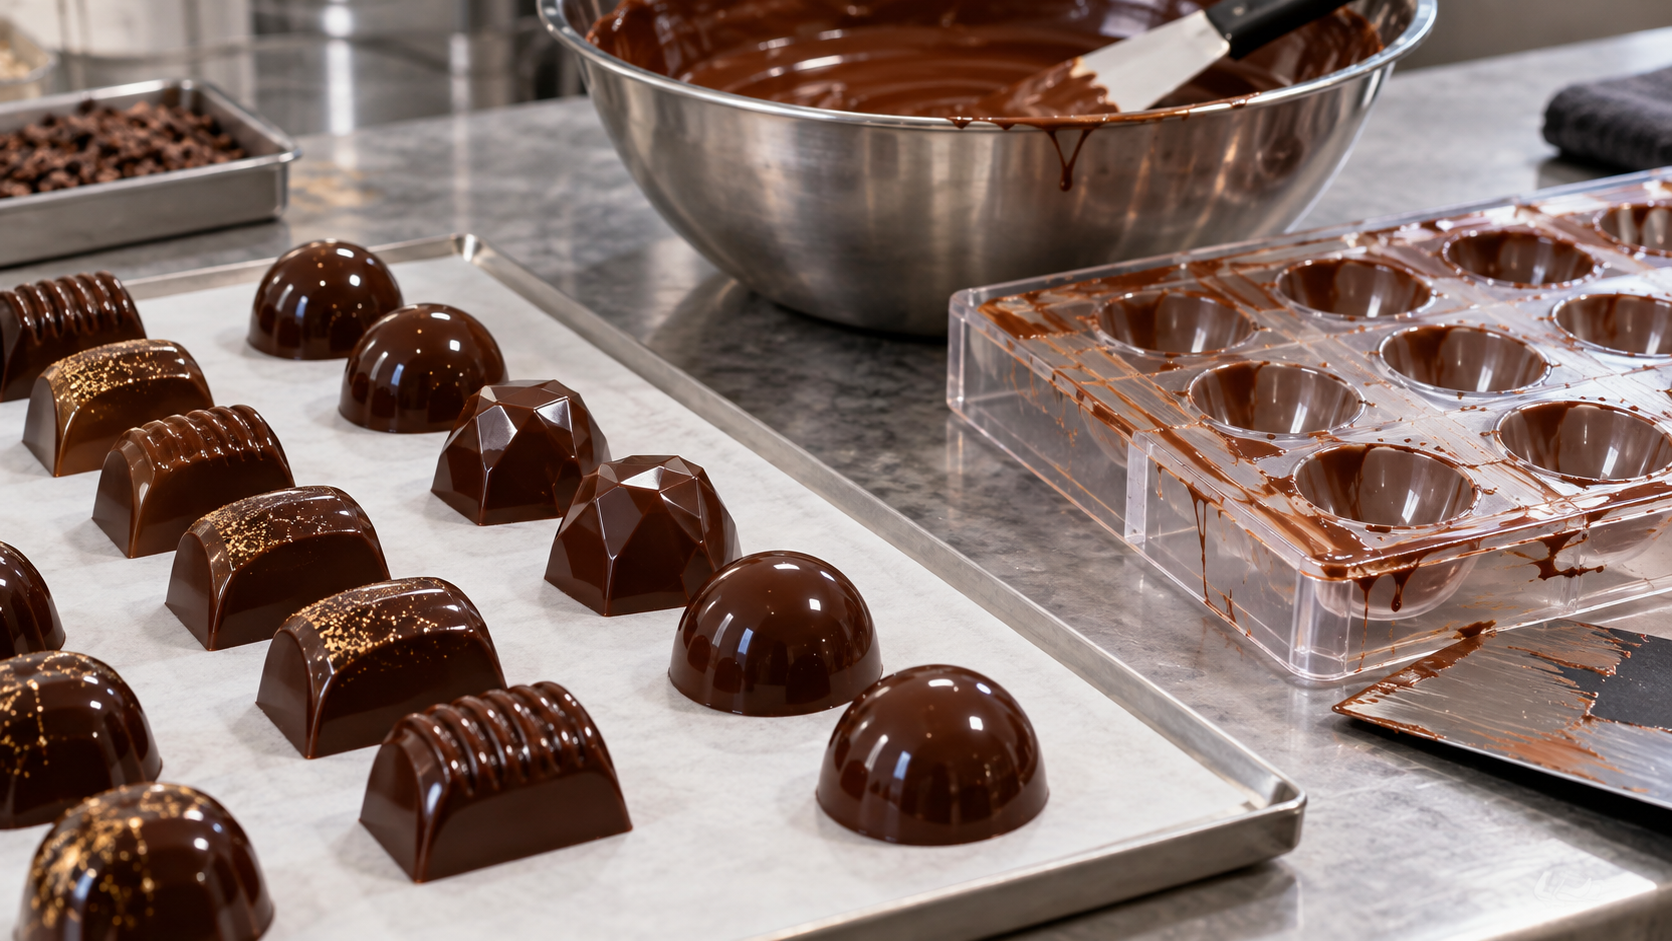
Scrape the top clean and leave the mould level in a cool dry room. Release only after the chocolate has fully crystallised and contracted.
Frequently asked questions
Can I prepare it ahead?
Yes. Use the storage guidance in the article and keep perishable components chilled.
Can I change the chocolate?
Yes, although cocoa percentage changes sweetness, flow and firmness, so test a small amount first.
How should it be stored?
Keep plain chocolate cool and dry, and refrigerate items with fresh cream, fruit or other perishable fillings.
Can it be posted?
Only stable, well-packaged items should be posted, with temperature and delivery time considered.
Which allergens should I check?
Check every label for milk, gluten, soya, eggs, nuts and any other allergens in the ingredients used.
What gives the best finish?
Measure carefully, keep equipment dry and control chocolate temperature throughout the process.