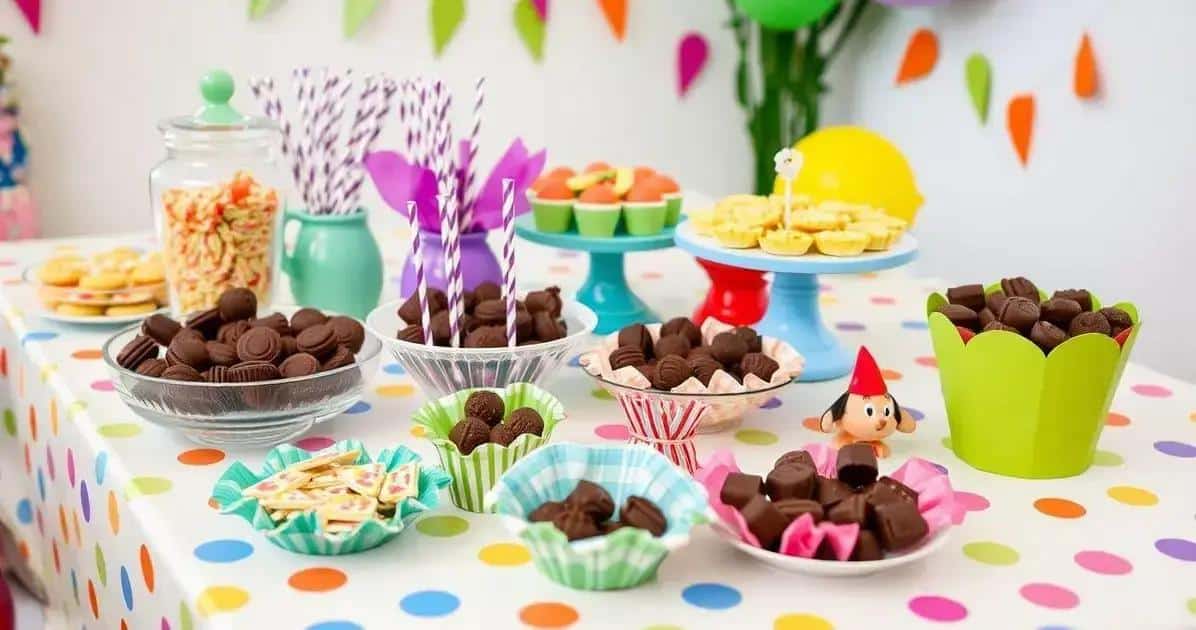

Chocolate party favours can bring colour and a personal touch to a children’s celebration. Combine simple chocolate shapes, edible decorations and themed wrapping to make small gifts for your guests.
A chocolate favour for a children’s party can be as simple as a neatly wrapped shape with a name tag. You can match it to the party colours, decorate a little box or let the birthday child help choose the sprinkles. Here are some preparation and presentation ideas to get you started.
Ingredients and materials for chocolate favours
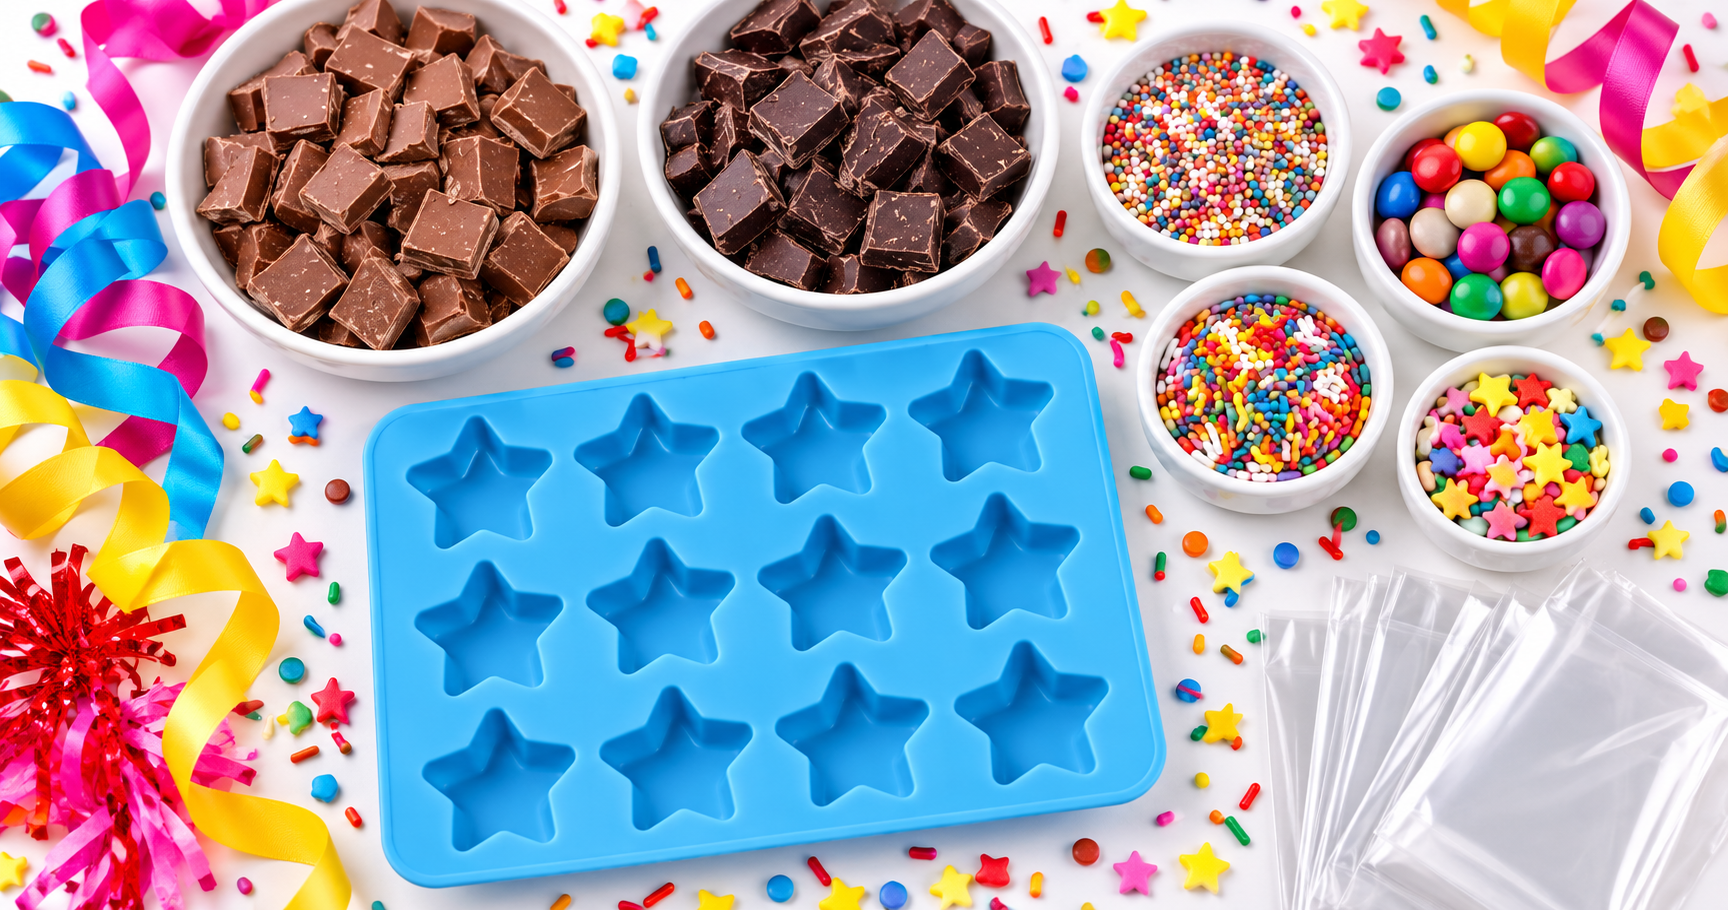
For the chocolates
- 300 g milk or dark chocolate, according to your preference.
- Sprinkles or small chocolate sweets, for decoration.
- Food-safe silicone chocolate moulds, in suitable shapes.
Optional filling ideas
Hazelnut spread, dulce de leche and chopped dried apricots or dates are possible flavour ideas. For filled chocolates, use a complete recipe suitable for the chosen filling and follow its storage instructions. The simple method below is for solid chocolate shapes.
For wrapping
- Clear food-safe bags or wrapping.
- Colourful ribbon or ties.
- Personalised outer labels.
Check the ingredients and allergens in the chocolate, fillings and decorations with guests’ parents or carers. Choose decorations and portion sizes appropriate for the children’s ages.
How to make the chocolate favours
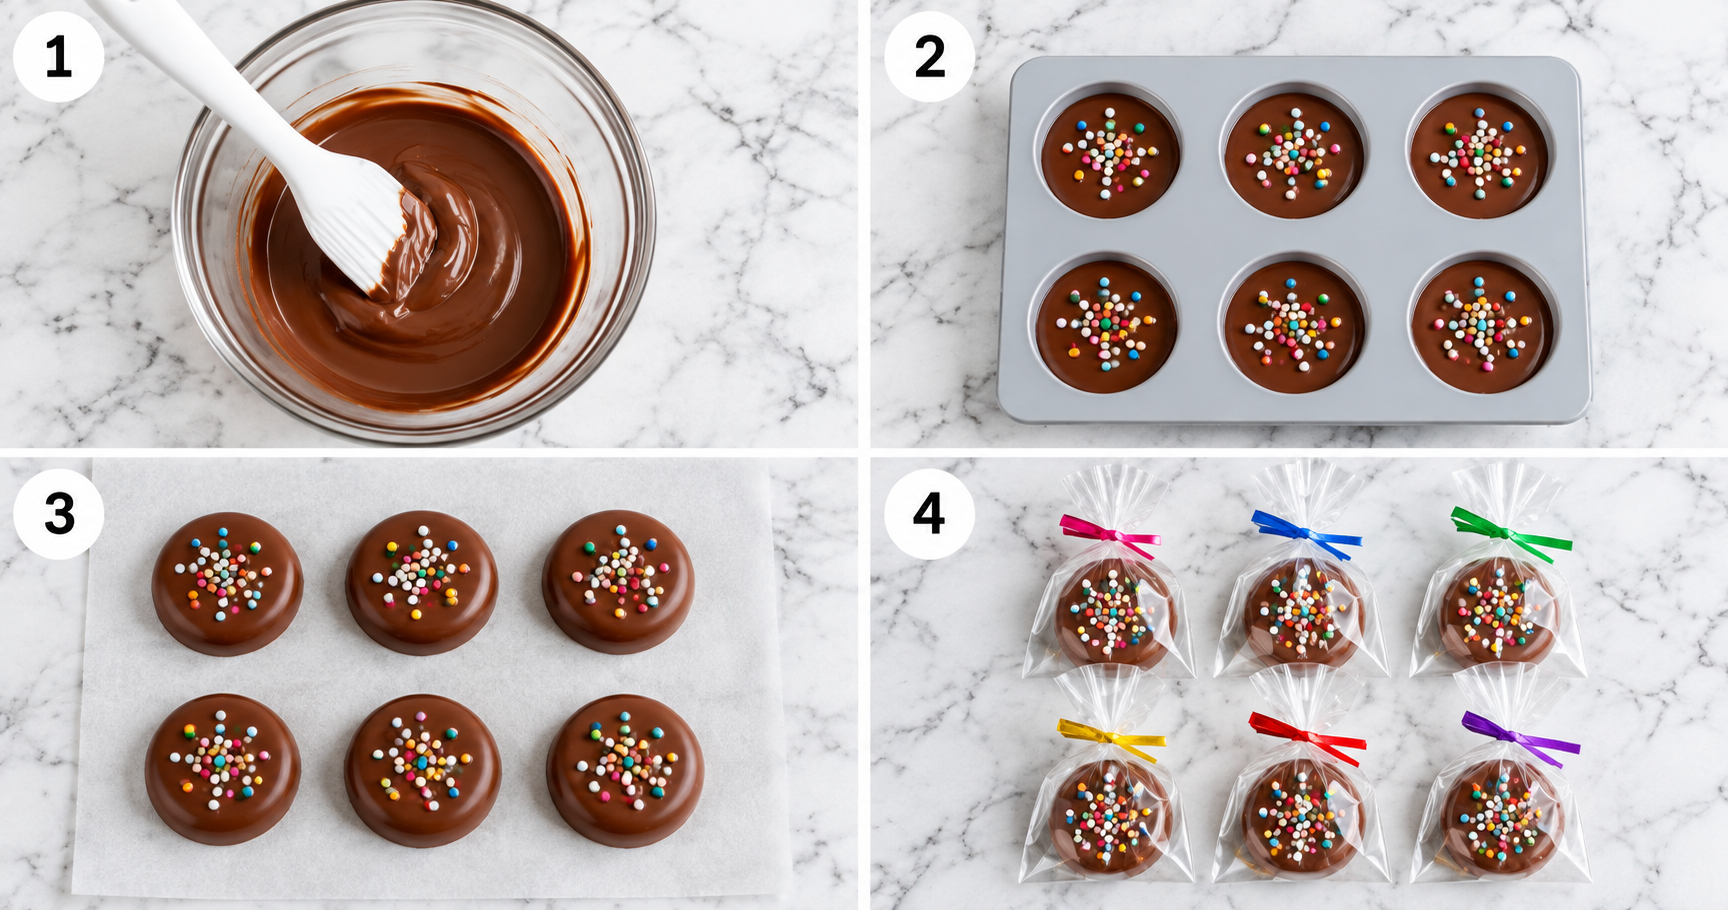
1. Prepare the chocolate
An adult should handle the heating. Chop the chocolate and put it in a clean, dry heatproof bowl over a pan of hot, gently steaming water. Keep the bowl clear of the water and prevent any water getting into the chocolate. Stir gently as it melts.
Follow the manufacturer’s tempering instructions for your chocolate before moulding it. Tempering helps moulded chocolate set with the intended finish; simply melting it and chilling it is not the same process. Callebaut’s tempering guide explains the purpose of this step.
2. Fill the moulds
Pour or pipe the prepared chocolate into clean, dry moulds. Tap gently to release air bubbles and level the surface. If you want sprinkles on the exposed side, add them before the chocolate sets.
3. Allow to set
Follow the setting guidance for your chocolate and moulds. Allow the pieces to become fully firm before releasing them; the time will depend on their size and the conditions in your kitchen.
4. Unmould and finish
Release the chocolates carefully. For extra decoration on the moulded face, attach sprinkles with small dots of suitably prepared chocolate, then let those dots set. Fully set chocolates should not need to be sticky all over to hold the decoration.
5. Wrap and label
Once all the decoration has set, place each favour in food-safe wrapping. Tie the bag with ribbon and add the personalised label outside. Keep craft materials separate from exposed food.
What makes a chocolate favour personal?

The shape, colours and presentation can connect a small chocolate gift with the rest of the party. A favourite animal, a bright pattern or a hand-drawn tag can make a simple idea feel thoughtful.
Chocolate also allows variety: milk, dark and white chocolate have different flavours and can create contrasting decorations. Choose for taste and suitability for your guests, without treating a party sweet as a health food.
The wrapping is another place to be creative. A child’s drawing on the outside of a box can be just as effective as an elaborate decoration on the chocolate itself.
Creative chocolate party favour ideas
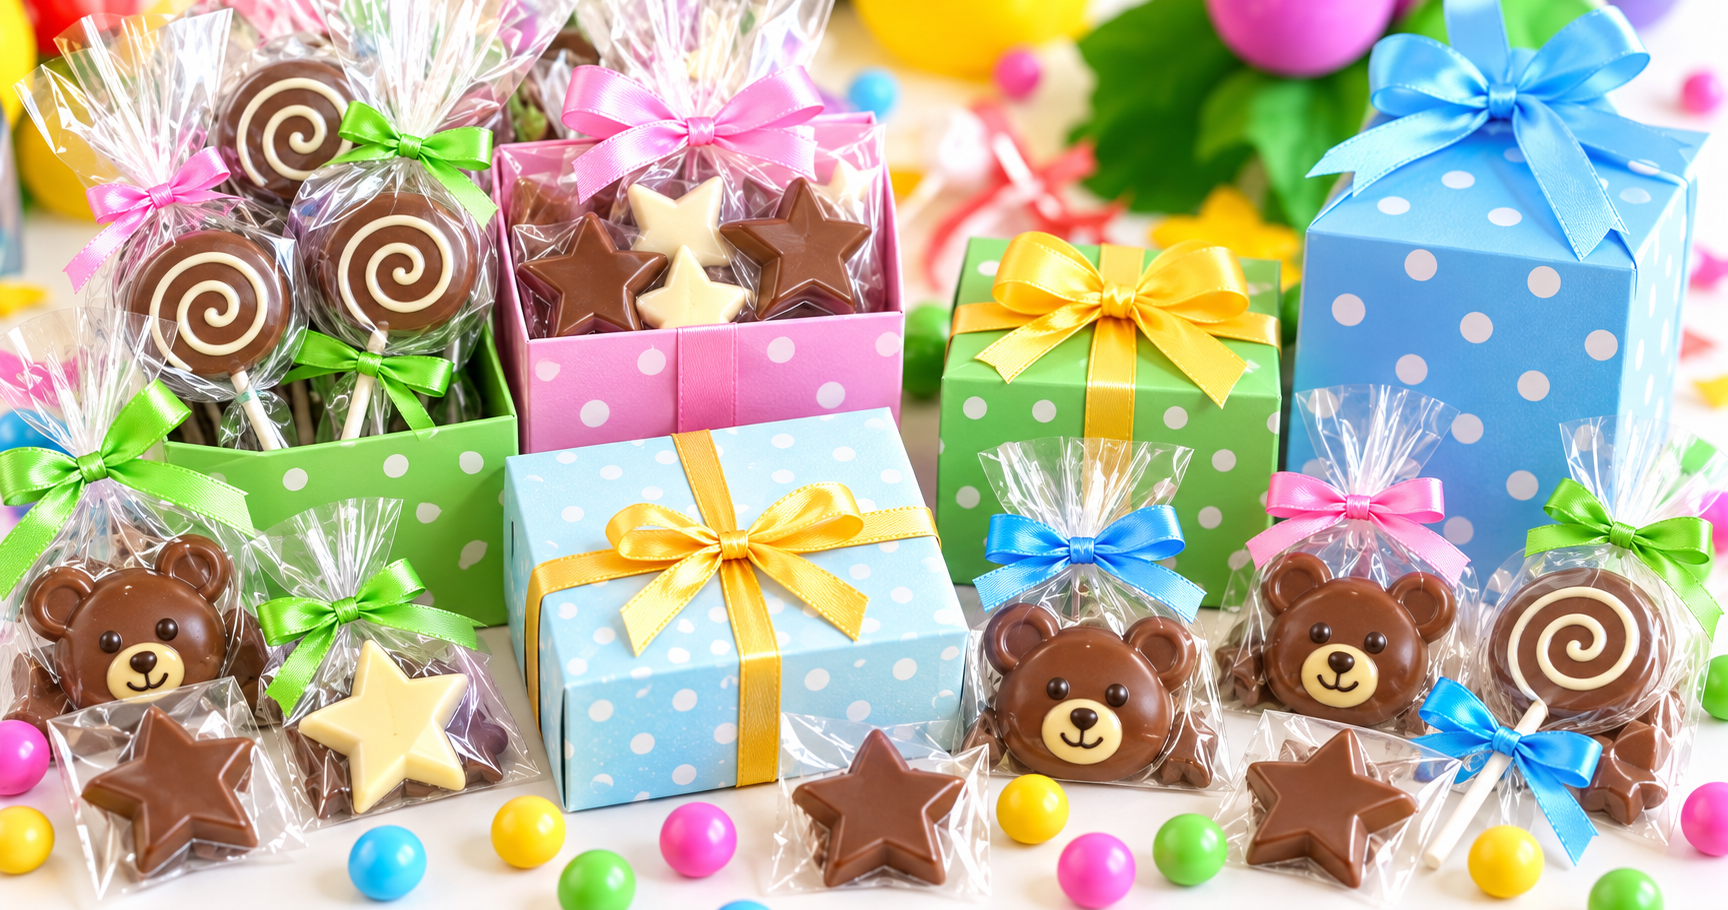
1. Chocolate lollipops
Use food-safe lollipop moulds and sticks, then decorate the chocolate before it sets. Choose a suitable shape and size for the children receiving them, and wrap each lollipop separately.
2. Little filled chocolates
For a different project, try a complete filled-chocolate recipe. Brazilian brigadeiro, a cooked condensed-milk chocolate sweet, or a coconut filling can inspire the flavour. These need their own preparation and storage instructions rather than being added to a solid-chocolate method without adjustment.
3. Decorated boxes
Arrange a small selection of chocolates in food-safe cases inside a box. Stickers, ribbons or children’s drawings can decorate the outside. Keep different fillings identifiable.
4. Chocolate and a small toy
A party bag can hold a wrapped chocolate and a separate age-appropriate toy. Keep food and toys in separate packaging and follow the toy’s age guidance; small toy parts should never be hidden in the chocolate.
5. Themed shapes
Use food-safe chocolate moulds in animal or other party-themed shapes. The chocolates are treats to eat, so keep any collectable toys or decorative keepsakes separate.
Ways to personalise the favours
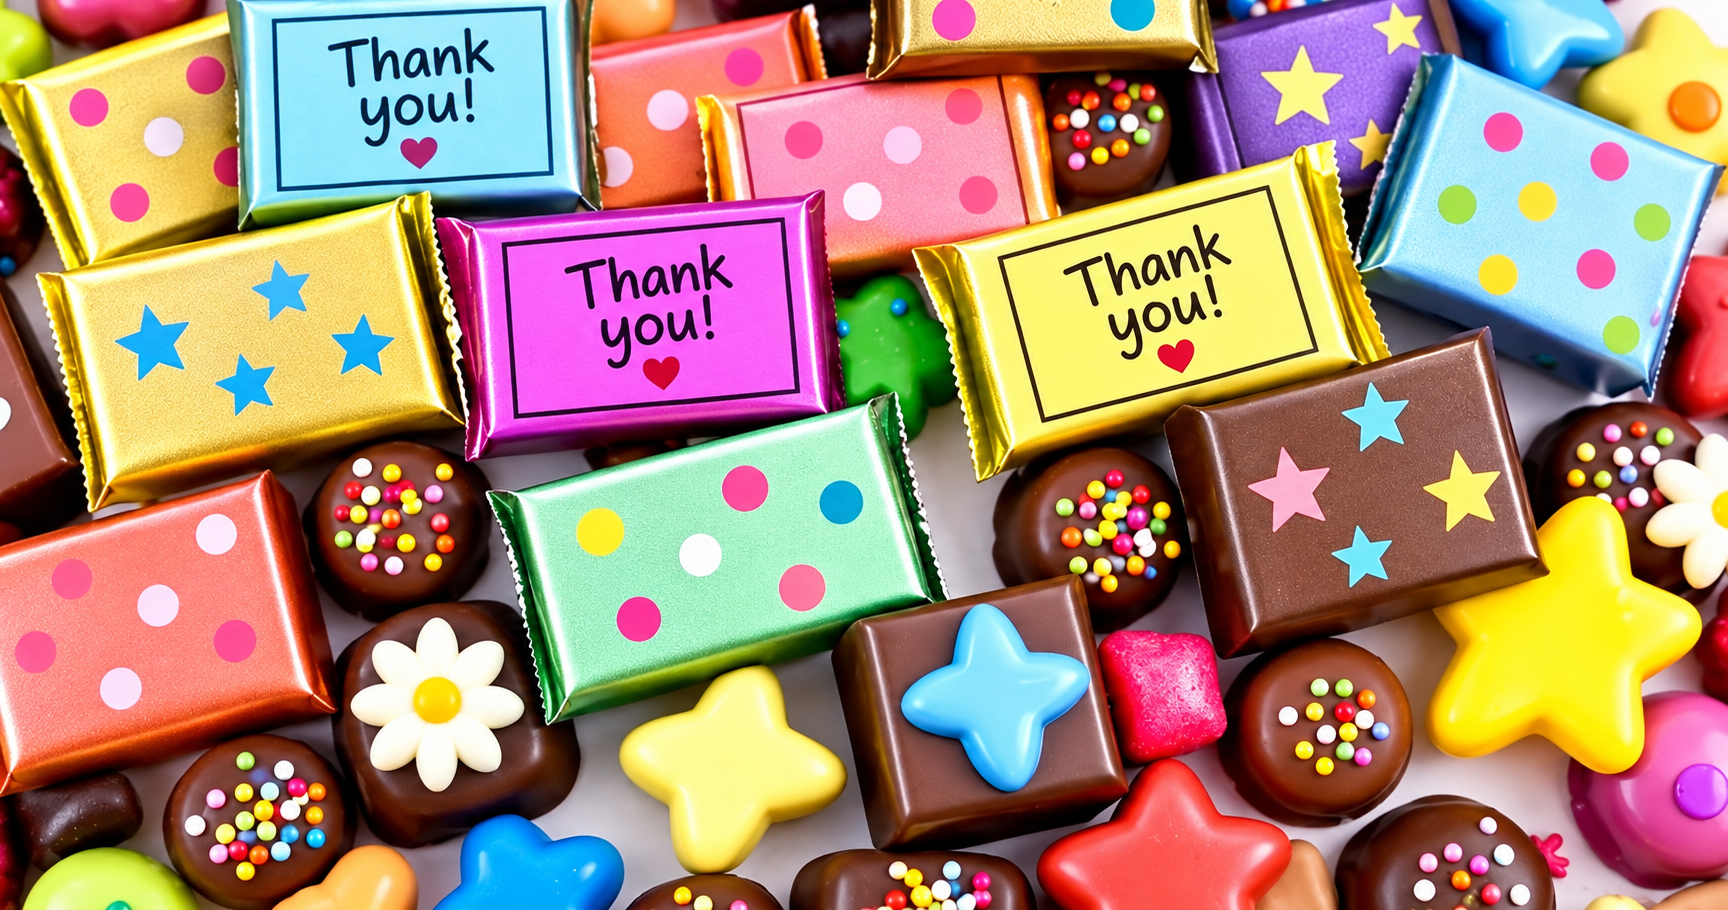
Add names and dates
Write the birthday child’s name and the party date on a colourful outer label. You could also add a short thank-you message for the guests.
Match the party colours
Coordinate the ribbons, bags and boxes with the decorations. You do not have to colour the chocolate to achieve a coordinated display.
Vary the edible decorations
Use suitable sprinkles or small chocolate details for different patterns. Keep the recipients’ ages and dietary needs in mind when choosing toppings.
Choose playful moulds
Animals, familiar objects and simple symbols can connect the chocolates to a theme. Check that the mould is intended for food and suitable for chocolate.
Let children help with the finishing touches
Children can choose colours or draw on the outside of boxes while an adult handles hot chocolate and sharp tools. Keep craft paint, glue and pens away from the food and its food-contact wrapping.
A small gift for the party guests
A few coordinated details can turn a simple chocolate shape into a thoughtful thank-you. For more cooking and celebration ideas, visit Receitas da Bella.
Frequently asked questions
What do I need to make chocolate party favours?
For simple solid shapes, use chocolate, food-safe moulds and suitable edible decorations. You will also need food-safe wrapping. Filled chocolates require a separate complete recipe.
How can I personalise the favours?
Use name tags, matching ribbon, themed moulds or drawings on the outside of the gift boxes.
How long do they take to make?
Allow time for preparing the chocolate, setting, decoration and wrapping. A one-to-two-hour planning window may suit a small simple project, but the actual time depends on the design, quantity and setting conditions.
Can I use dark chocolate?
Yes, if its flavour suits your guests. Follow that chocolate’s preparation instructions and check its ingredients and allergens.
Which packaging works well?
Food-safe bags or chocolate cases inside decorated boxes are practical options. Choose packaging suitable for children to handle and keep craft decorations outside the food-contact layer.
How should I store the favours?
Follow the chocolate manufacturer’s guidance for plain solid chocolates, keeping them protected from heat, moisture and direct sunlight. Filled versions need storage instructions specific to their filling; a cool cupboard is not suitable for every recipe.