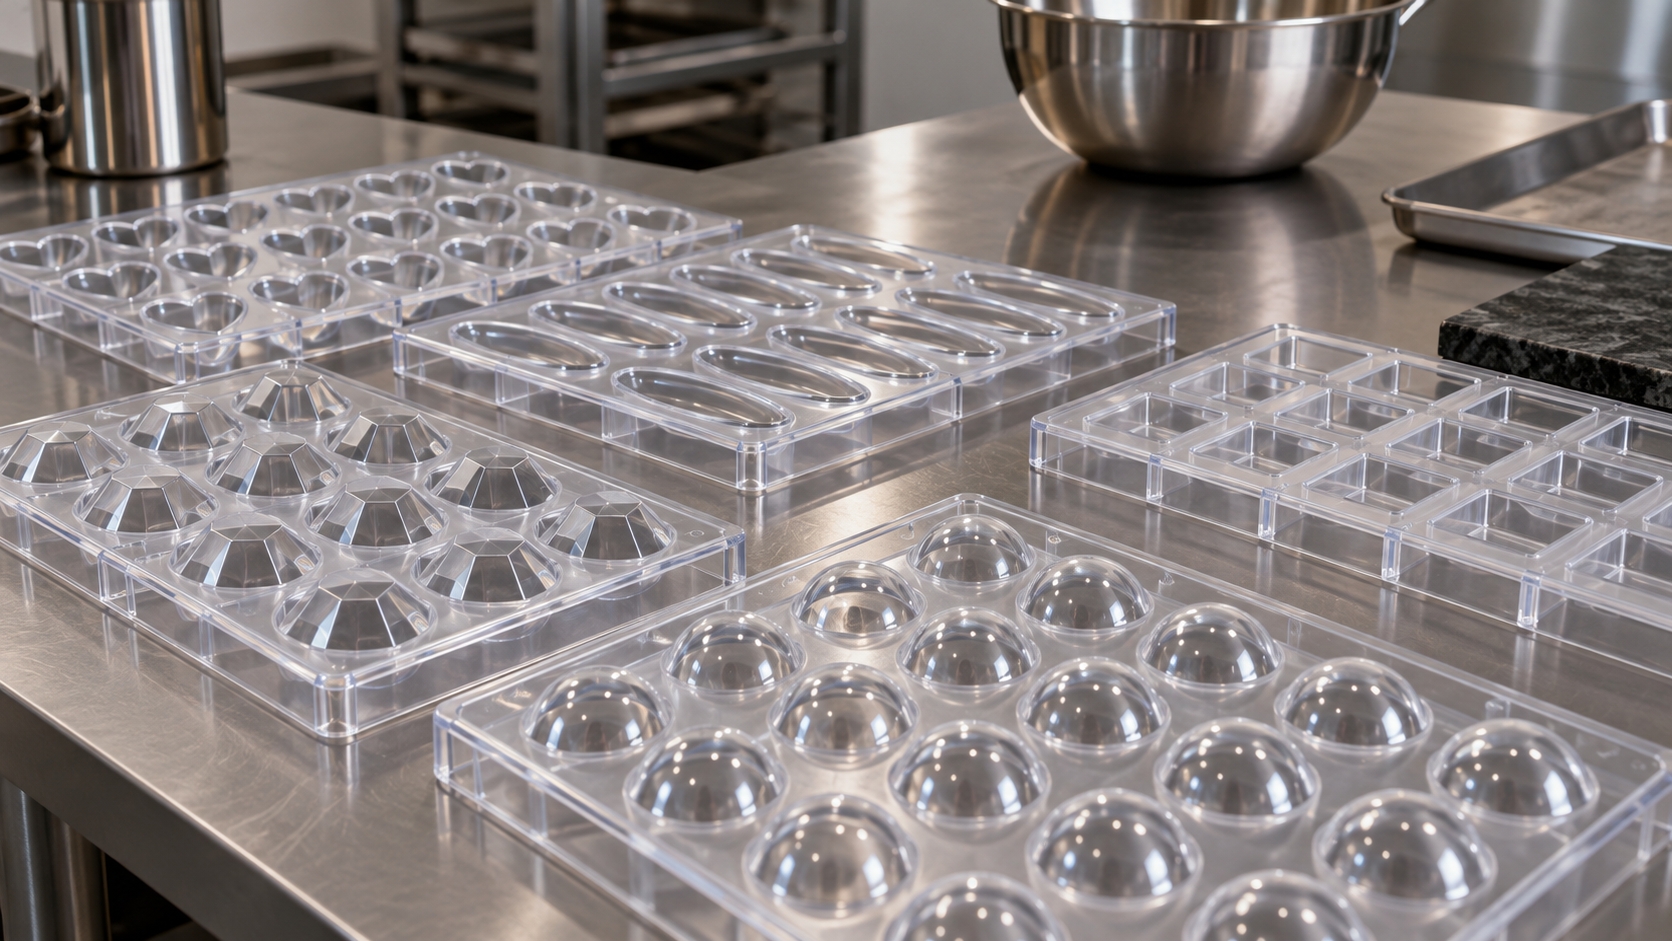

Start with the right mould
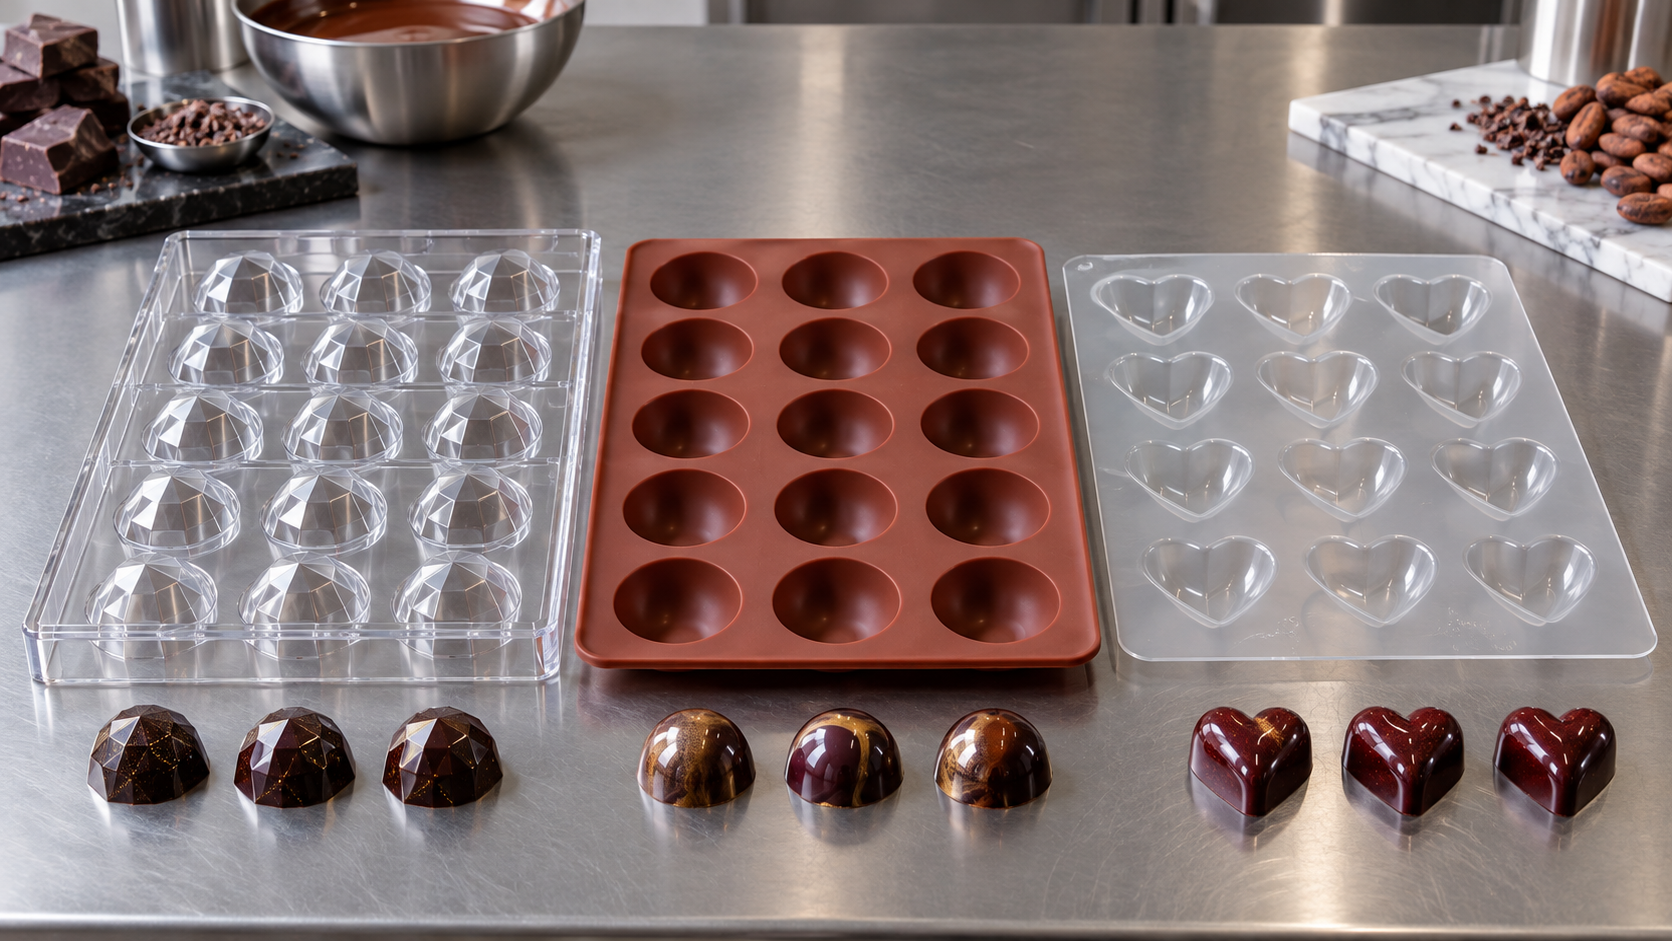
Rigid polycarbonate moulds can produce a very bright surface because tempered chocolate copies their smooth interior. Silicone and flexible plastic are useful for other jobs but usually give a different finish. Replace moulds with deep scratches or cloudy wear.
Clean only when necessary
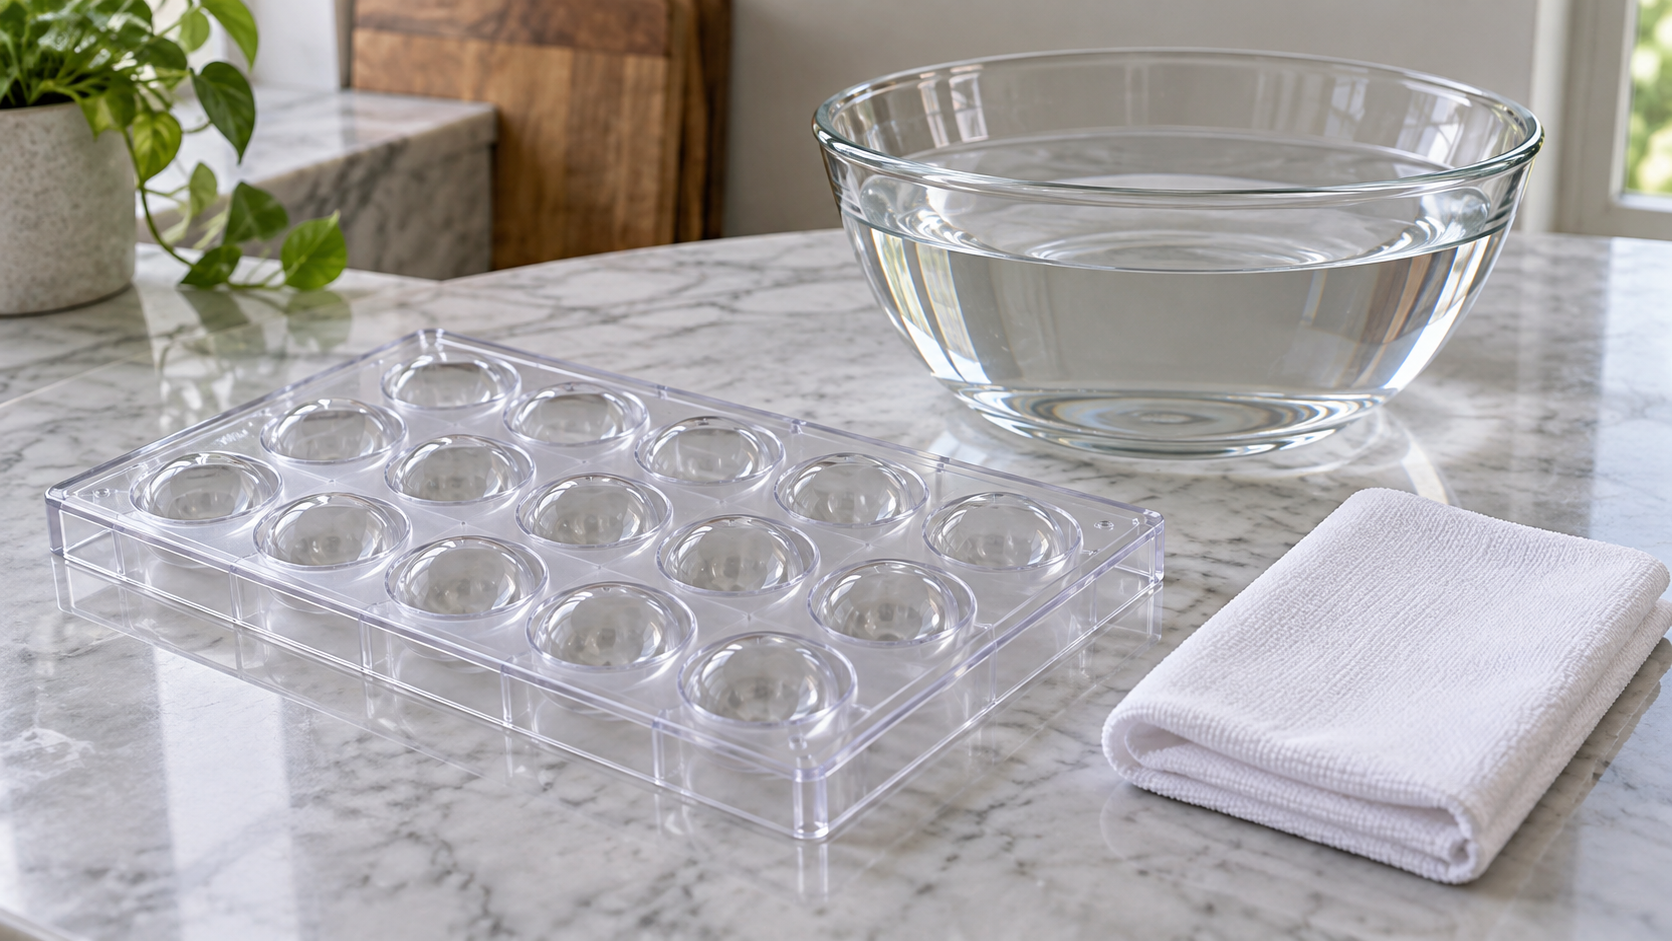
Remove set chocolate gently and follow the mould maker’s washing guidance. Hot water, abrasive detergent and dishwashers can damage some moulds. If washing is required, rinse thoroughly and dry every cavity, because trapped water can seize chocolate.
Polish without scratching
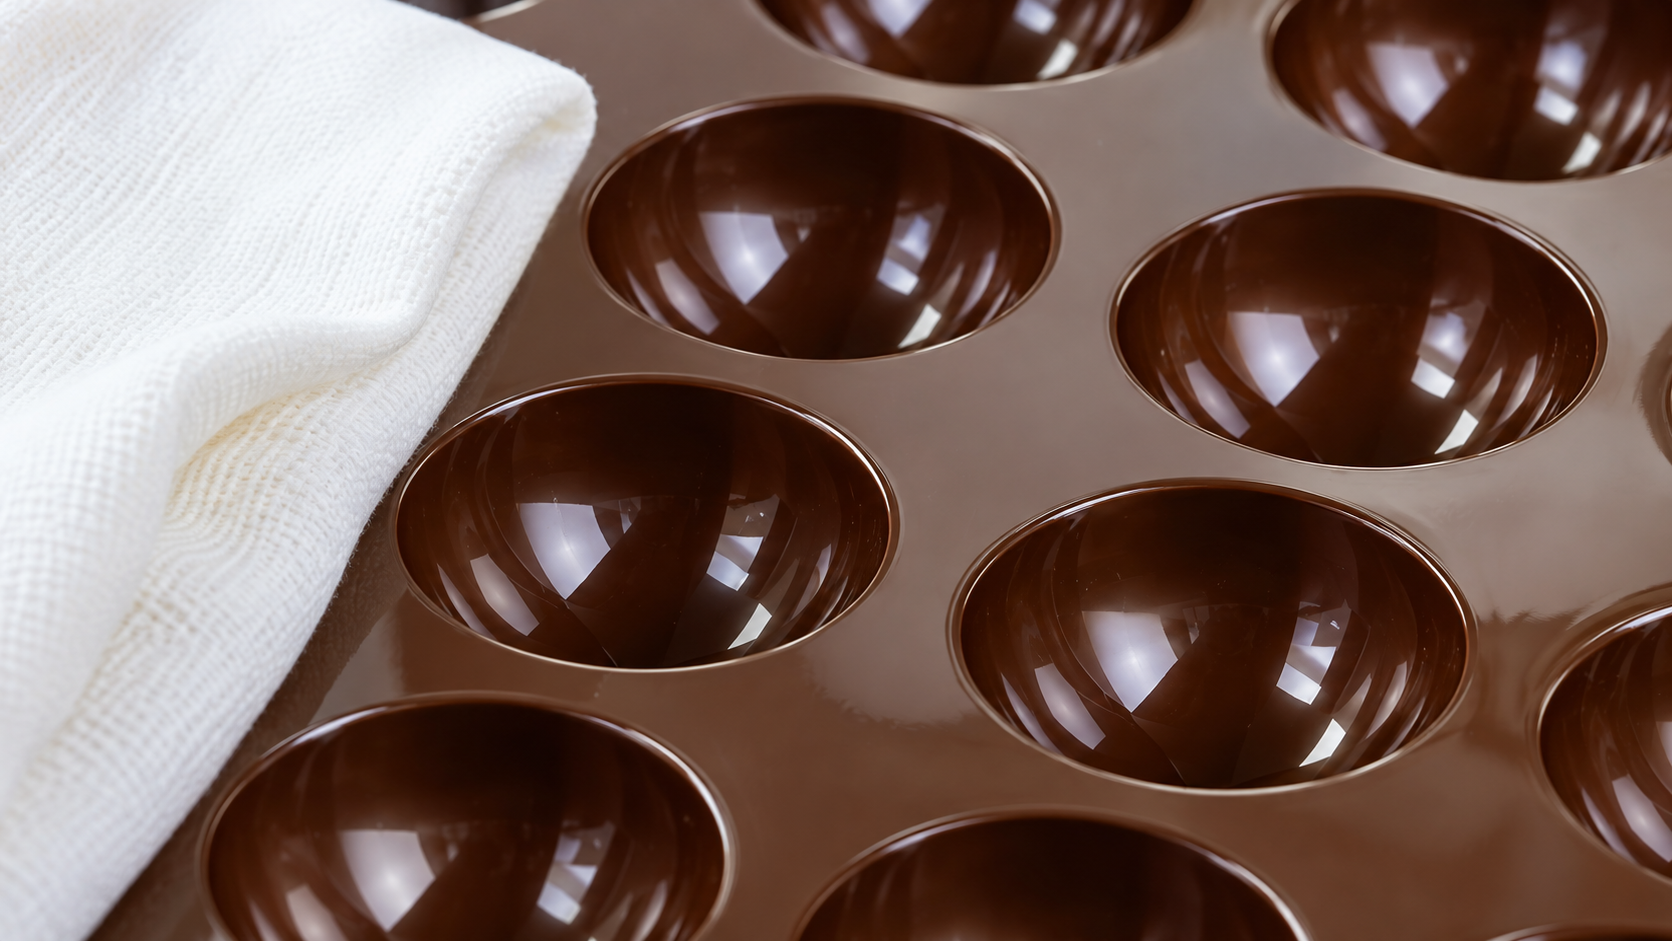
Before use, wipe each cavity with a clean, soft lint-free cloth or cosmetic cotton intended only for food work. Light pressure removes dust and faint cocoa-butter residue. Do not use household polish, alcohol or abrasive pads.
Control the chocolate temper
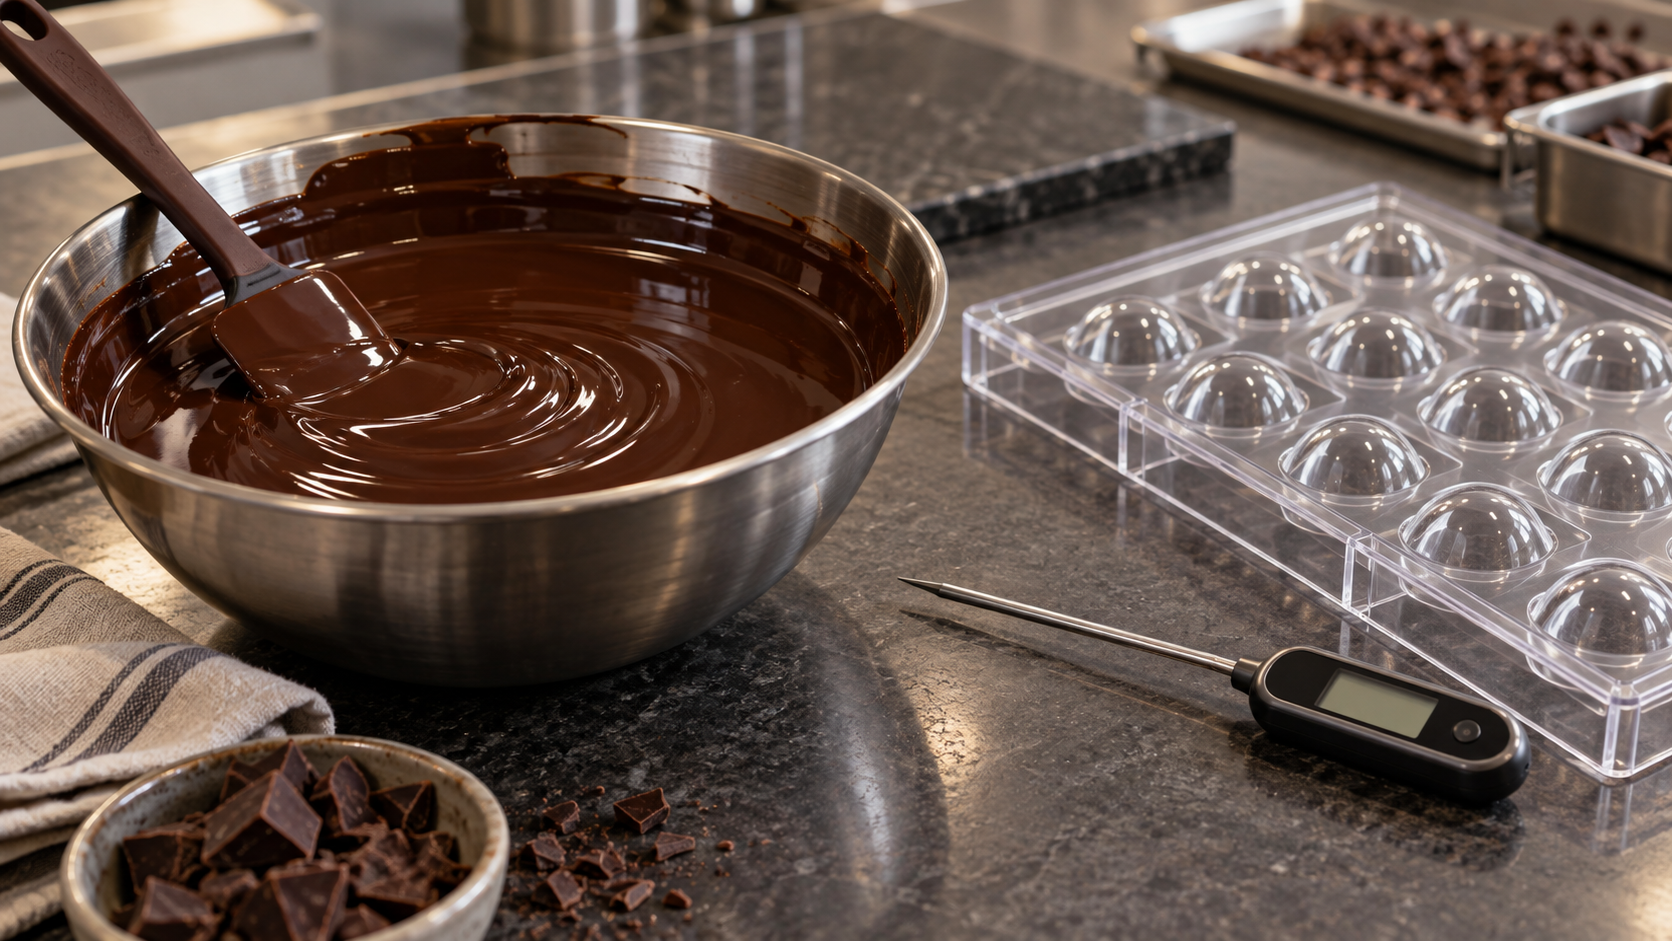
A polished mould cannot compensate for poorly tempered chocolate. Melt, cool and work the product within its specified range and test the temper before filling. Room and mould temperature also affect contraction and surface marks.
Fill the mould cleanly
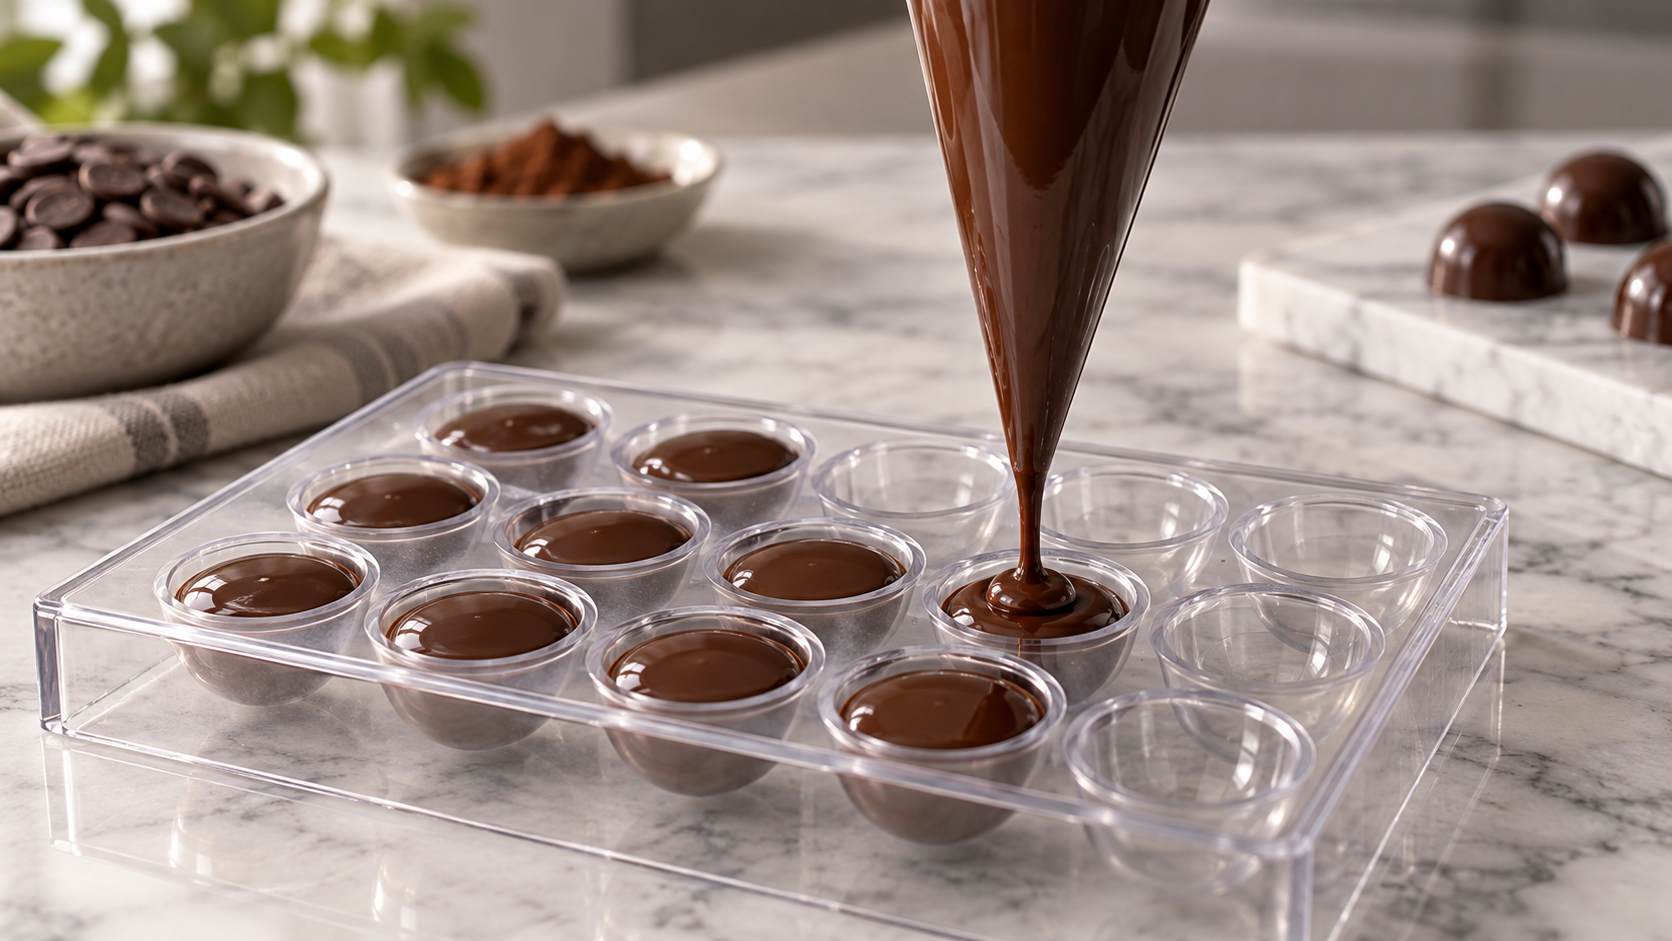
Pour or pipe without touching the cavity unnecessarily, tap out bubbles and scrape the face clean. Coloured cocoa butter must also be in a suitable crystal state and applied in a thin, even layer if shine is expected.
Let crystallisation finish
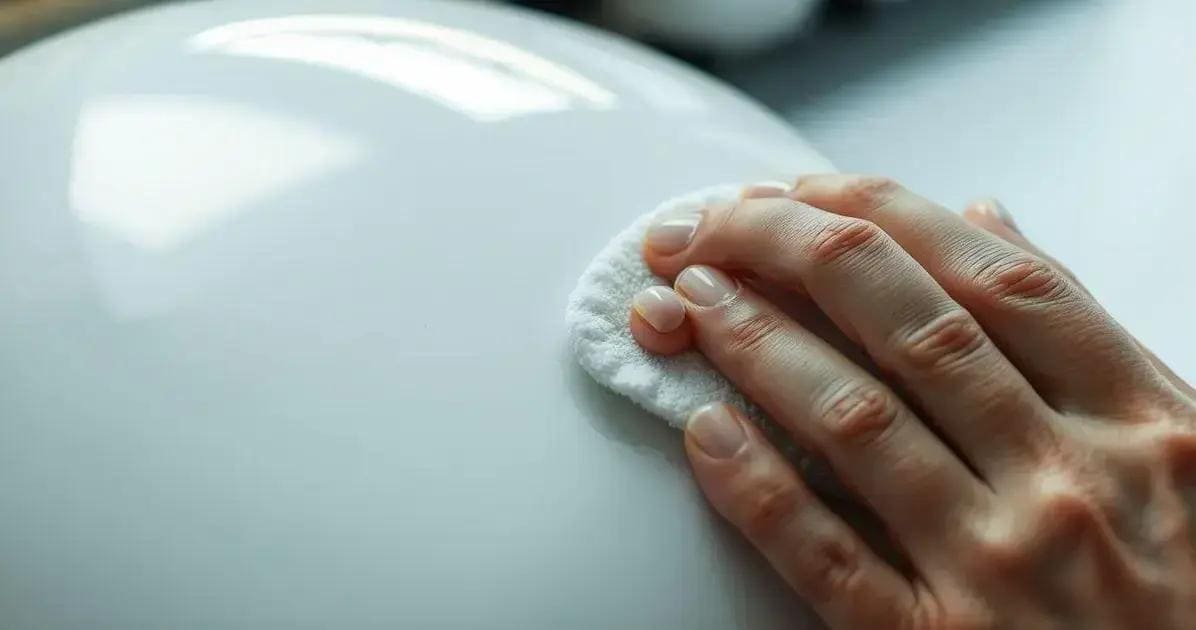
Allow enough time for the chocolate to contract naturally. Refrigeration may be used briefly when appropriate, but a cold mould moved into humid air can collect condensation. Forcing pieces out early often causes fingerprints, cracks and dull patches.
Diagnose a dull surface
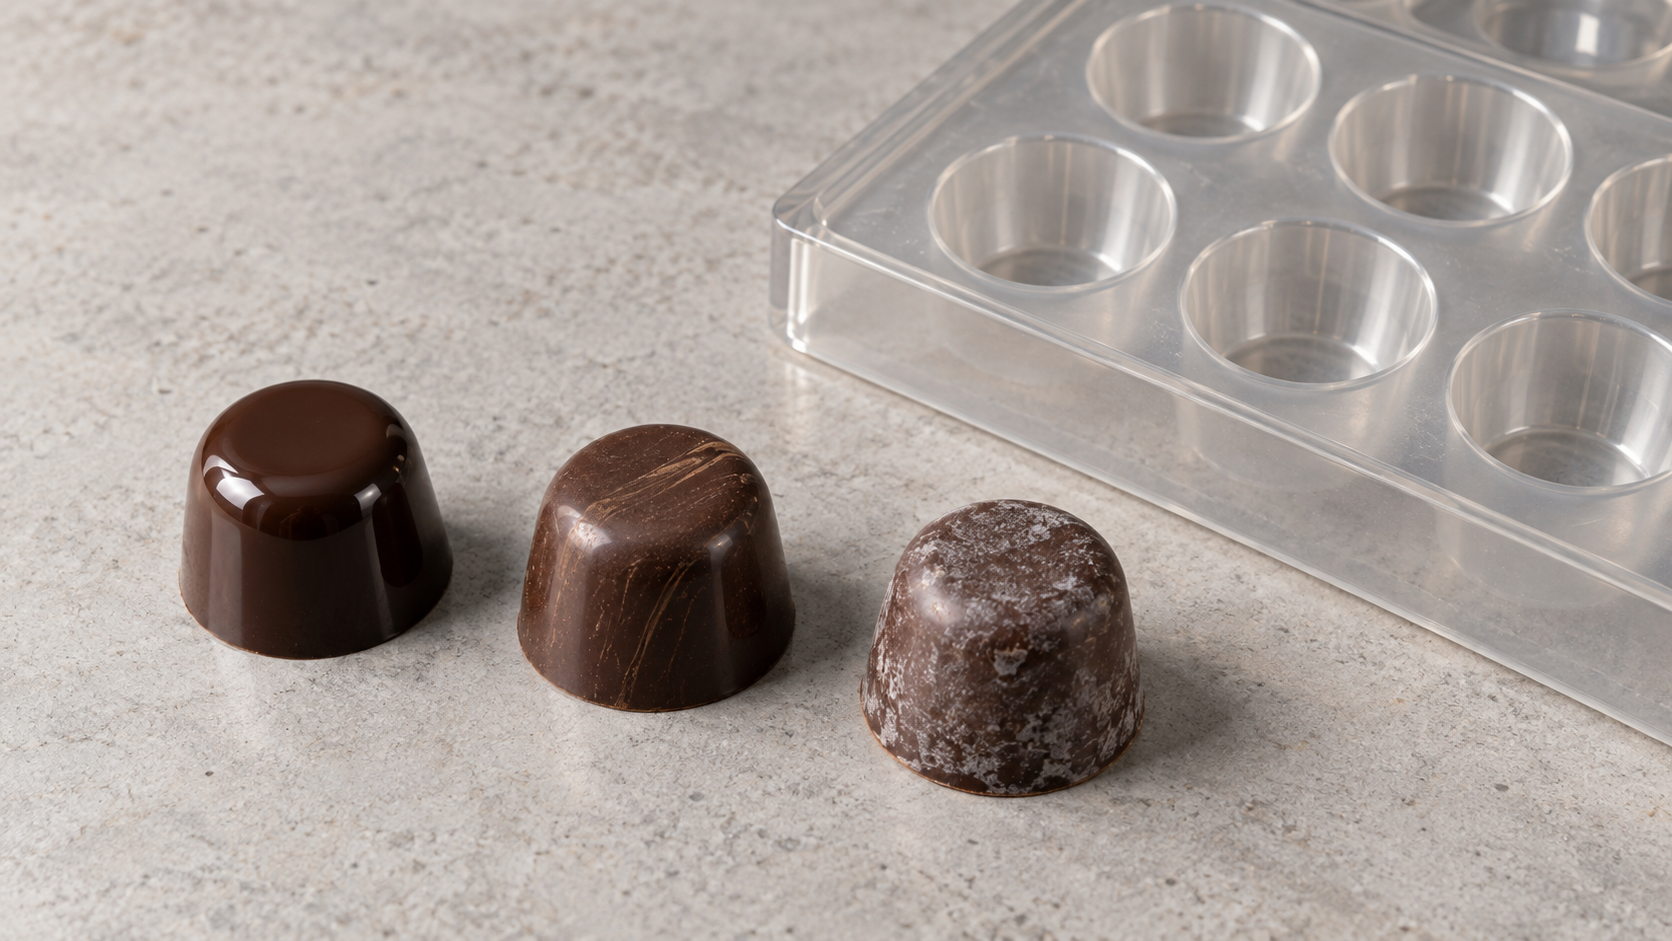
Streaks can come from unstable temper, residue, temperature swings or an uneven cocoa-butter layer. Grey bloom often points to fat-crystal problems, while sugar bloom follows moisture. Change one variable at a time and record the result.
Frequently asked questions
Why was this article rewritten rather than translated literally?
The source needed factual, food-safety or cultural correction, so the English version keeps the useful topic while removing unsupported claims.
Are temperatures and shelf lives universal?
No. Equipment, ingredients and fillings vary; use a tested recipe, manufacturer guidance and appropriate food-safety controls.
Can decorative materials touch food?
Only materials intended for food contact should touch edible products, and flowers or non-food objects need a reliable barrier.
How should allergens be checked?
Read every current ingredient label and consider cross-contact; never infer allergen status from a product name or appearance.
Can a home method be scaled for sale?
Commercial production needs repeatable records, hygiene controls, compliant labelling and validation for the actual process.
Where should historical or language claims be verified?
Use dated archives, official records and qualified language references when a precise claim matters.