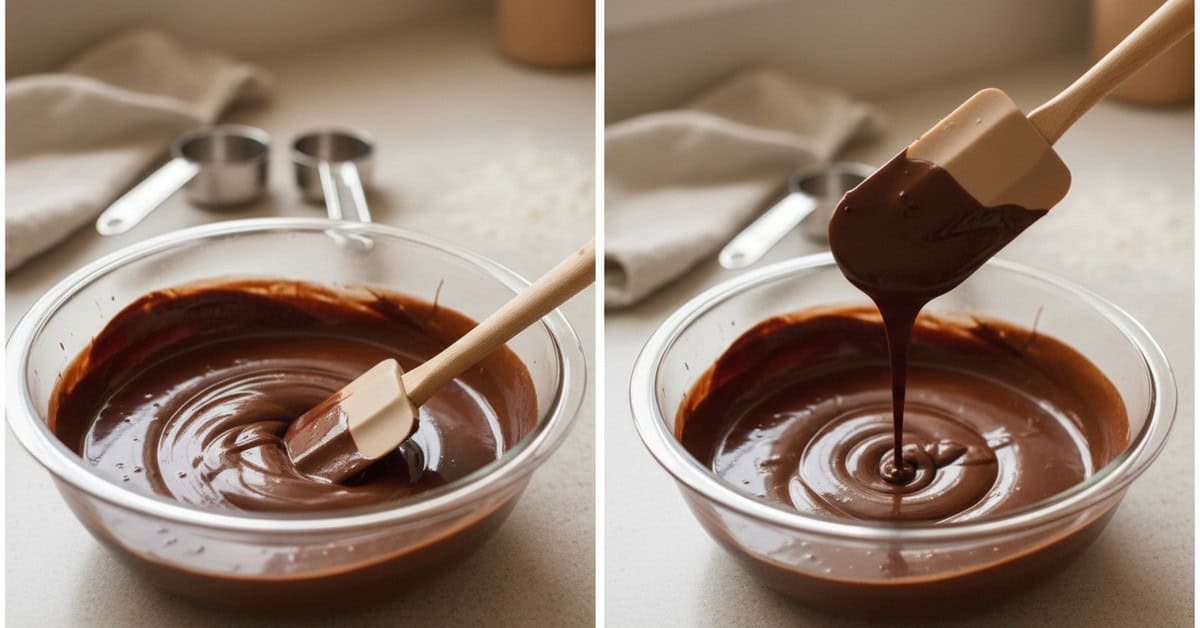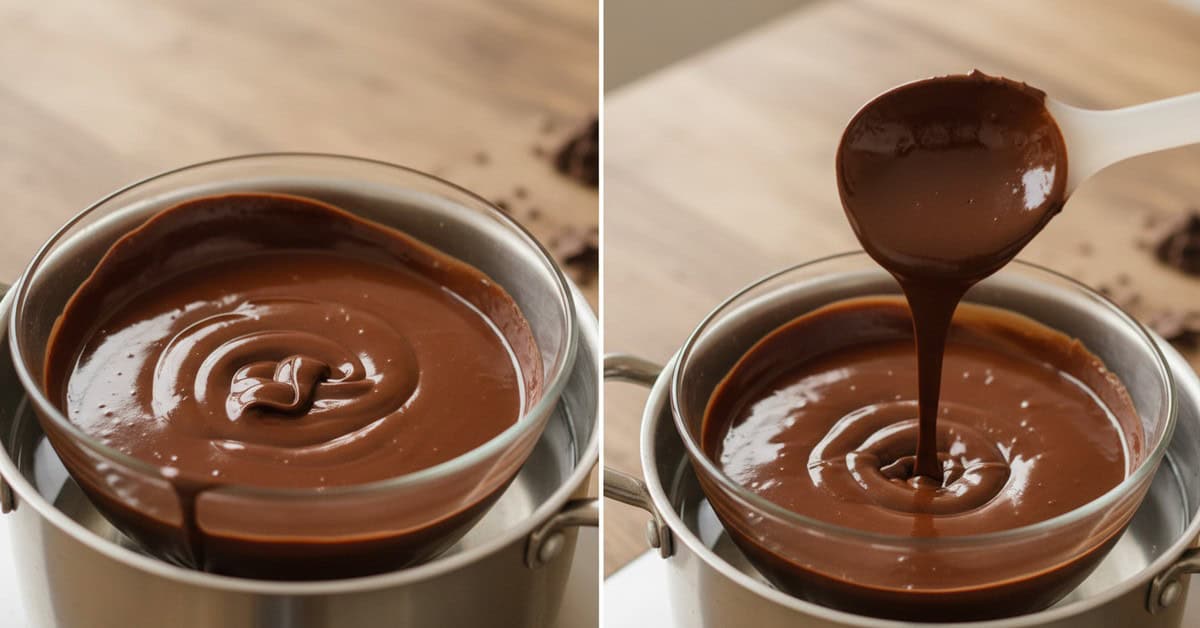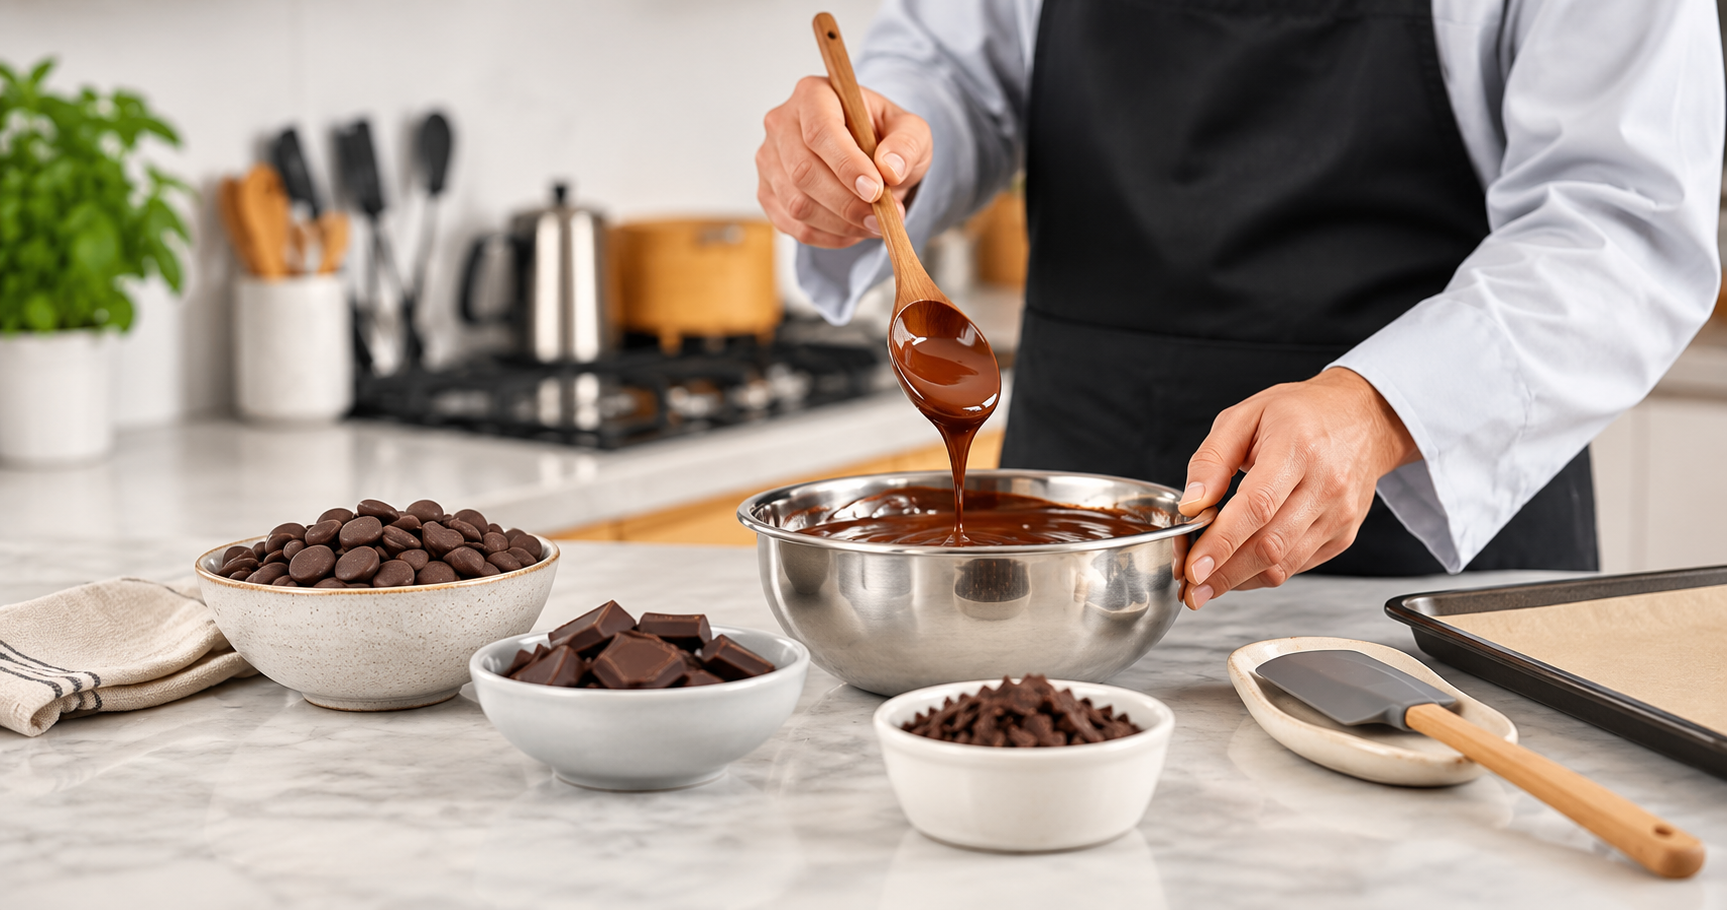

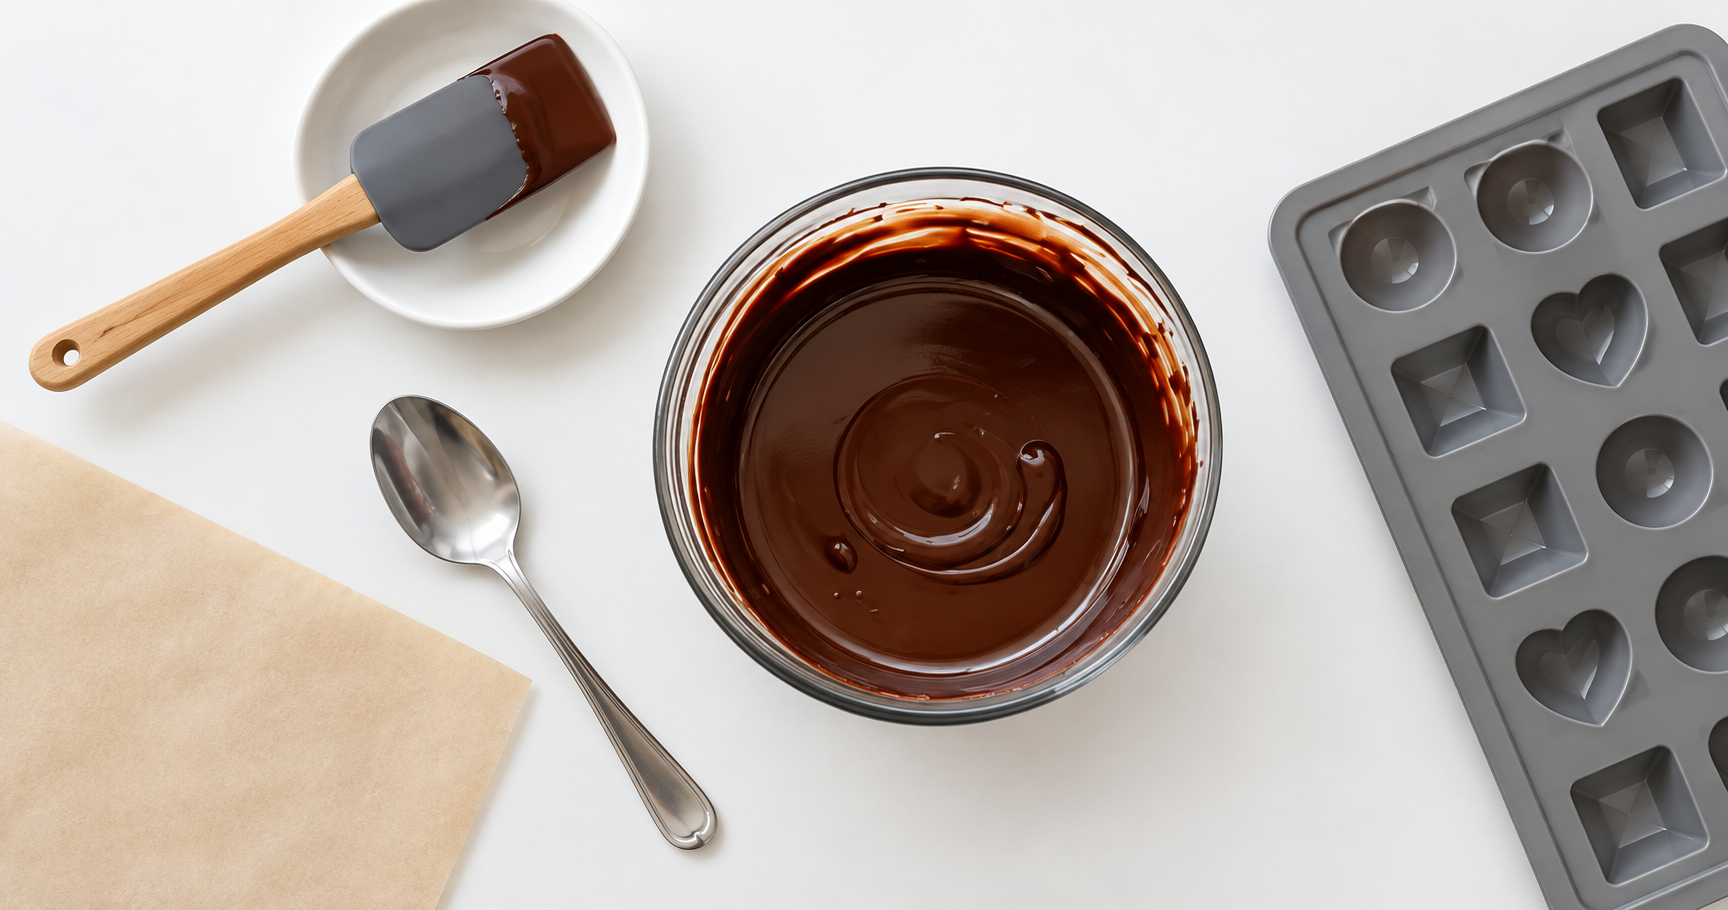
A tidy workspace, suitable bowls and controlled heating make chocolate easier to handle. Prepare your tools before you start, use a spatula to manage drips and keep water away from the chocolate.
Working with chocolate need not leave the whole kitchen covered in it. A little organisation helps when melting, moulding or decorating, and makes the clean-up simpler afterwards. These practical tips focus on handling chocolate neatly while following the recipe you have chosen.
Ingredients and tools to have ready
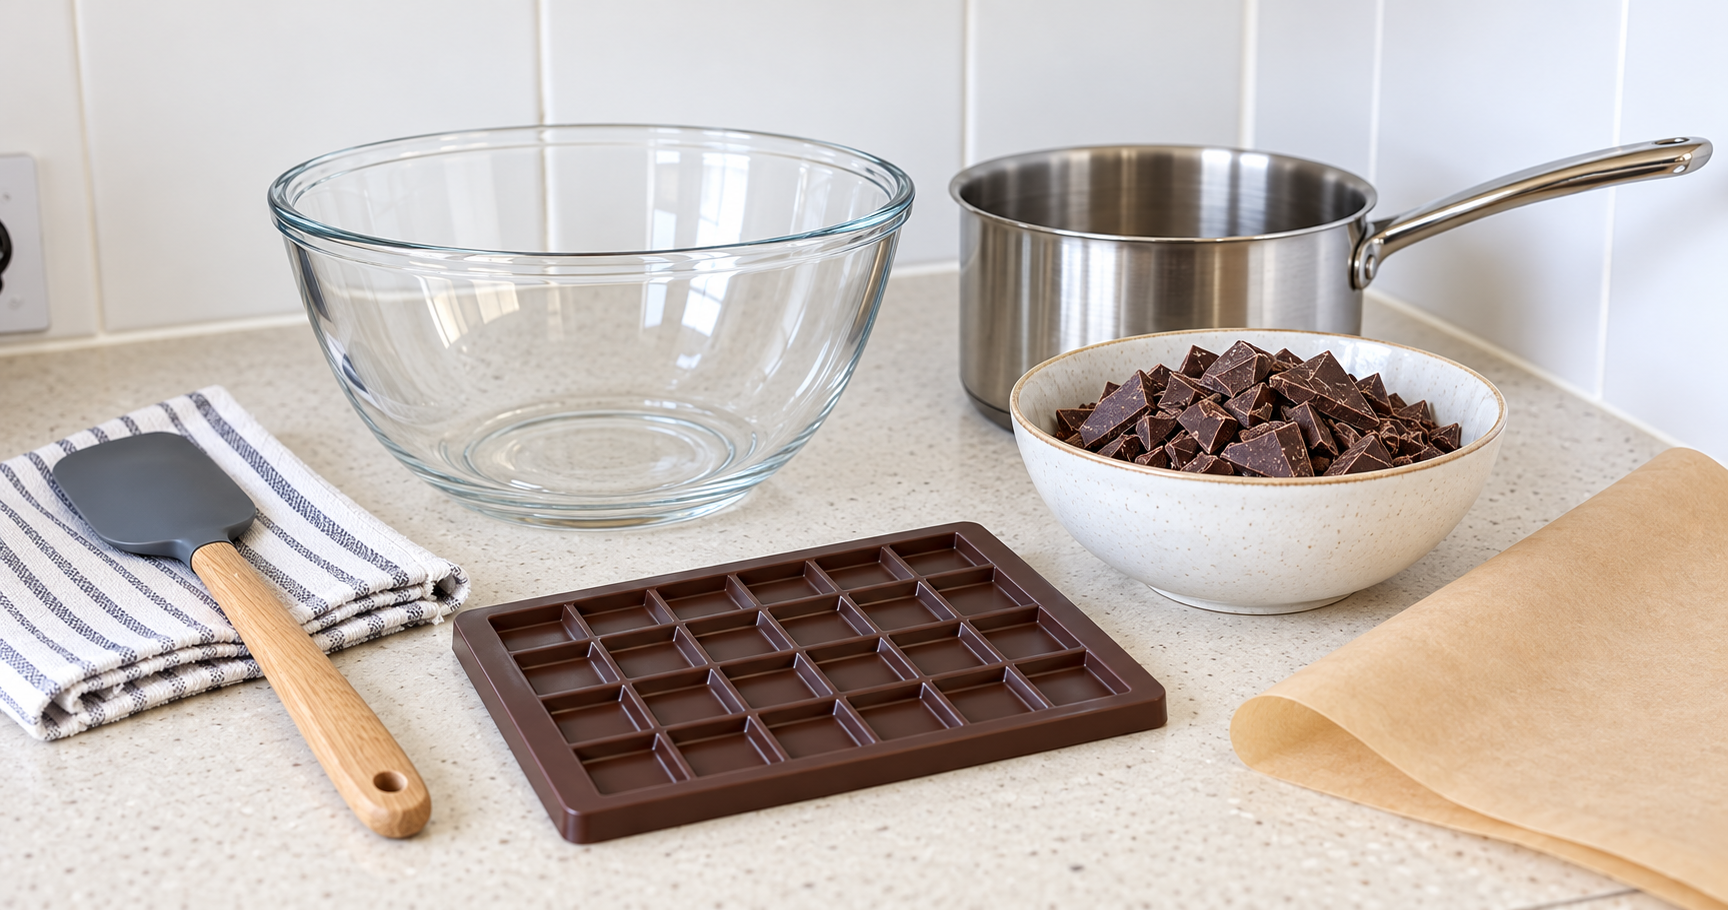
- The chocolate specified in your recipe: milk, dark and white chocolate have different flavours and handling requirements. Choose a product suited to the task.
- Any other recipe ingredients: weigh them before you begin. Butter, glucose, sugar and flavourings belong only in preparations that call for them; they are not general remedies for making plain chocolate easier to mould.
- Decorations: put sprinkles, chopped nuts or dried fruit into small separate bowls so you can reach them without opening packets over the worktop.
- A suitable melting bowl: use a heatproof bowl for a bain-marie or a microwave-safe bowl for microwave heating. Do not put a metal bowl in the microwave.
- A dry silicone spatula: useful for stirring and scraping the bowl.
- Baking parchment, a tray and a utensil rest: to contain drips and organise finished pieces.
Clear the worktop and set out the equipment in the order you will use it. Keep a clean cloth or kitchen paper nearby for spills, but keep damp cleaning materials away from the bowl of chocolate.
Neater ways to prepare chocolate
Use a secure bain-marie
Set a clean, dry heatproof bowl securely over a saucepan of gently heated water, with the base of the bowl clear of the water. Stir the chocolate as it melts. Keep steam and splashes out of the bowl, and use care when lifting it away from the pan.
Heat in short microwave bursts
Chop the chocolate and use a microwave-safe bowl. Heat in short intervals of up to 30 seconds, stirring between them and shortening the bursts as it melts. Check the product’s guidance and stop heating when the remaining pieces can melt with stirring.
Temper when the preparation requires it
Tempering matters for many moulded chocolates and firm decorations. Seeding with suitable unmelted chocolate is one method, but it needs the correct process and temperatures for the product. Follow the manufacturer’s complete instructions, rather than using a general ratio as a complete method. See Callebaut’s tempering guide for an introduction.
Contain the working area
Place baking parchment on a tray for finished pieces or small chocolate decorations. A separate tray under the area where you fill moulds can catch drips. Keep paper and cloths clear of the hob and other heat sources.
Use tools that fit the bowl
A flexible spatula helps you scrape chocolate from the sides without awkward movements. Rest it on a small plate or utensil rest between uses instead of laying it directly on the worktop.
Tips for avoiding mess while melting
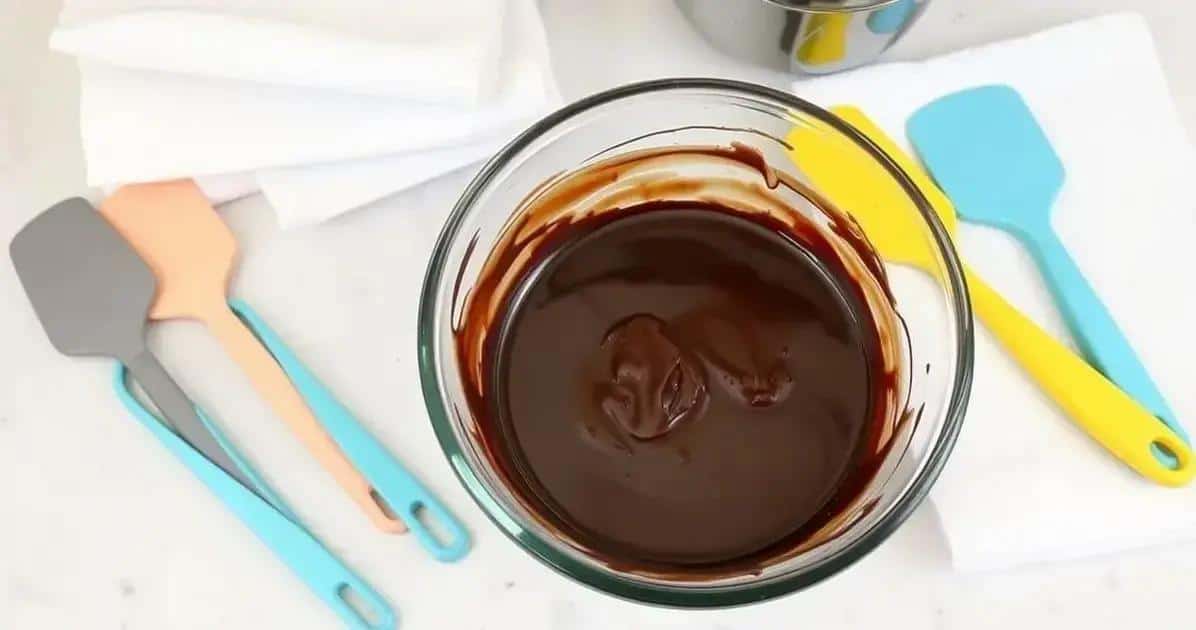
- Choose a bowl with enough room. Leave space for stirring without pushing chocolate over the edge.
- Prepare before heating. Have the recipe, moulds, tools and measured additions ready so you do not need to search for them with a chocolate-covered spoon in hand.
- Stir gently. Use controlled movements and scrape drips back into the bowl where appropriate.
- Manage the heat. Gentle heating and regular checks help you avoid scorching the chocolate. They do not remove the need to handle hot bowls carefully.
- Protect clothing and surfaces. Wear an apron and work over a suitable tray or parchment-covered area, keeping the preparation stable and clear of heat sources.
- Clean small spills as you go. Move the chocolate safely aside first, and keep moisture from the clean-up away from the ingredients.
Know the chocolate you are using
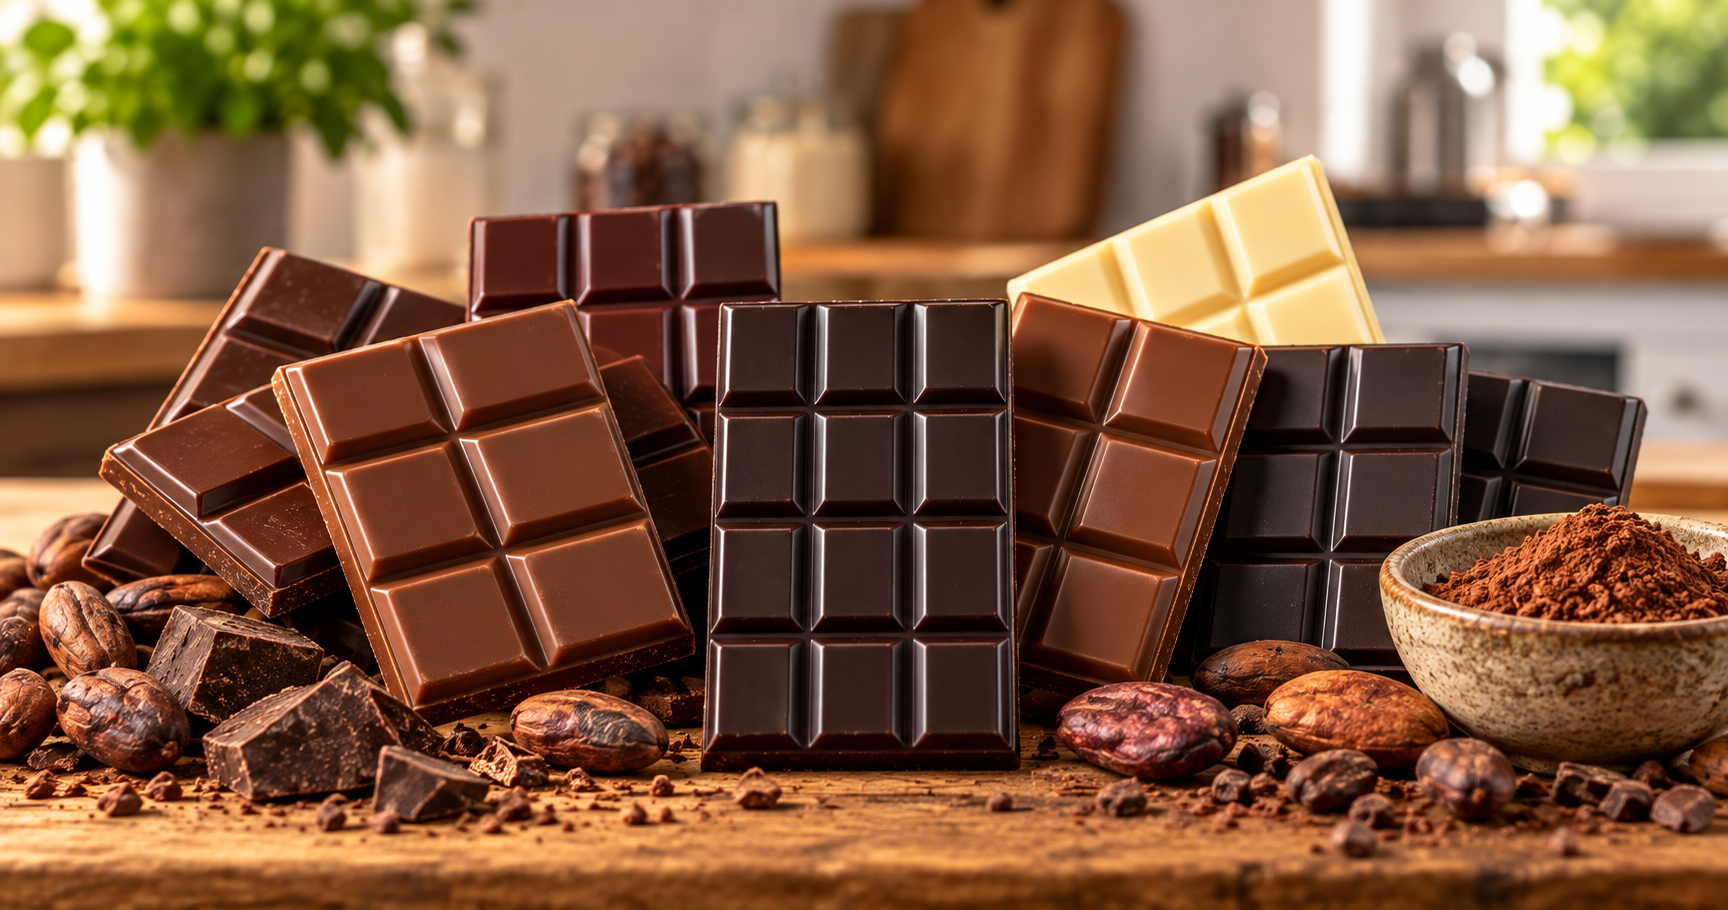
Milk, dark and white chocolate differ in composition, flavour and working behaviour. Cocoa butter contributes to chocolate’s texture, but the percentage of cocoa alone does not tell you everything about how fluid a product will be when melted.
Choose for the recipe and read the manufacturer’s instructions. A product intended for a particular coating or moulding job may handle differently from an eating chocolate, and different products should not automatically share one temperature or preparation method.
Keeping the ingredients and tools organised is useful with any variety. It lets you focus on the chocolate’s condition instead of managing unnecessary clutter.
Assembling filled chocolates neatly

Start with a complete filled-chocolate recipe that gives quantities, the filling method and storage instructions. Fruit creams, ganache, caramel and nut fillings behave differently; choosing a flavour is only the first step.
- Prepare the filling. Follow the recipe and let it reach the specified consistency and working temperature.
- Prepare the chocolate. Melt and temper it where required, following the product instructions.
- Form the shells. Coat the mould cavities as directed and allow the shells to set before filling them.
- Add filling carefully. A piping bag can help you control the amount. Leave the space needed for a chocolate seal and keep the mould surface tidy.
- Seal the chocolates. Cover the filling with the required layer of prepared chocolate and level the surface.
- Allow to set fully. Follow the recipe and mould guidance before releasing the pieces.
- Present and store appropriately. Use food-safe cases or wrapping, with decorative packaging outside the food-contact layer. Follow the storage needs of the filling.
Working over a tray and keeping a spatula rest nearby can make each stage easier to contain.
Leave room to enjoy the process
A clear workspace and a few well-chosen tools make chocolate projects easier to manage. Explore more ideas at Receitas da Bella.
Frequently asked questions
How can I make less mess when melting chocolate?
Use a suitably sized bowl, heat gently, stir with a spatula and keep a utensil rest and drip-catching tray nearby. Set out everything before you start.
What is the best way to temper chocolate?
Choose a method appropriate to your chocolate and follow the manufacturer’s complete guidance. Seeding is one option, but the process and temperatures must suit the product.
What can I use for filled chocolates?
Ganache, fruit preparations, caramel and nut fillings are possibilities. Use a complete recipe with quantities and storage guidance for the filling you choose.
Where can I find chocolate recipe ideas?
Explore the cooking and chocolate guides at Receitas da Bella, choosing a complete recipe for the project you want to make.
How should I store homemade chocolates?
Follow the recipe and product instructions. Plain chocolate and chocolates with perishable fillings do not necessarily have the same storage requirements.
Can I use an ordinary chocolate bar for moulding?
It depends on the product and recipe. Check whether the chocolate is suitable and how it should be tempered. Couverture and other coatings are not interchangeable products, and neither name alone establishes greater resistance to heat.