
Choosing food-safe sheets
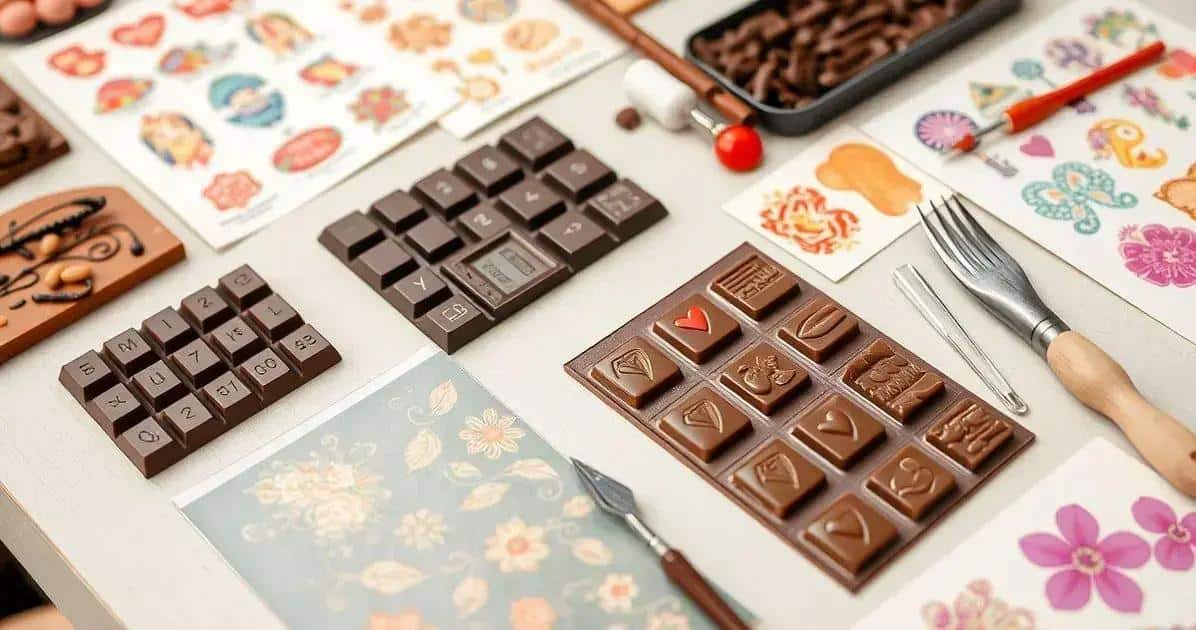
Buy transfer sheets made specifically for food and check that the printed side contains cocoa-butter colour. Cut them with clean dry scissors.
Preparing the chocolate
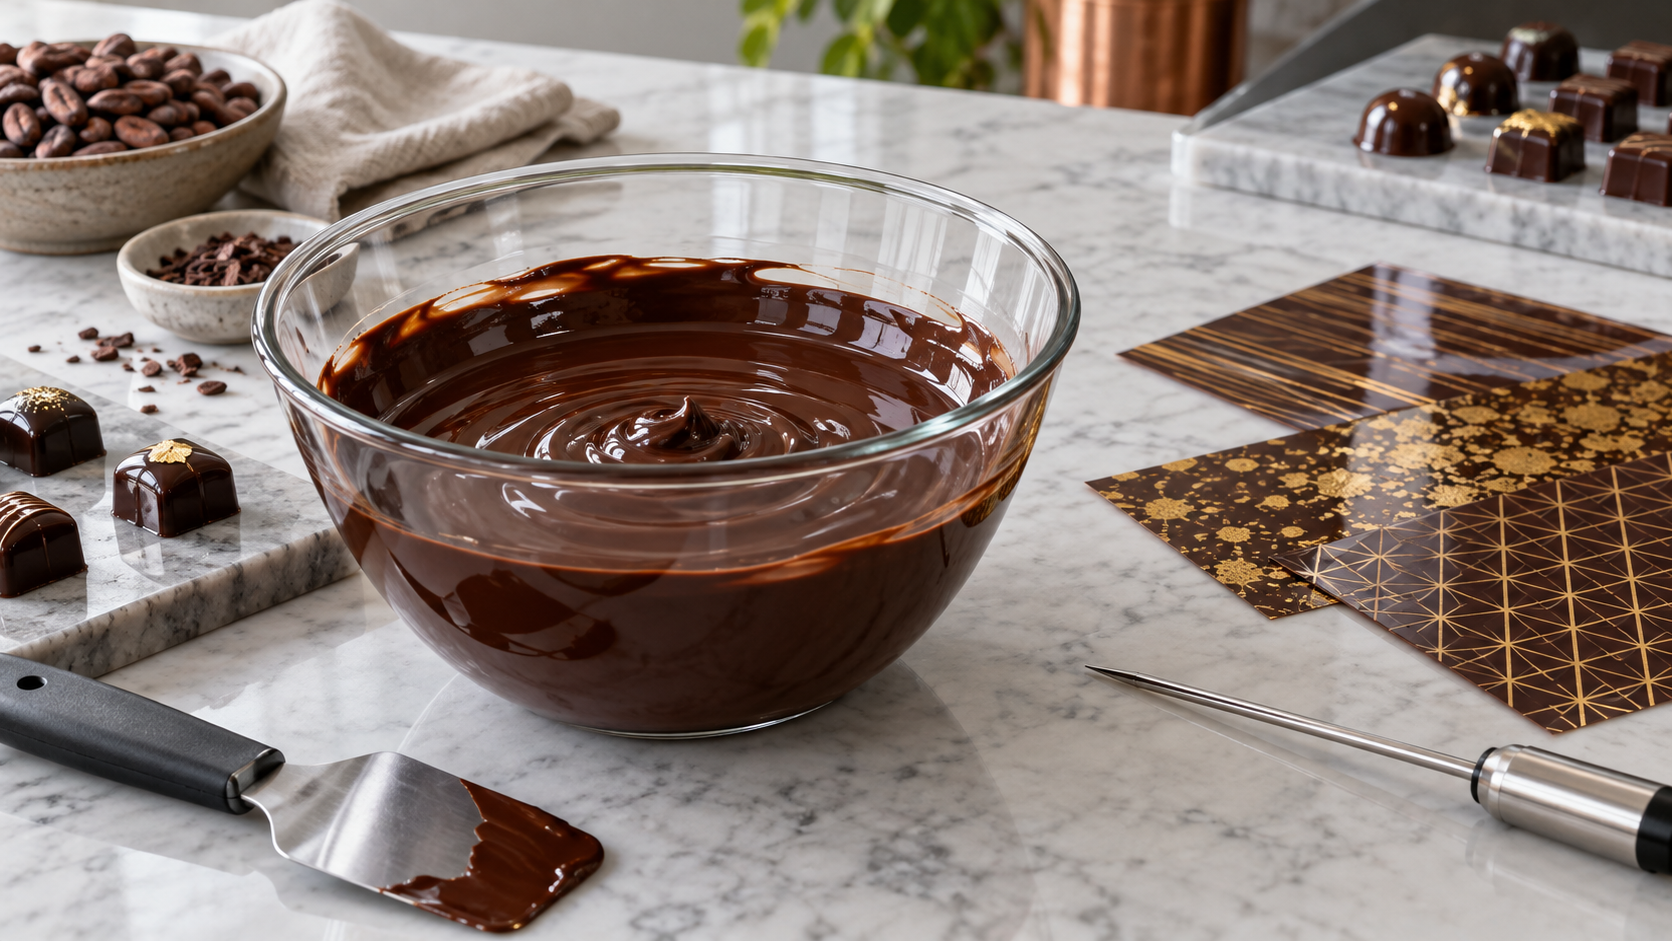
Temper couverture chocolate for a glossy, stable result. Place the sheet printed-side up on a level work surface.
Spreading an even layer

Spread a thin even layer of tempered chocolate across the printed side with a palette knife. Avoid repeated passes once it starts to set.
Cutting shapes
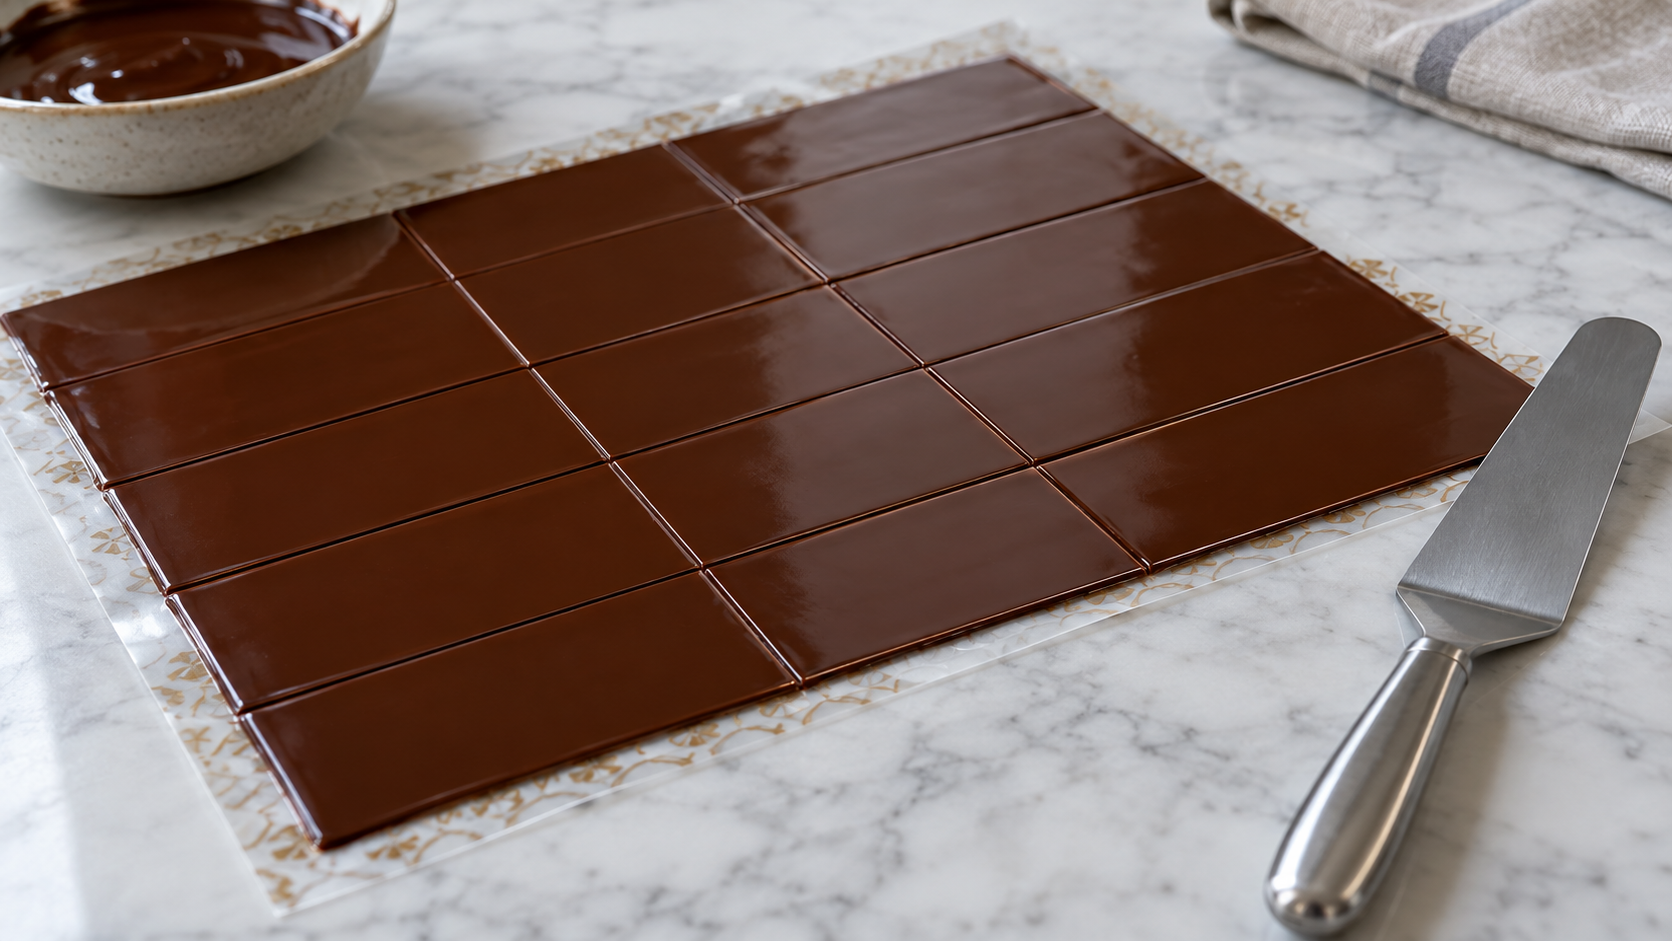
When the chocolate is set enough to hold a line but still flexible, mark rectangles or other simple shapes. Let it crystallise fully before separating them.
Applying to moulded chocolates
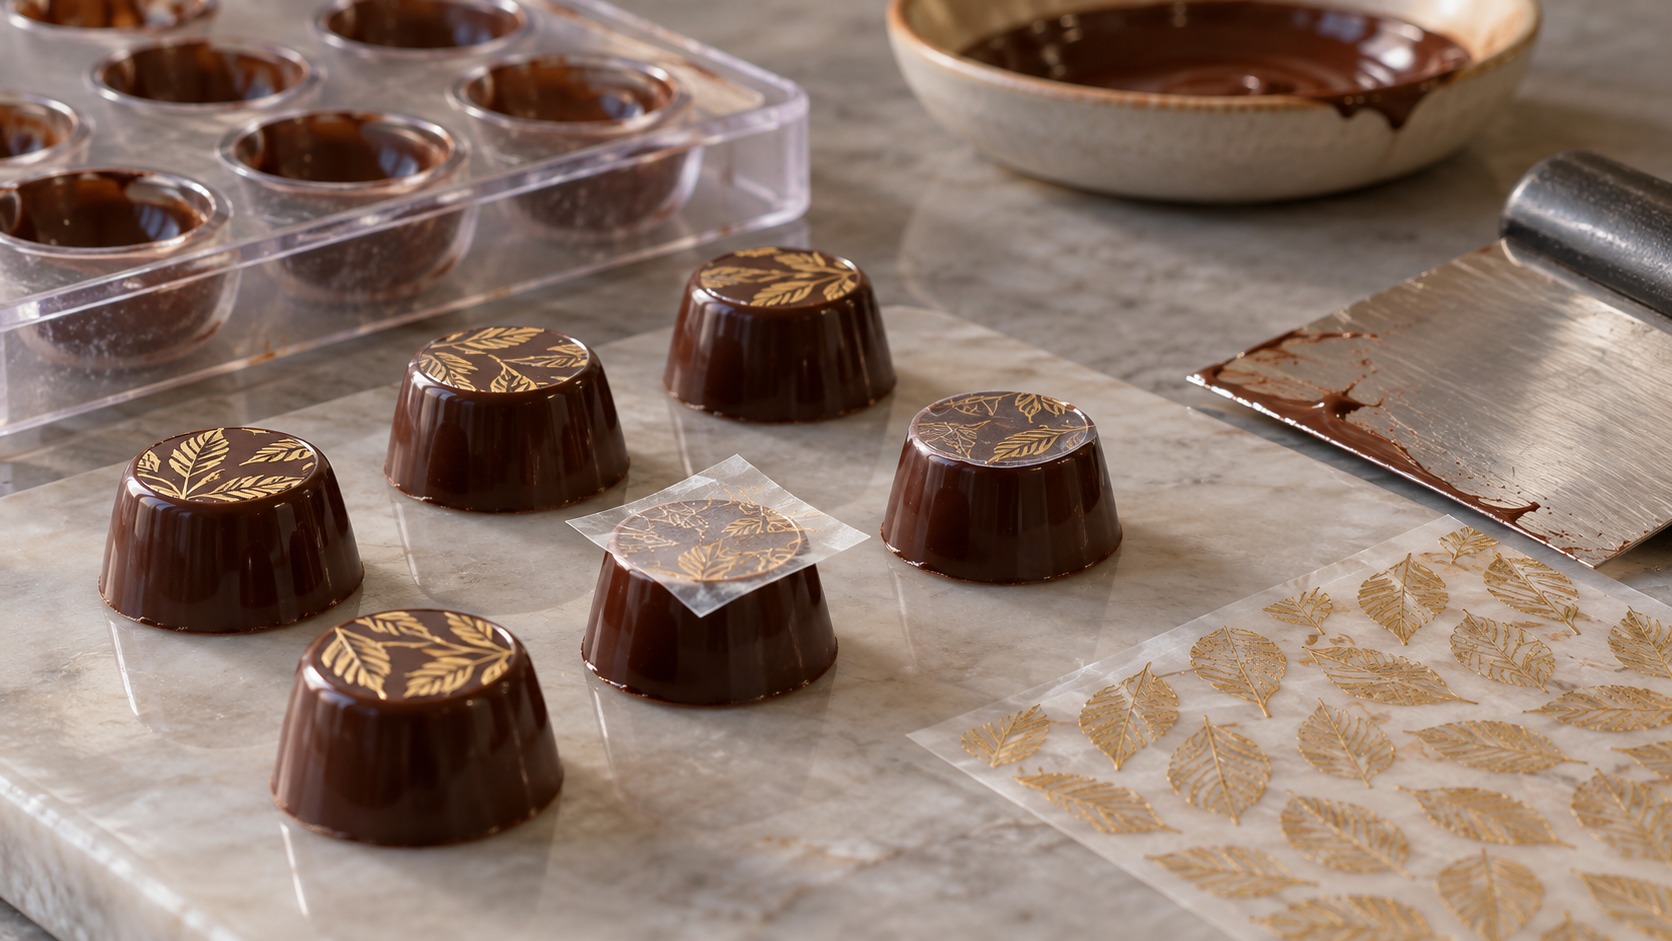
For flat-topped moulded chocolates, press a small cut sheet printed-side down onto the wet tempered base and smooth it gently.
Releasing the design
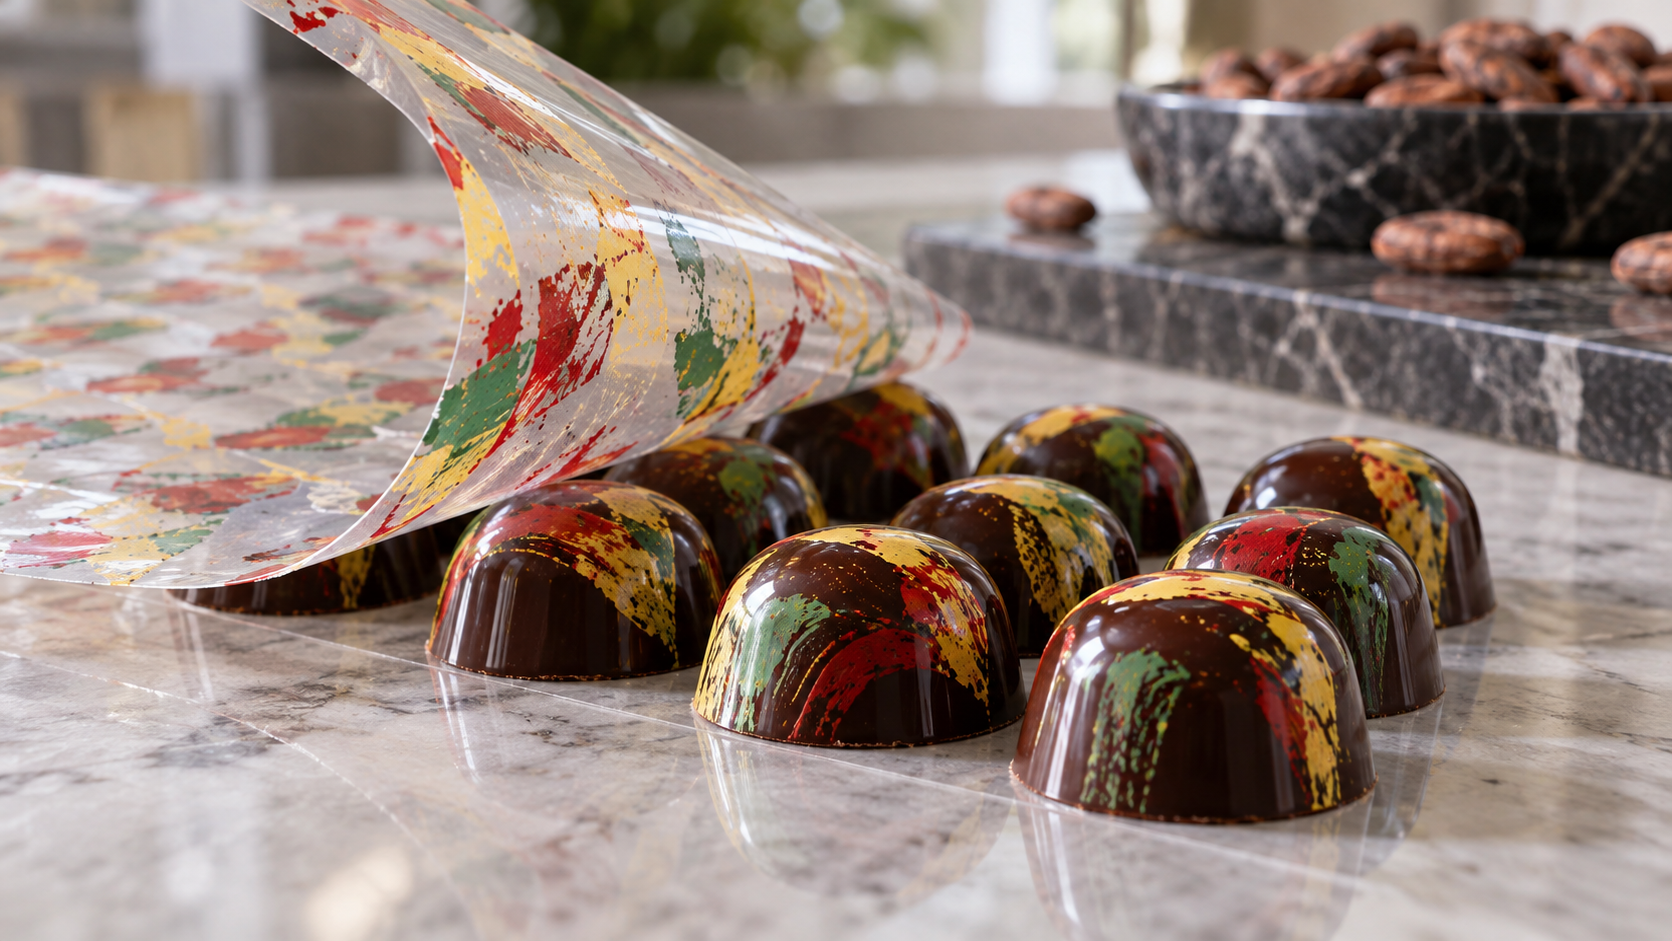
Peel the plastic away only after the chocolate is completely firm. The cocoa-butter pattern should remain on the surface.
Storage

Keep unused sheets sealed, flat, cool and dry. Store finished decorations away from moisture and strong light.
Frequently asked questions
Can it be prepared ahead?
Yes. Prepare stable components ahead and follow the storage guidance in the method.
Can I use another chocolate?
Yes, but cocoa percentage changes sweetness and firmness, so test a small amount first.
How should it be stored?
Keep plain chocolate cool and dry, and refrigerate items containing fresh cream or other perishable fillings.
Can I reduce the sugar?
A modest reduction may work, although sugar also affects moisture, texture and structure.
Which allergens should I check?
Check labels for milk, eggs, gluten, soya, nuts and all allergens relevant to the recipe or decorations.
What gives the best result?
Measure accurately, control temperature and use the visual texture cues in each step.