
Decorated chocolate plaques add a personal finish to cakes, desserts and celebrations. Use simple shapes, piped messages and edible toppings to match the occasion.
A small chocolate plaque can carry a birthday message, add height to a cake or bring a contrasting texture to a dessert. Preparing the chocolate carefully gives you a useful base for experimenting with colours and patterns.
Ingredients and equipment for chocolate plaques
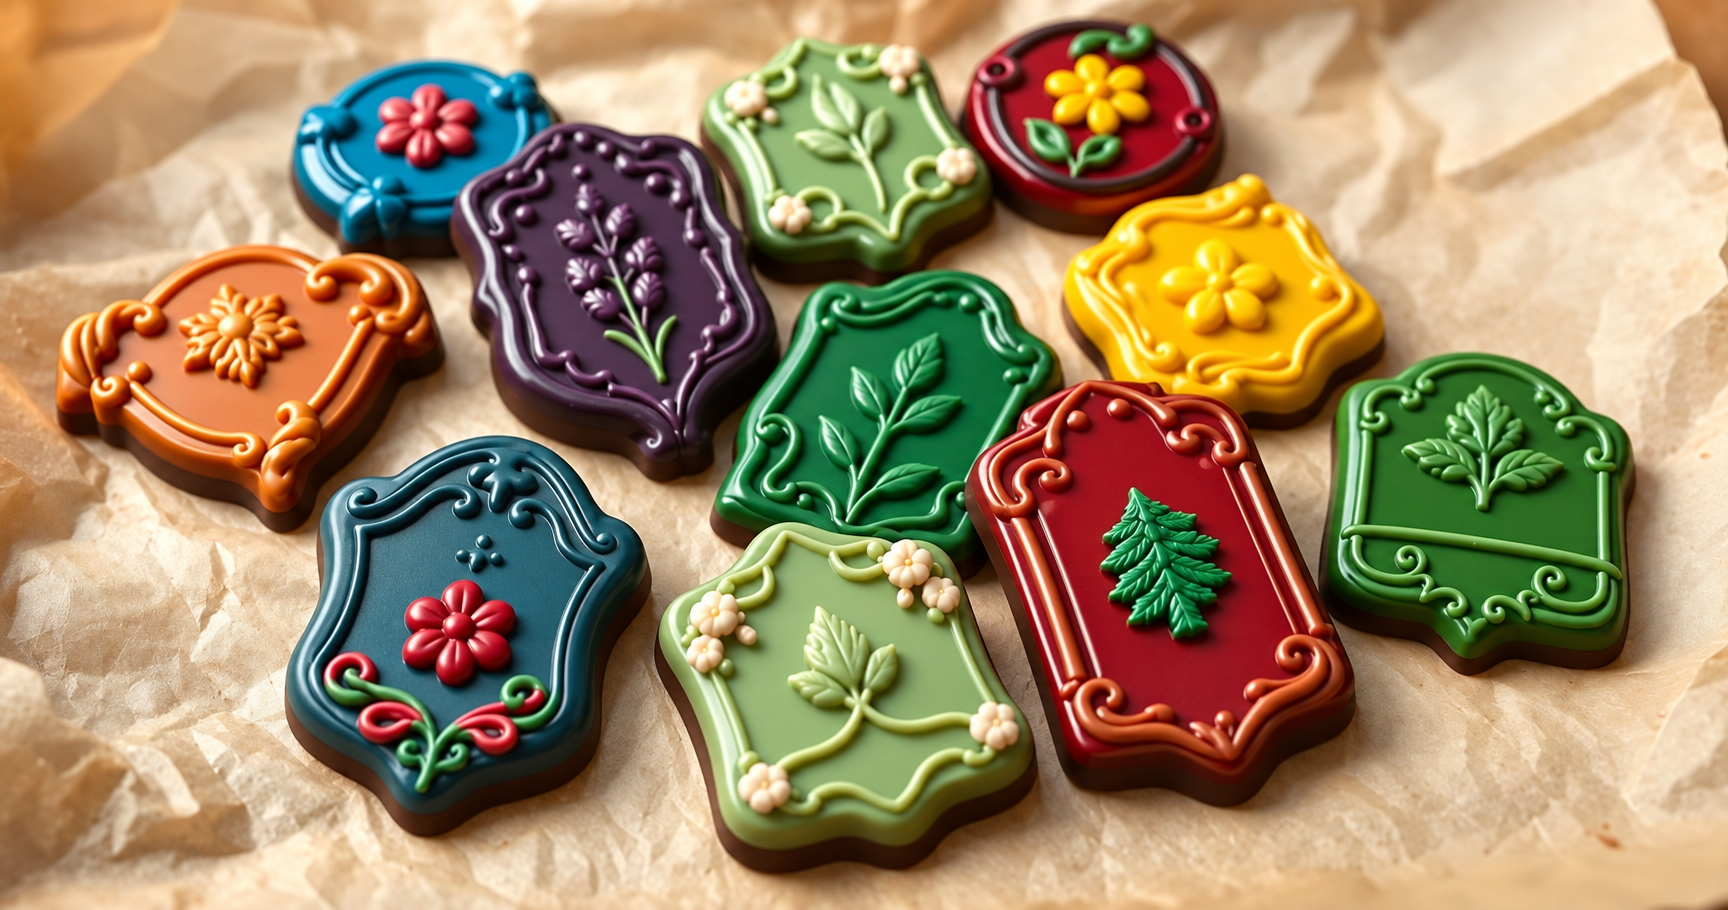
- 300 g milk, dark or white chocolate, according to your preference and the decoration you want to make.
- Food colouring suitable for chocolate, if you want coloured details.
- Icing sugar for an optional dusting.
- Optional vanilla flavouring suitable for chocolate, used according to its instructions.
- Baking parchment for the work surface.
You will also need a clean, dry heatproof bowl, a spatula, a piping bag and, if you want uniform shapes, a food-safe chocolate plaque mould.
Preparing the chocolate and forming plaques
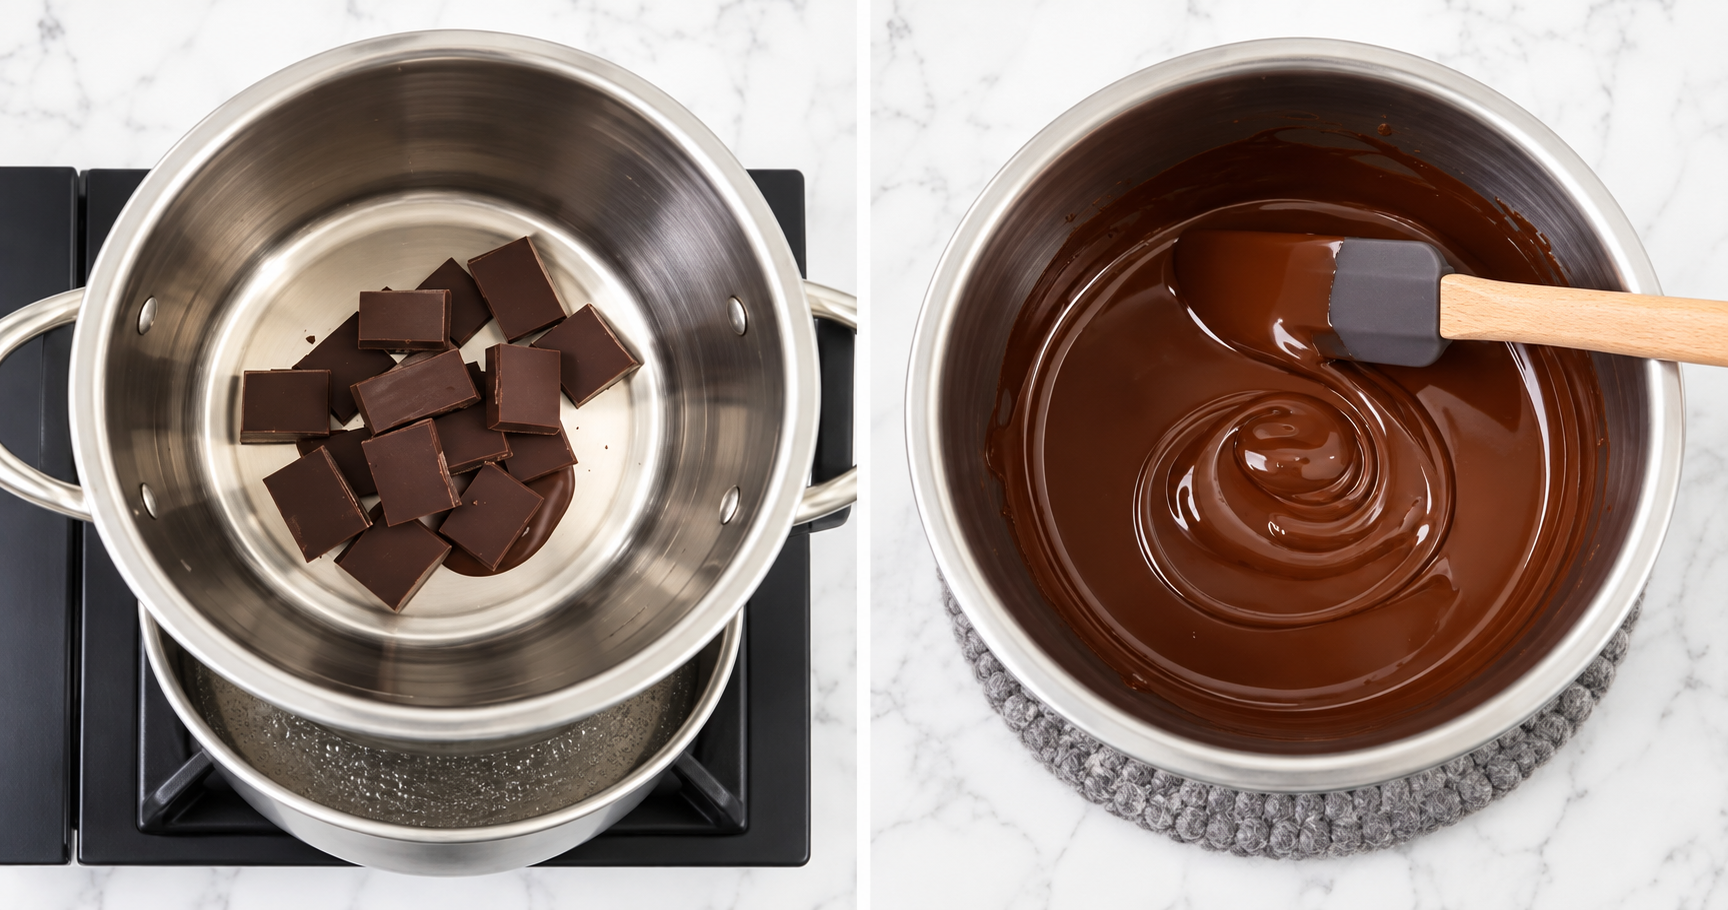
Melt gently
Put chopped chocolate into the heatproof bowl and sit it securely over a pan of gently heated water. The bowl should not touch the water. Stir frequently and keep water and steam out of the chocolate. Remove the bowl from the heat when the last small pieces can melt with stirring.
Follow the correct tempering method
A thermometer helps you follow the chocolate manufacturer’s temperature curve. Melting and working temperatures are different stages, and vary with the product. For firm, glossy plaques, use the specified tempering method before shaping. See Callebaut’s guide to tempering chocolate for an explanation of the process.
Stir to obtain an even mixture, but do not assume that every lump can be fixed by more stirring. Scorching or accidental contact with water can make chocolate unsuitable for smooth plaques.
Shape and set
Use the prepared chocolate in a clean, dry plaque mould, or spread it into the intended flat shapes on baking parchment. Keep the thickness reasonably even and allow the chocolate to set fully before releasing the pieces. Handle them gently so the edges remain intact.
Decorating the plaques
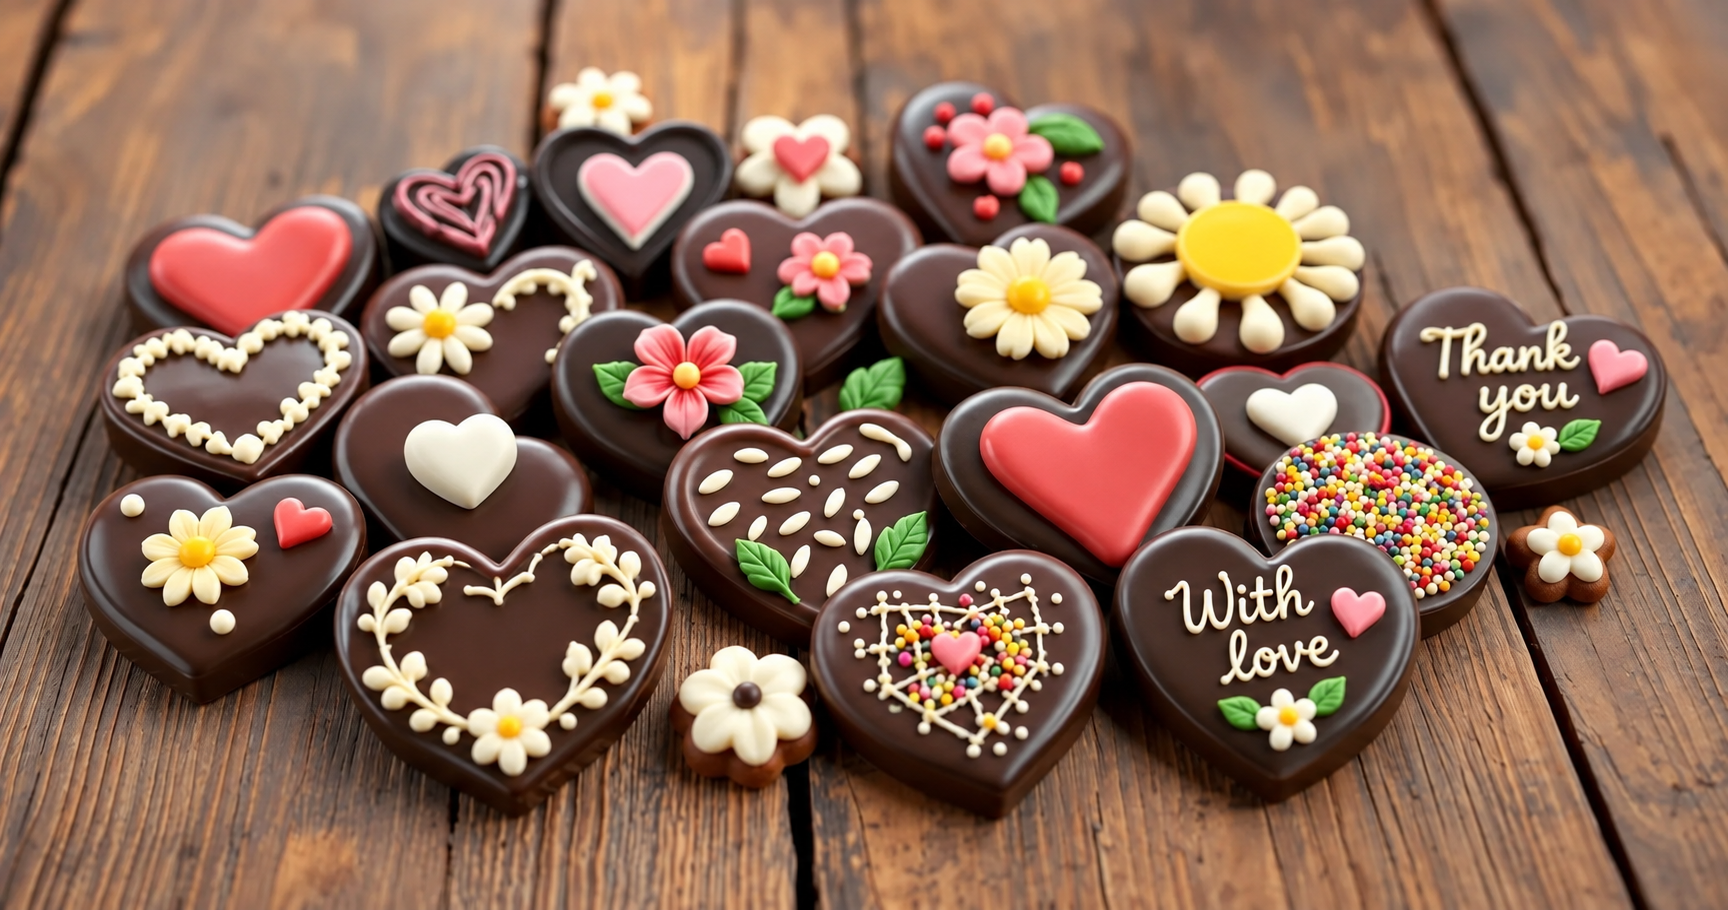
- Hearts and flowers: pipe simple shapes with contrasting chocolate or arrange edible decorations on the surface.
- Dried fruit: small pieces of apricot or cranberry add a chewy contrast.
- Sprinkles: colourful or chocolate sprinkles give a playful finish. Apply them while the surface or decorative chocolate is still soft.
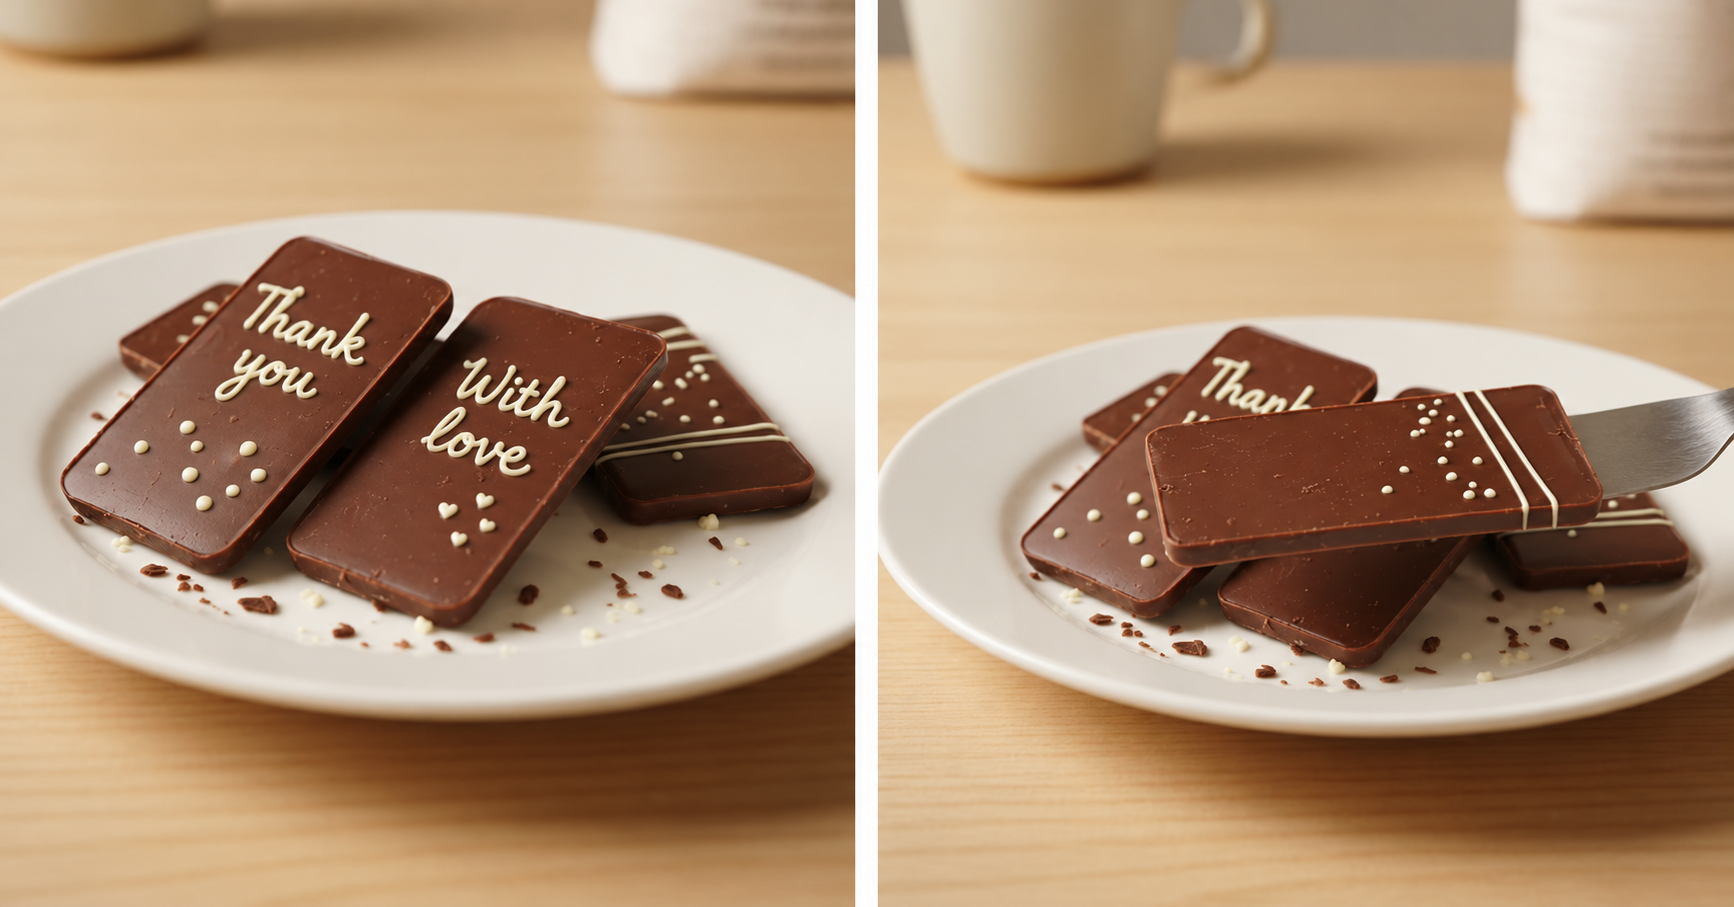
- Coloured details: use colouring specifically intended for chocolate, following the product instructions. White chocolate provides a pale base for coloured stripes, dots or messages.
- Icing sugar: lightly dust a set plaque for a snowy appearance.
Plan how the plaque will sit on the dessert before decorating it. A broad flat piece suits a short message, while a smaller shape can finish an individual serving.
Dessert ideas using decorated chocolate
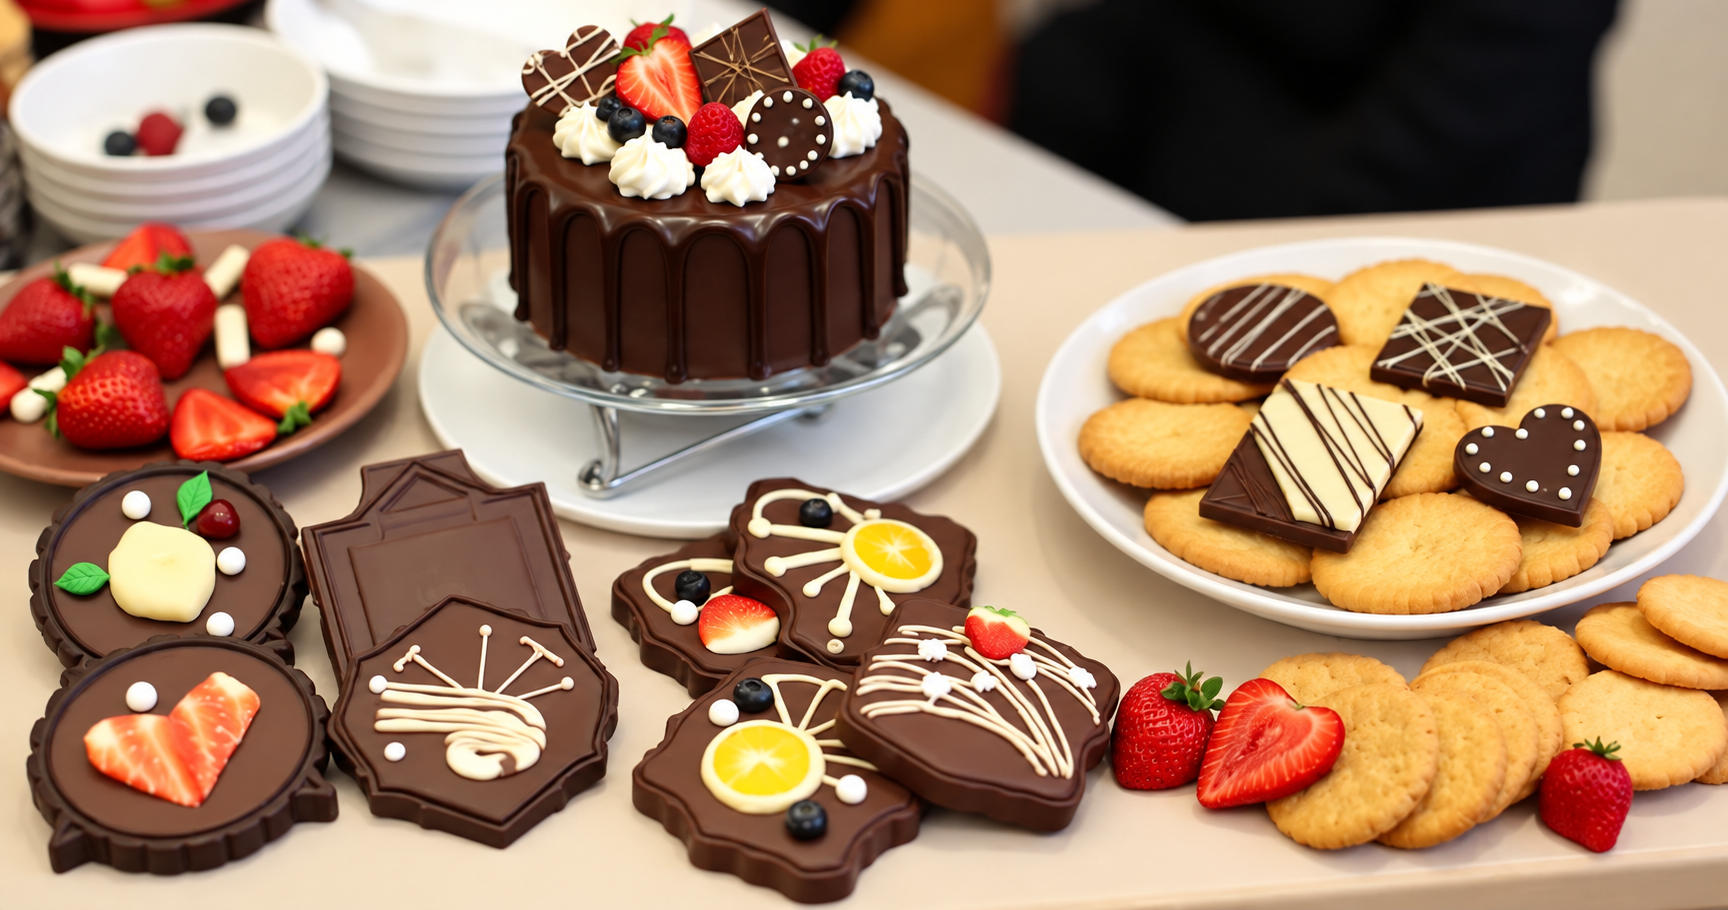
Chocolate cake
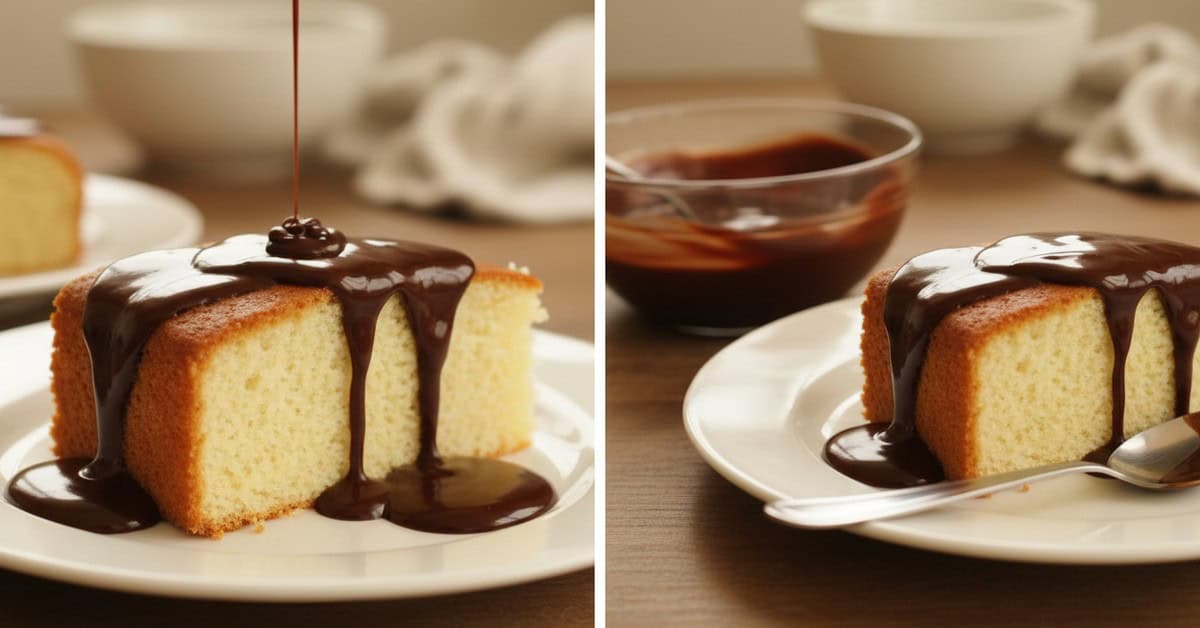
Use plaques on top or around the sides of a finished cake, supporting them securely. Their shapes can echo the occasion or contrast with the cake’s surface.
Cookies
Add a small decorated piece to a baked, cooled cookie if you want the design to stay visible. Baking a finished chocolate plaque with the cookie will melt and distort the decoration.
Chocolate-covered fruit
Bananas, strawberries or apples can be dipped in chocolate and finished with small decorative pieces before the coating sets. Prepare and store the fruit dessert according to its own recipe.
Truffles
Small pieces of decorated chocolate can give the outside of a truffle a different texture. Use a complete truffle recipe for the centre and its storage requirements.
Fondue
Arrange a few plaques alongside fruit and biscuits when serving chocolate fondue. Treat them as a decorative accompaniment; they will lose their shape if dipped into warm chocolate.
Ways to personalise your plaques
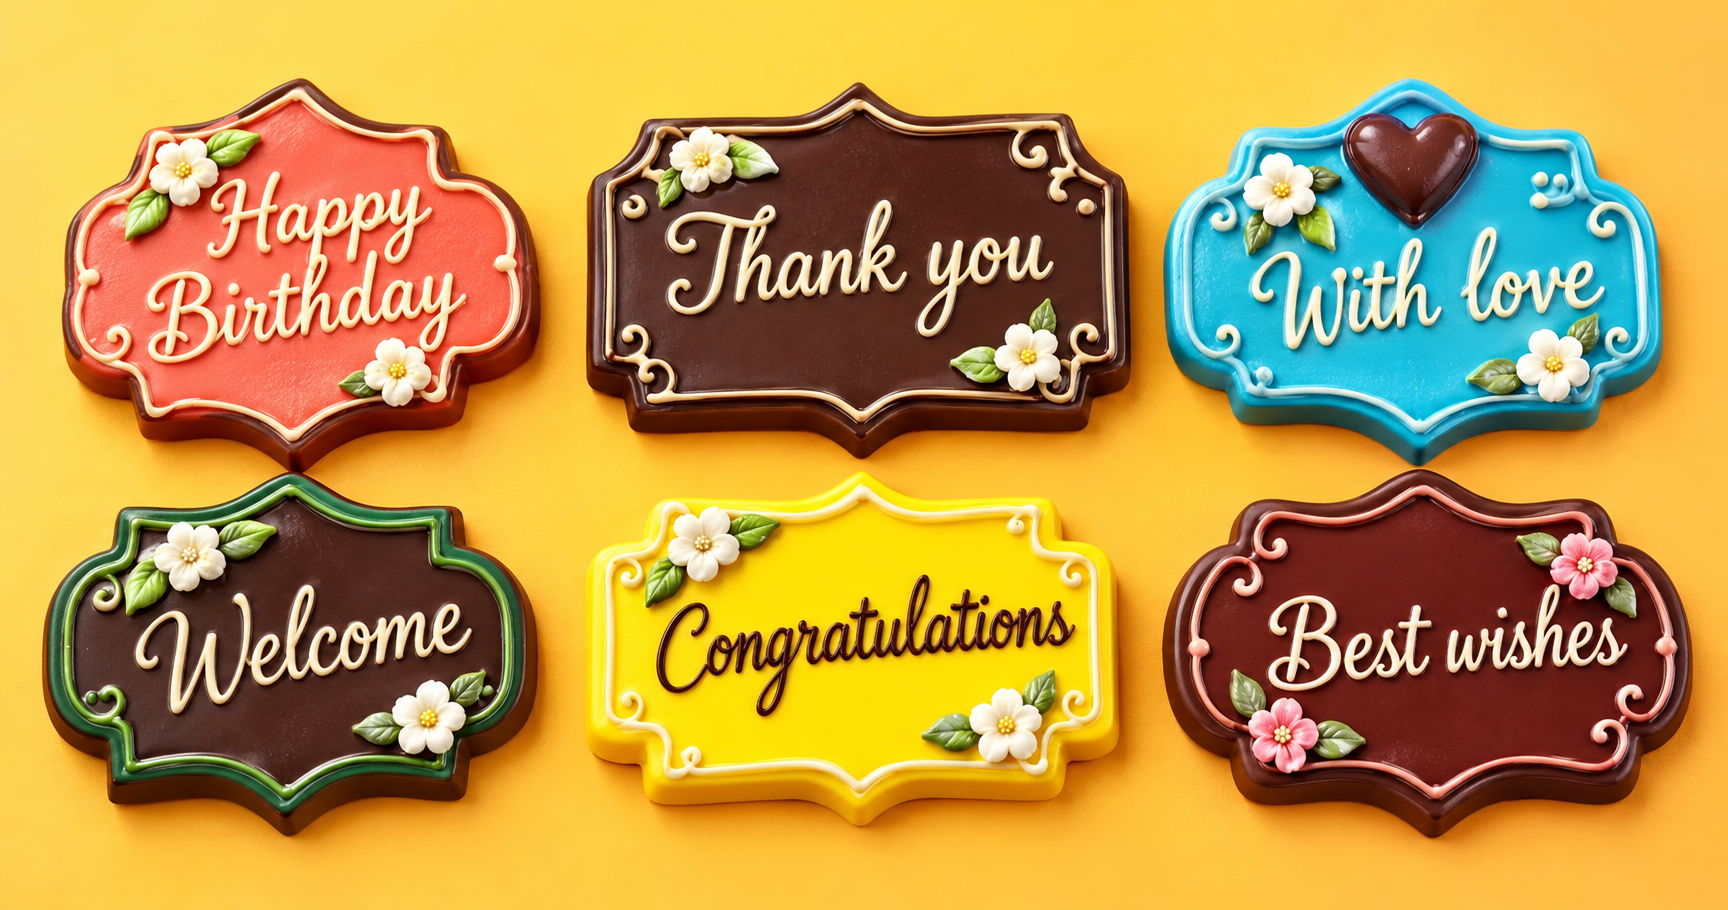
Choose a theme before selecting colours and details. A birthday, wedding or seasonal celebration can guide a simple palette and message.
Chocolate moulds are useful for repeatable shapes. If using a cutter on a sheet of chocolate, work while it is set enough to hold its shape but not so hard that it fractures. Keep the cutter clean, dry and suitable for food.
Pipe a short message such as “Happy Birthday!” or a name with contrasting chocolate. Keep the lettering large enough to read and practise it on parchment first.
For sparkle, use only a product explicitly labelled edible and intended for decorating food. Craft glitter is not a substitute. Follow the directions for any edible dust or food spray you use.
Combine milk and white chocolate for colour contrast, or add dried fruit and chopped nuts for different textures. Check the ingredients against the needs of the people who will eat the dessert.
Chocolate as a decorating material
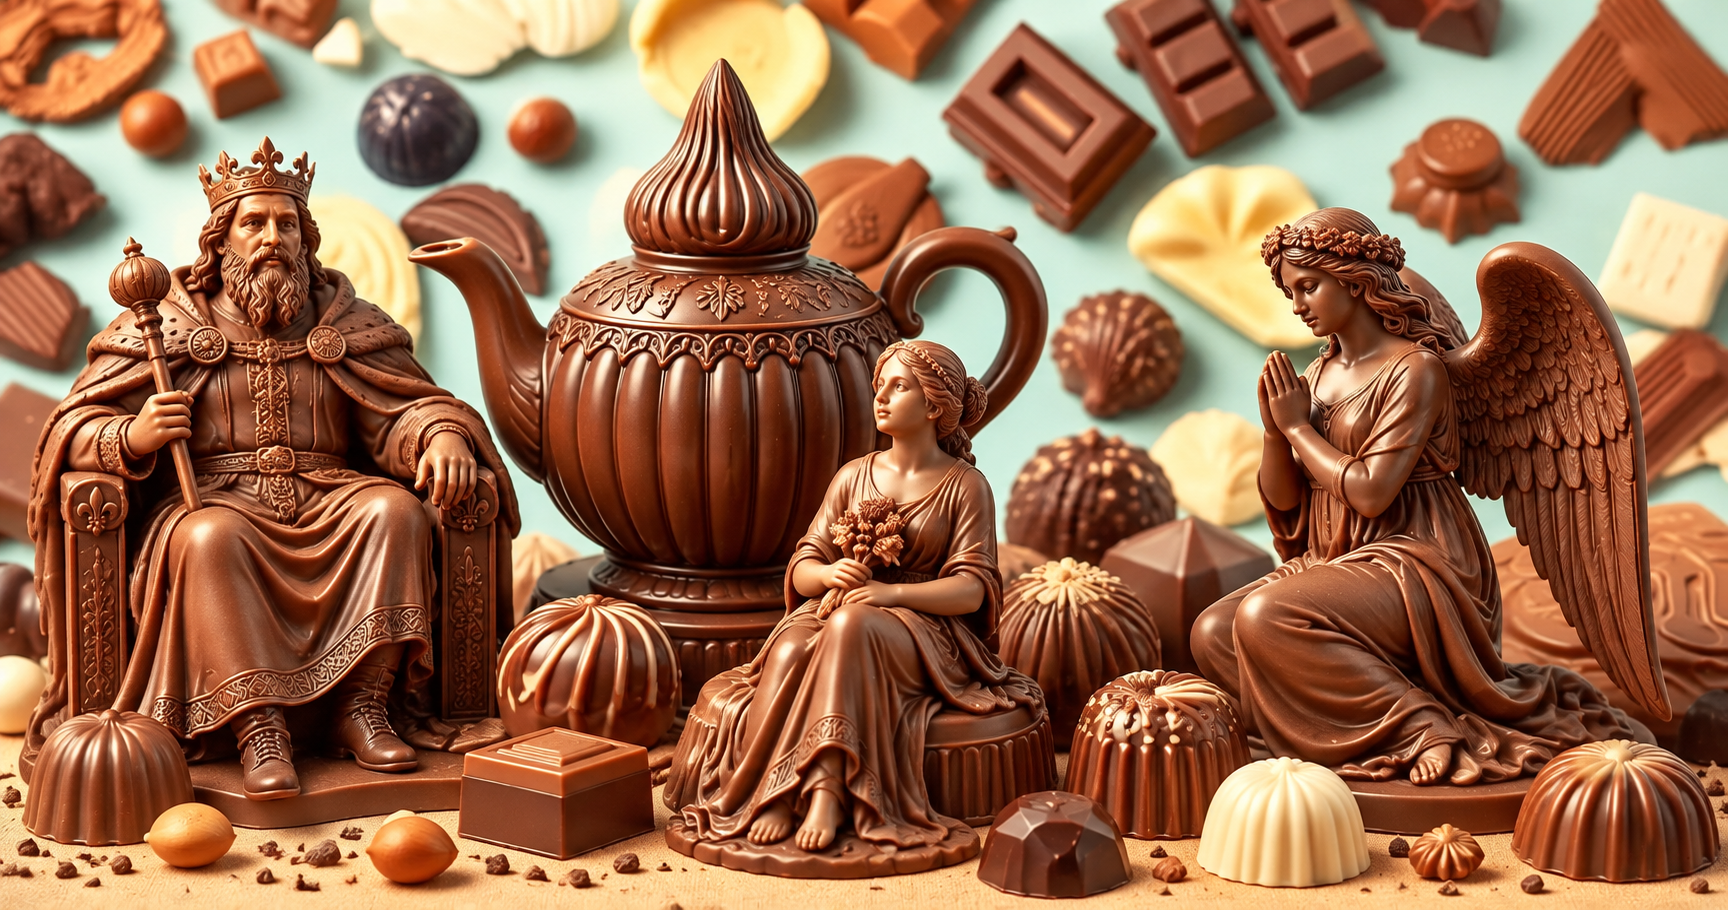
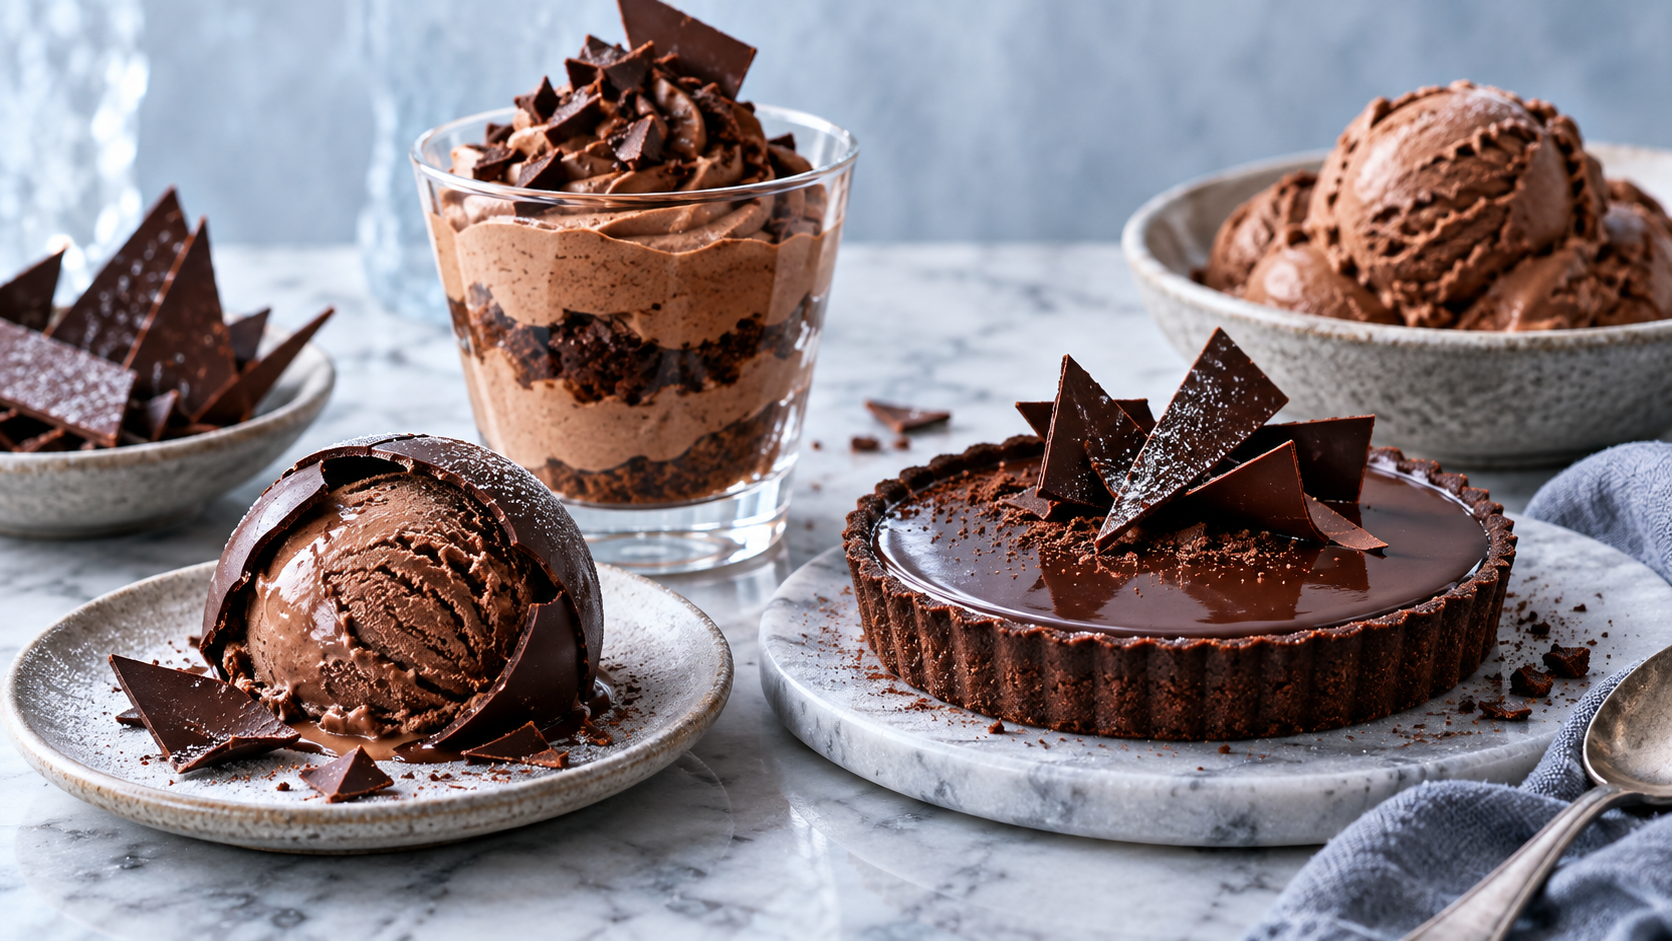
Pastry chefs use chocolate for everything from small cake decorations to elaborate sculptures. Dark, milk, white and ruby chocolates bring different colours and flavours, giving you several starting points for a design.
Tempering helps chocolate develop a firm, glossy finish. It is part of the preparation, while suitable storage helps protect the finished decoration. A well-made plaque still needs to be kept away from conditions that will soften or damage it.
Chocolate appears in celebrations, stories and festivals, but a personal decoration does not need to be elaborate. A neatly piped name or a few contrasting lines can make a dessert feel made for the occasion.
Try your own design
Start with a small, simple plaque and experiment with the finish. Visit Receitas da Bella for more chocolate recipes and decorating ideas.
Frequently asked questions
What do I need to make decorated chocolate plaques?
The basic preparation uses 300 g of suitable milk, dark or white chocolate, baking parchment or plaque moulds, and your chosen edible decorations. Optional extras include chocolate-compatible colouring and icing sugar.
How should I prepare the chocolate?
Melt it gently with dry equipment, then follow the manufacturer’s tempering instructions for firm decorations. Use a thermometer where the method requires temperature control.
How can I decorate the plaques?
Pipe messages or patterns with contrasting chocolate, or add edible sprinkles and dried fruit. Use colouring specifically suitable for chocolate.
Can I use plaques in other desserts?
Yes. They can decorate finished cakes, cooled cookies, fruit desserts or truffles, or be served alongside fondue. Keep finished designs away from heat if you want them to retain their shape.
How can I make the plaques more personal?
Choose shapes and colours for the occasion, add a name or short message, and use toppings that suit the recipient’s preferences and dietary needs.
Where can I find more chocolate ideas?
Explore Receitas da Bella for more recipes and kitchen inspiration.