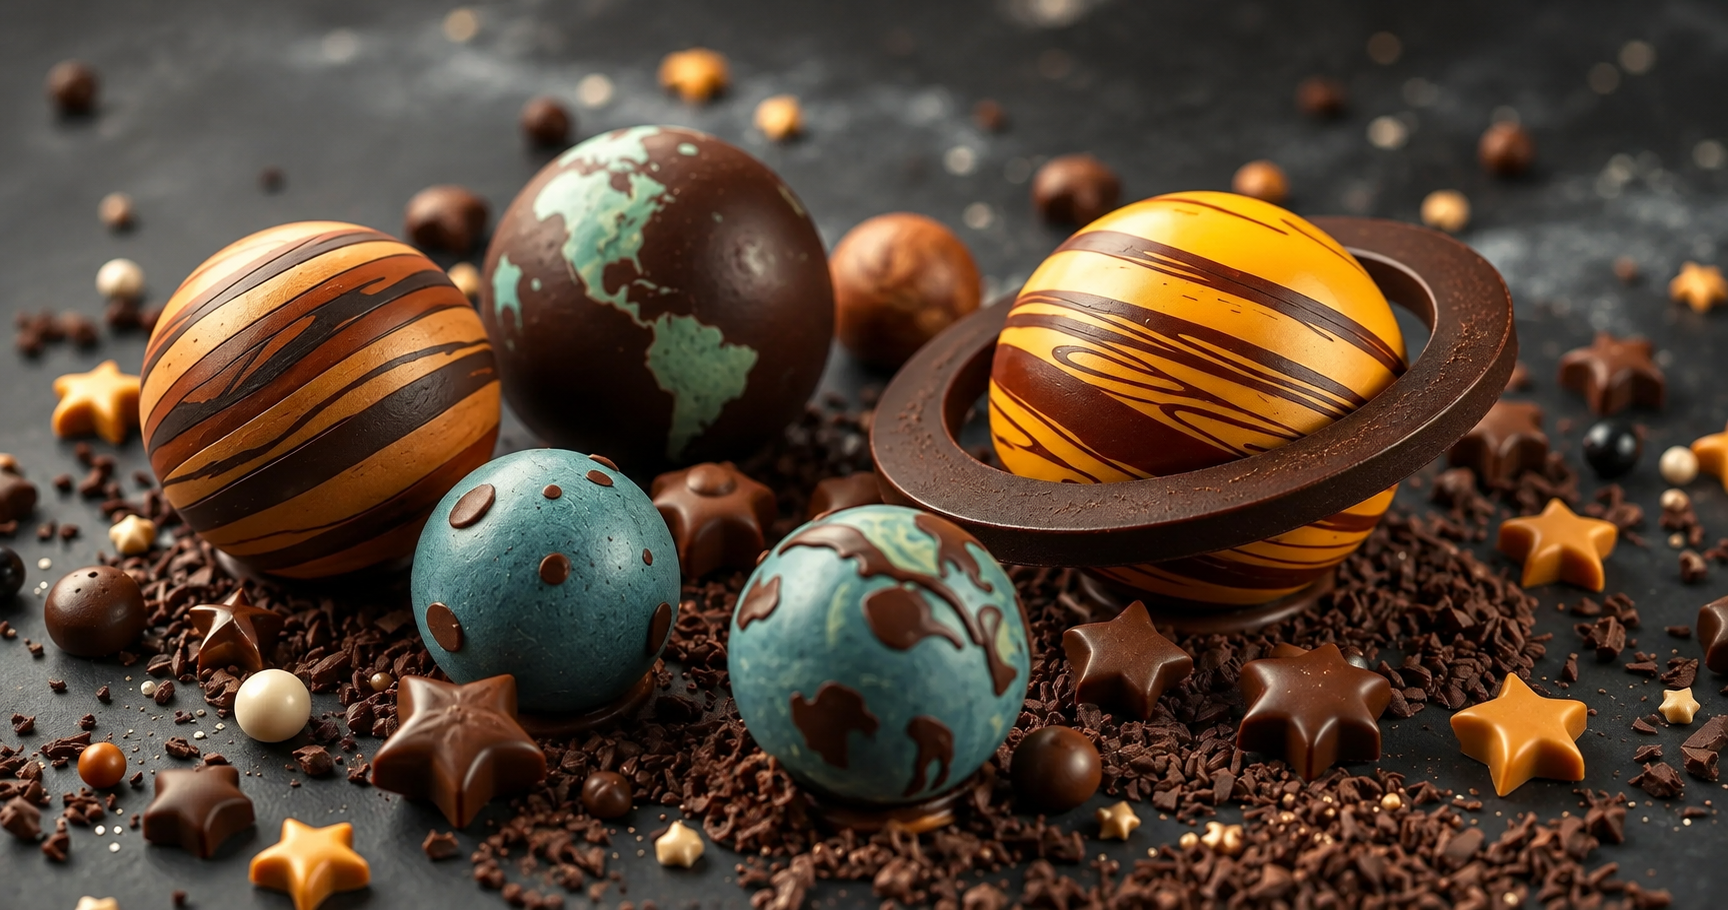

Make planet-shaped chocolates for a space-themed celebration, using milk and white chocolate, suitable moulds and colourful edible details. Finish with stars, thoughtful labels and food-safe wrapping.
A tray of chocolate planets makes a playful centrepiece for a space-themed party. With a few colours and simple piped details, you can turn moulded chocolate into a miniature solar system. These are decorative interpretations: the sizes and colours need not form an accurate scale model.
Ingredients for chocolate planets
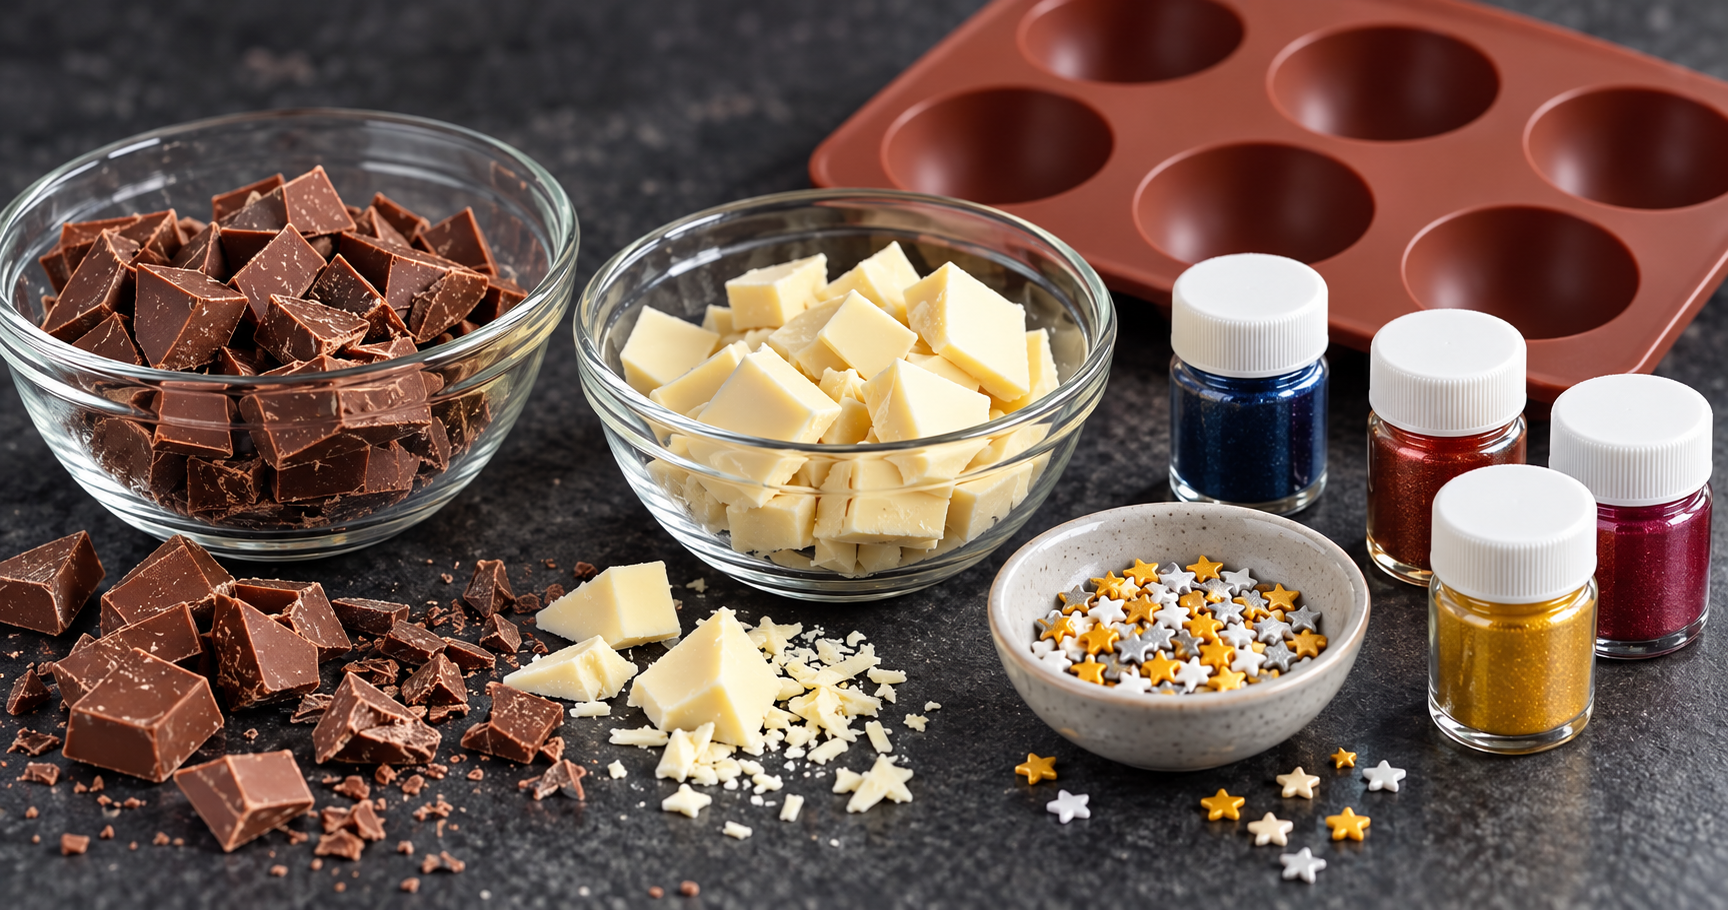
- 500 g milk chocolate, for the main chocolate shapes.
- 200 g white chocolate, for contrasting or coloured details.
- Food colouring specifically suitable for chocolate, in blue, red, yellow and green.
- Food-safe silicone chocolate moulds, with planet shapes or suitable round cavities.
- Sugar pearls or other edible sprinkles, for decoration.
- Optional nuts or dried fruit, suitable for the people who will eat the chocolates.
Choose chocolate suitable for moulding and check the colouring manufacturer’s directions. Ordinary water-based colouring is not interchangeable with colouring formulated for chocolate. Keep utensils and moulds clean and dry.
How to make the chocolate planets
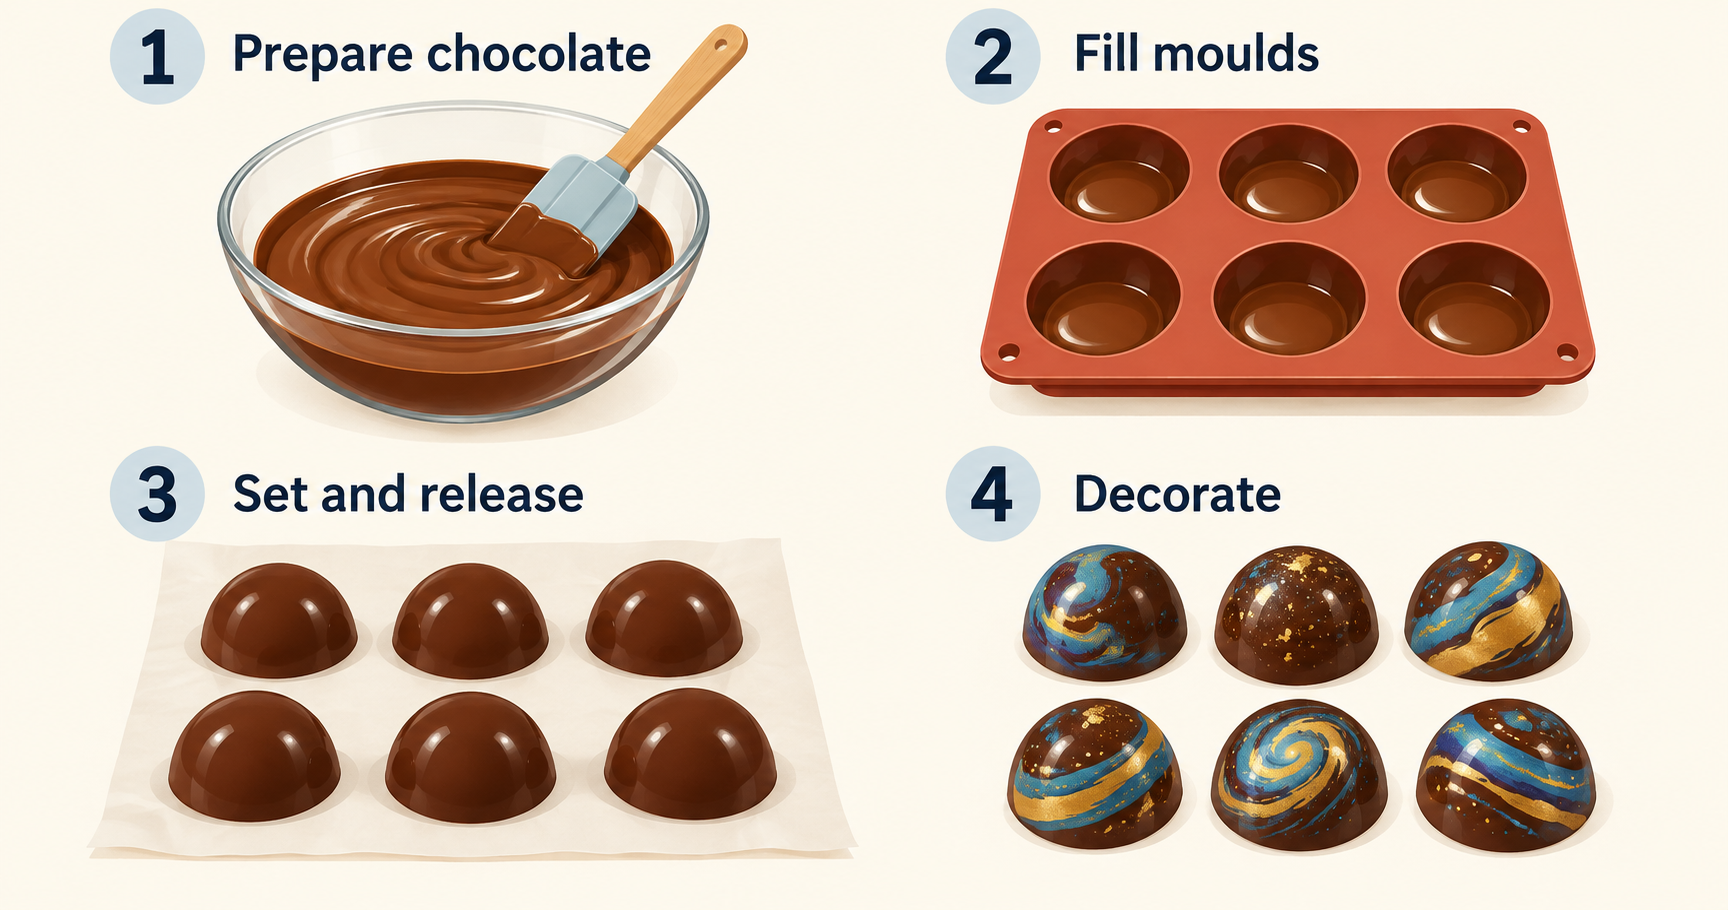
Melt the chocolates separately
Put the milk and white chocolate in separate heatproof bowls. Melt gently over hot water, keeping each bowl’s base clear of the water. Stir as the pieces melt and keep splashes and steam out of the chocolate.
Prepare for moulding
Follow the manufacturer’s tempering instructions for each chocolate. Melting followed by refrigeration alone is not a complete tempering method. Callebaut’s tempering guide explains why this step matters for firm, glossy moulded pieces.
Add colour
Divide some of the white chocolate into portions and colour them according to the colouring’s instructions. Blue, red and green details can suggest different planets. Add the colouring at the stage specified for the products you are using.
Fill the moulds
Spoon or pipe in the prepared chocolate without overflowing the cavities. Tap the mould gently on the worktop to help release trapped air. You can use milk chocolate for the main shape and contrasting white chocolate for decorative areas.
Let the shapes set
Allow around 30 minutes as a planning guide, while following the chocolate’s cooling instructions. The actual time depends on the mould size and conditions. Wait until the chocolate is fully firm before gently releasing it.
Add the finishing details
Use a small piping bag or a clean food-safe decorating tool to add lines, spots and bands of prepared chocolate. A ring motif can suggest Saturn, while bands and a spot can suggest Jupiter. Let these details set before wrapping or serving.
A little planetary inspiration
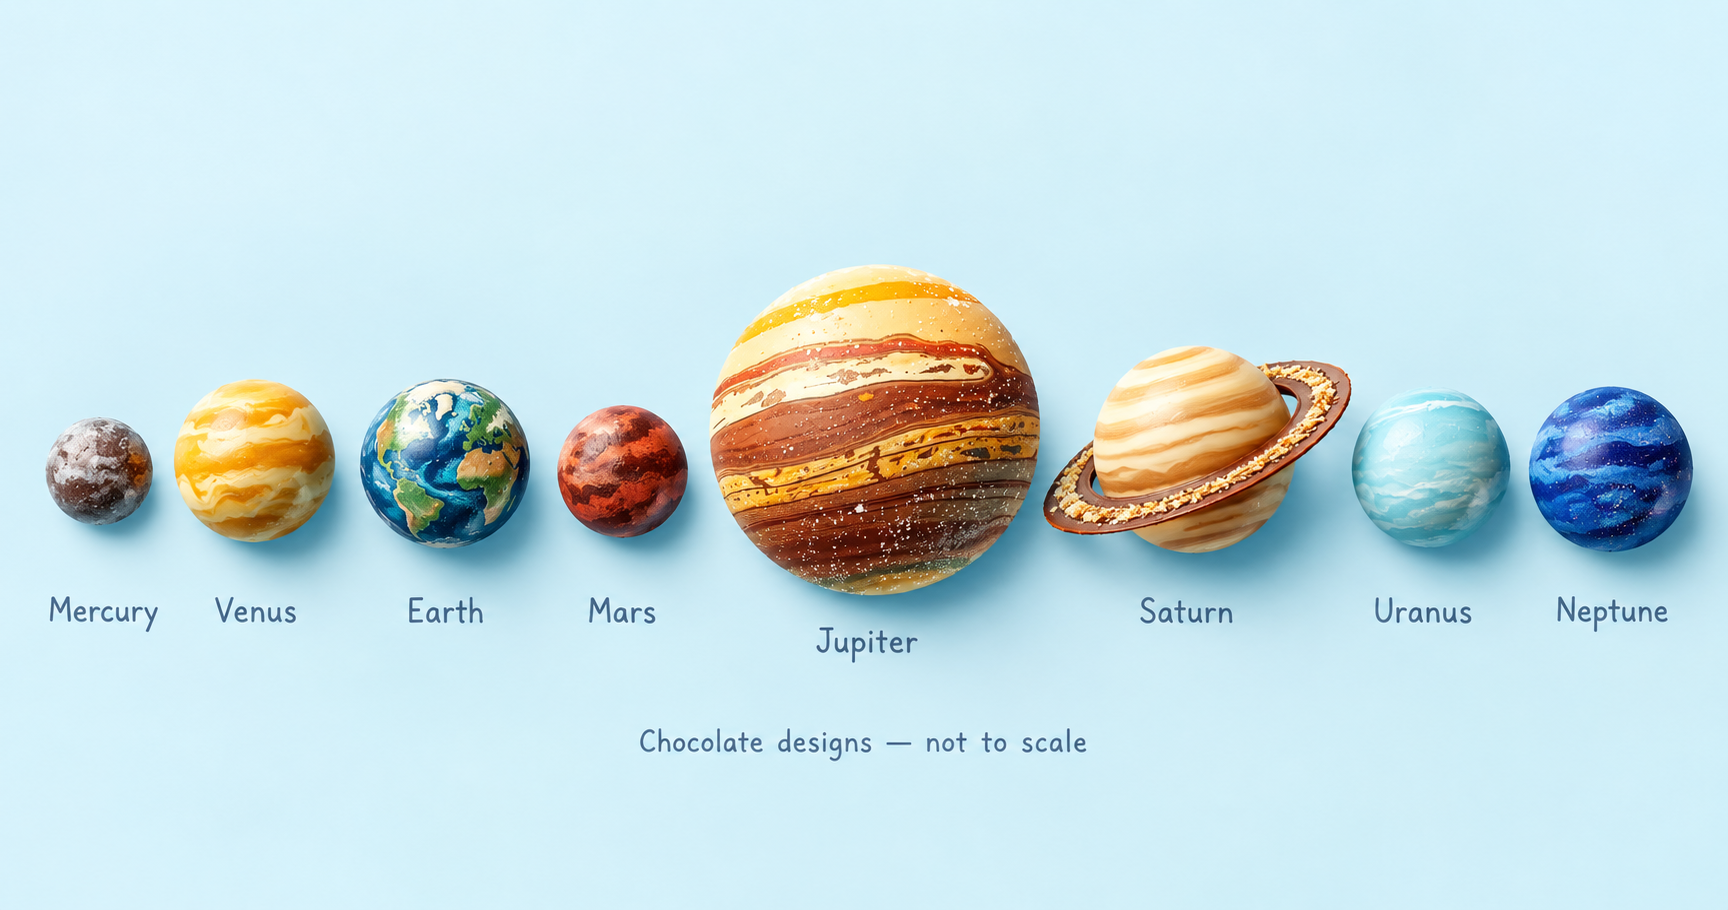
There are eight planets in our solar system: Mercury, Venus, Earth, Mars, Jupiter, Saturn, Uranus and Neptune. Jupiter is the largest. NASA’s planet guide is a useful reference when choosing names and visual details for your display.
Venus is the hottest planet, even though Mercury is closer to the Sun. Its thick atmosphere traps heat. You can find more about this in NASA’s facts about Venus.
For the chocolates, treat the planet colours as inspiration. Blue and green can suggest Earth; reddish tones can suggest Mars. Sugar pearls and edible star sprinkles add a decorative space theme without needing to represent real distances or sizes.
Decorating the chocolates
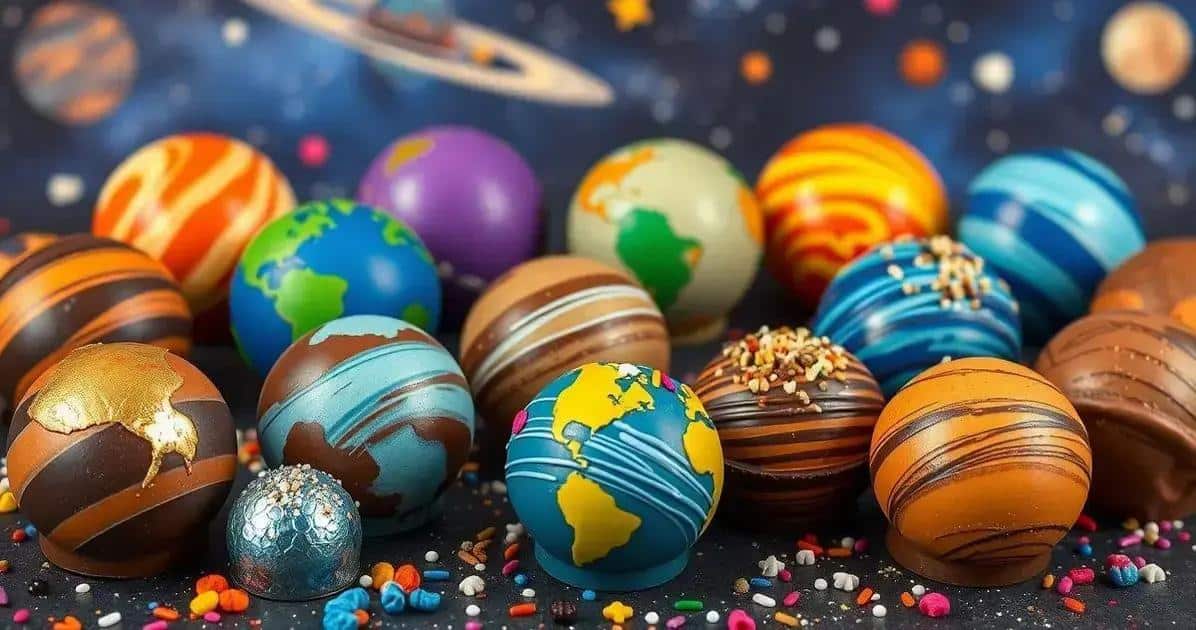
- Use colour thoughtfully. Choose a few chocolate-compatible colours and let each design remain easy to recognise.
- Add sprinkles. Edible pearls or star-shaped sprinkles can decorate the chocolates or a serving arrangement.
- Pipe details. Contrasting chocolate can make rings, bands and cloud-like patterns. Practise a few lines on baking parchment first.
- Use edible metallic decoration only. If you want gold or silver details, choose products explicitly intended to be eaten. Craft foil and craft glitter are not substitutes.
- Coordinate the wrapping. Space-themed boxes or clear food bags let the shapes remain part of the presentation.
- Explore other shapes. Chocolate rockets, stars or astronauts can accompany the planets if you have suitable moulds or decorating skills.
Using space-themed moulds
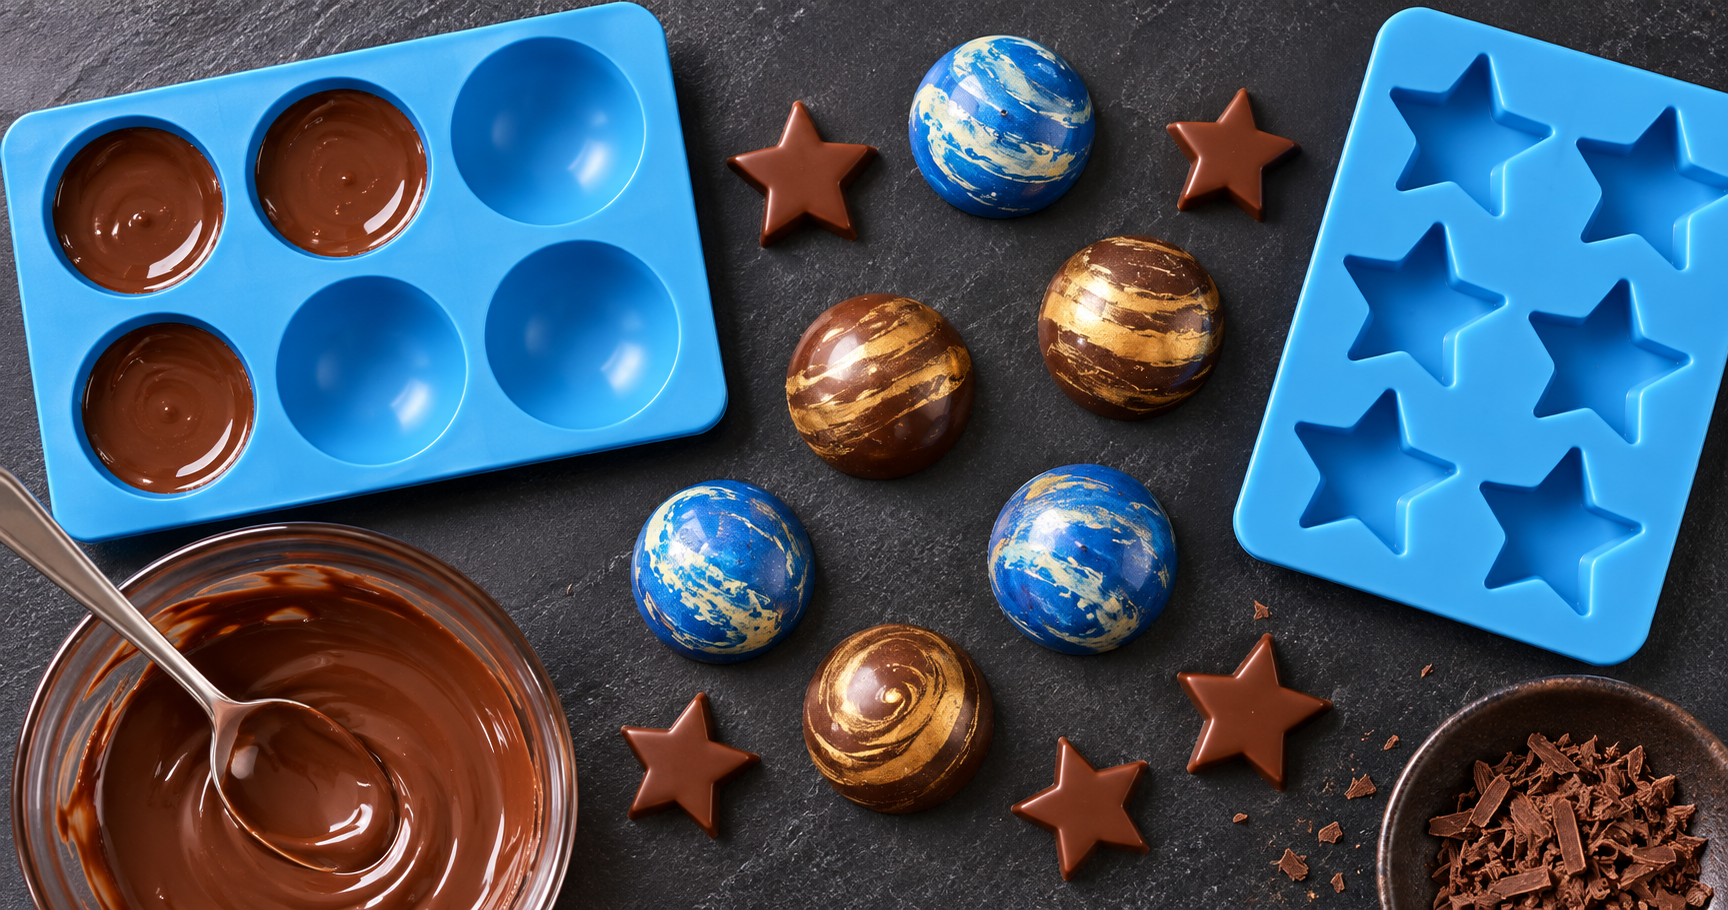
Choose moulds intended for food
Look for moulds designed for chocolate or confectionery, and check their care and use instructions. Planets, stars and rockets offer different levels of detail.
Prepare them carefully
Wash and dry the moulds as directed before use. Any remaining water can interfere with the chocolate. Do not add oil automatically: follow the mould manufacturer’s guidance.
Work neatly with colours
A spoon or piping bag helps fill small areas. For layered designs, follow a suitable moulding method so the decorative chocolate and main layer join properly. Keep the chocolate within its recommended working conditions.
Release gently
Let the pieces set fully, then flex silicone moulds gently as instructed. Avoid pulling at delicate rings or narrow shapes. If a piece will not release, check the setting conditions rather than forcing it with a sharp utensil.
Presentation and wrapping ideas
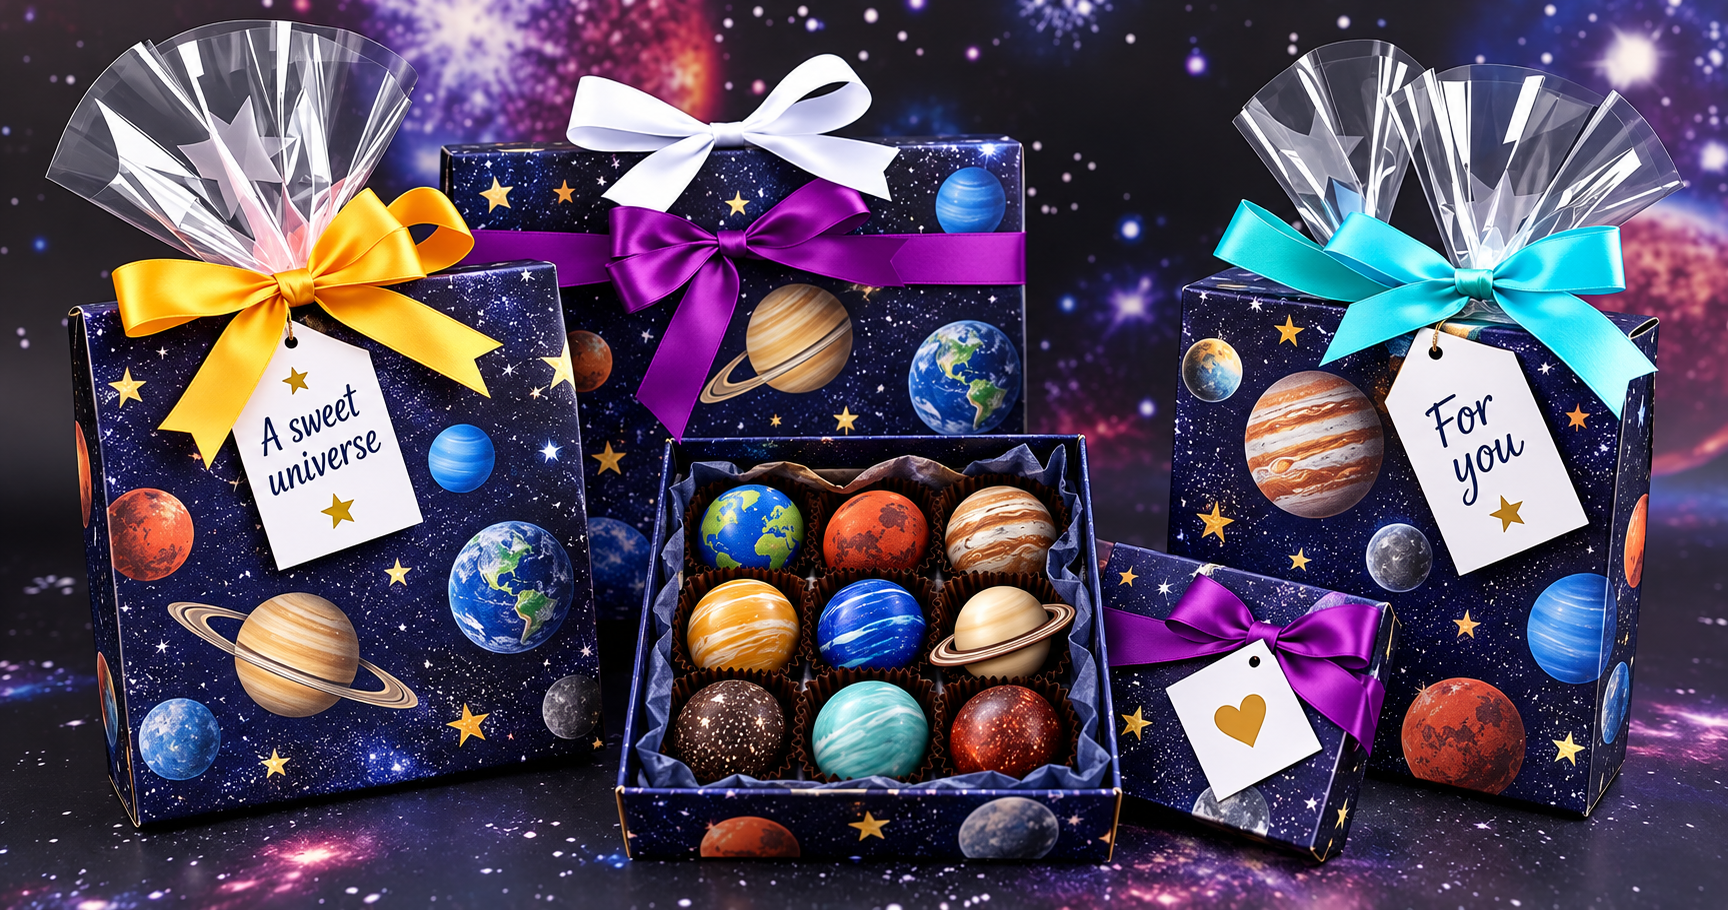
Space-themed boxes
Use a decorated outer box with food-safe cases, dividers or inner wrapping. Dark blue paper and star patterns can carry the theme without touching exposed chocolate.
Clear food bags
Clear wrapping made for food shows off the shapes. Tie ribbons around the outside, leaving enough room to protect delicate details.
Personalised labels
Add the planet’s name and a short description of the chocolate. Describe the actual ingredients: a label promising a spicy Mars should only accompany a chocolate made with that flavour.
Stars and sparkle
Paper stars and glittery stickers belong on the outer packaging. Use edible decorations on food itself, keeping craft materials separate.
A themed serving tray
A star-shaped plate or a suitable tray can become the base of a small space display. Edible sugar rocks or shaped chocolates can suggest a landscape. Keep decorative stones and foliage away from exposed food.
Enjoy your chocolate solar system
Combine simple moulded shapes with a few carefully chosen details, then give each planet its own place in the display. Find more creative chocolate ideas at Receitas da Bella.
Frequently asked questions
Which types of chocolate can I use?
Milk, dark and white chocolate can all suit different designs. Choose a product intended for the preparation and use chocolate-compatible colouring for coloured details.
Are silicone moulds suitable for chocolate?
Food-safe silicone moulds intended for chocolate can be suitable. Follow the particular mould’s instructions and the chocolate manufacturer’s handling guidance.
Can I add fillings?
Nuts or dried fruit can be optional additions when appropriate for the recipients. Ganache and other soft fillings need a complete filled-chocolate recipe and suitable storage guidance.
How can I decorate the planets?
Try contrasting piped chocolate, edible pearls, star sprinkles and themed outer packaging. Keep non-edible craft decorations away from the chocolates.
How long do the chocolates need to set?
Around 30 minutes is a planning guide. Follow the chocolate’s cooling instructions and wait until the pieces are fully firm; mould size and conditions affect the time.
Where can I look for space-themed moulds?
Confectionery suppliers and kitchenware shops may offer food-safe moulds with planets, stars or rockets. Check that the chosen mould is intended for chocolate.