
Homemade chocolate gifts give children a chance to choose shapes, add decorations and make a personal card. With an adult handling the hot equipment and supervising the activity, a simple batch of chocolates can become a thoughtful present.
A gift made with a child’s help has its own character: the chosen colours, the slightly different decorations and the message on the card all make it personal. Set out the ingredients together, give each child an age-appropriate task and leave time for the chocolate to set before wrapping.
Ingredients and materials
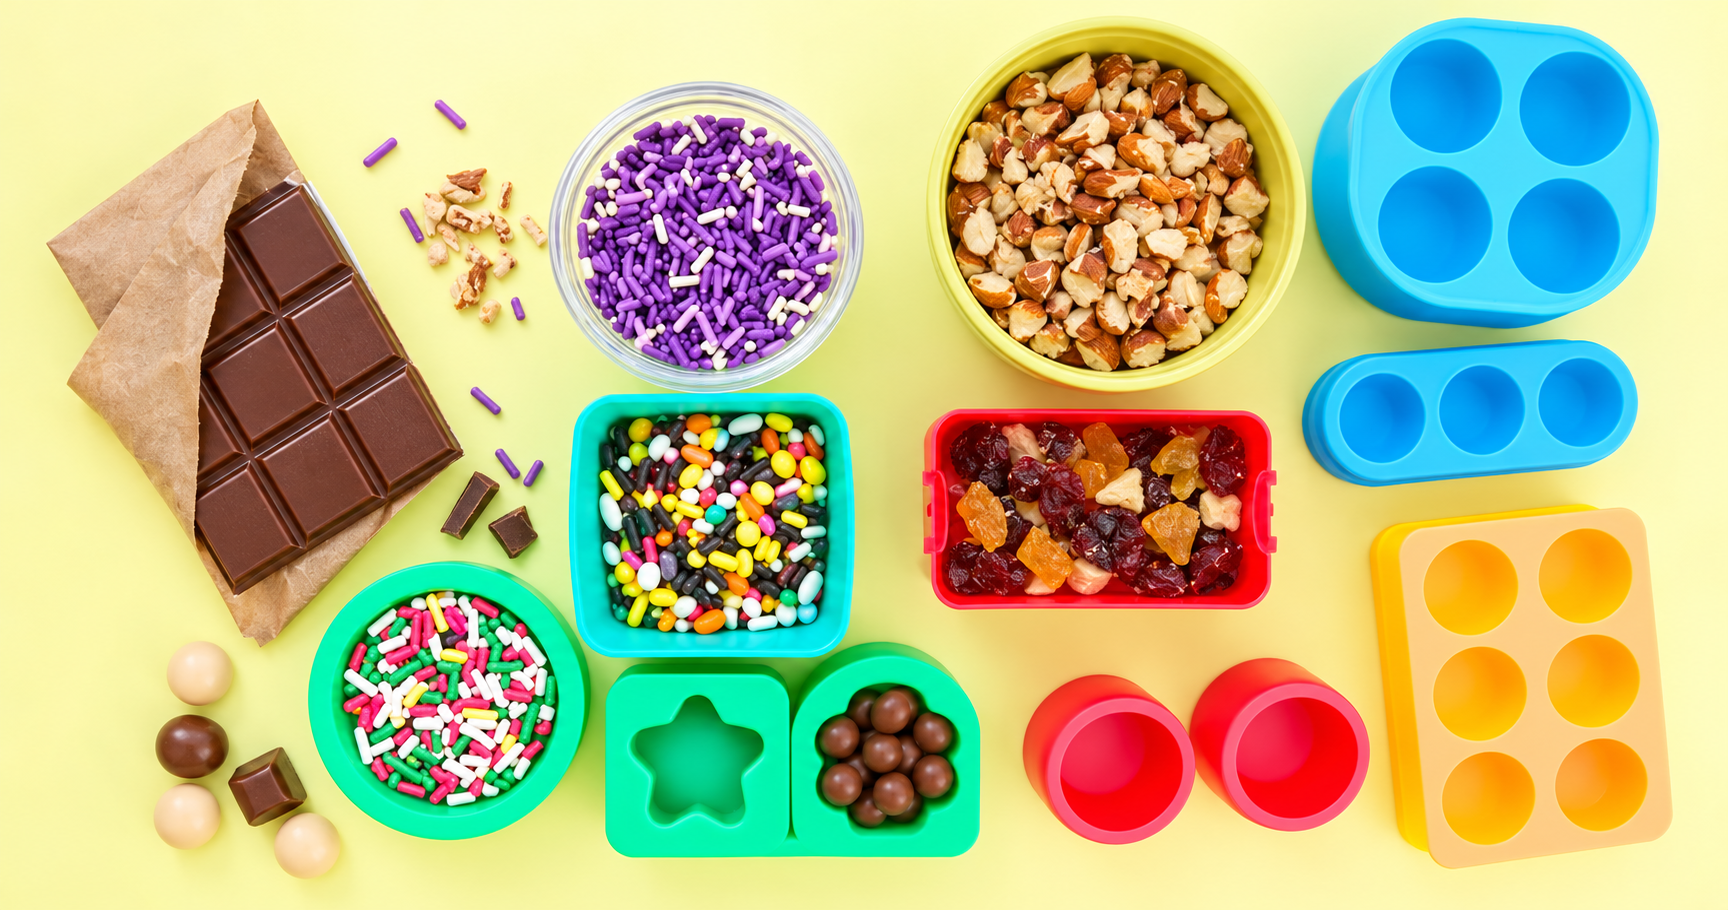
- 300 g milk or dark chocolate, chosen with the recipient’s tastes in mind.
- Food-safe silicone chocolate moulds in suitable shapes.
- 100 g colourful edible sprinkles for decorating; you need not use them all.
- 50 g chopped nuts, optional, only where suitable for everyone taking part and receiving the gift.
- 50 g dried fruit, optional, such as raisins or chopped apricots.
- Food-safe inner wrapping, with colourful paper or small boxes for the outside.
An adult should check ingredients, allergies and the suitability of toppings for the children’s ages. Keep hot bowls, sharp tools and small craft decorations under adult control. Children can help count, measure, choose colours and prepare cards before any heating begins.
Making the chocolate gifts together
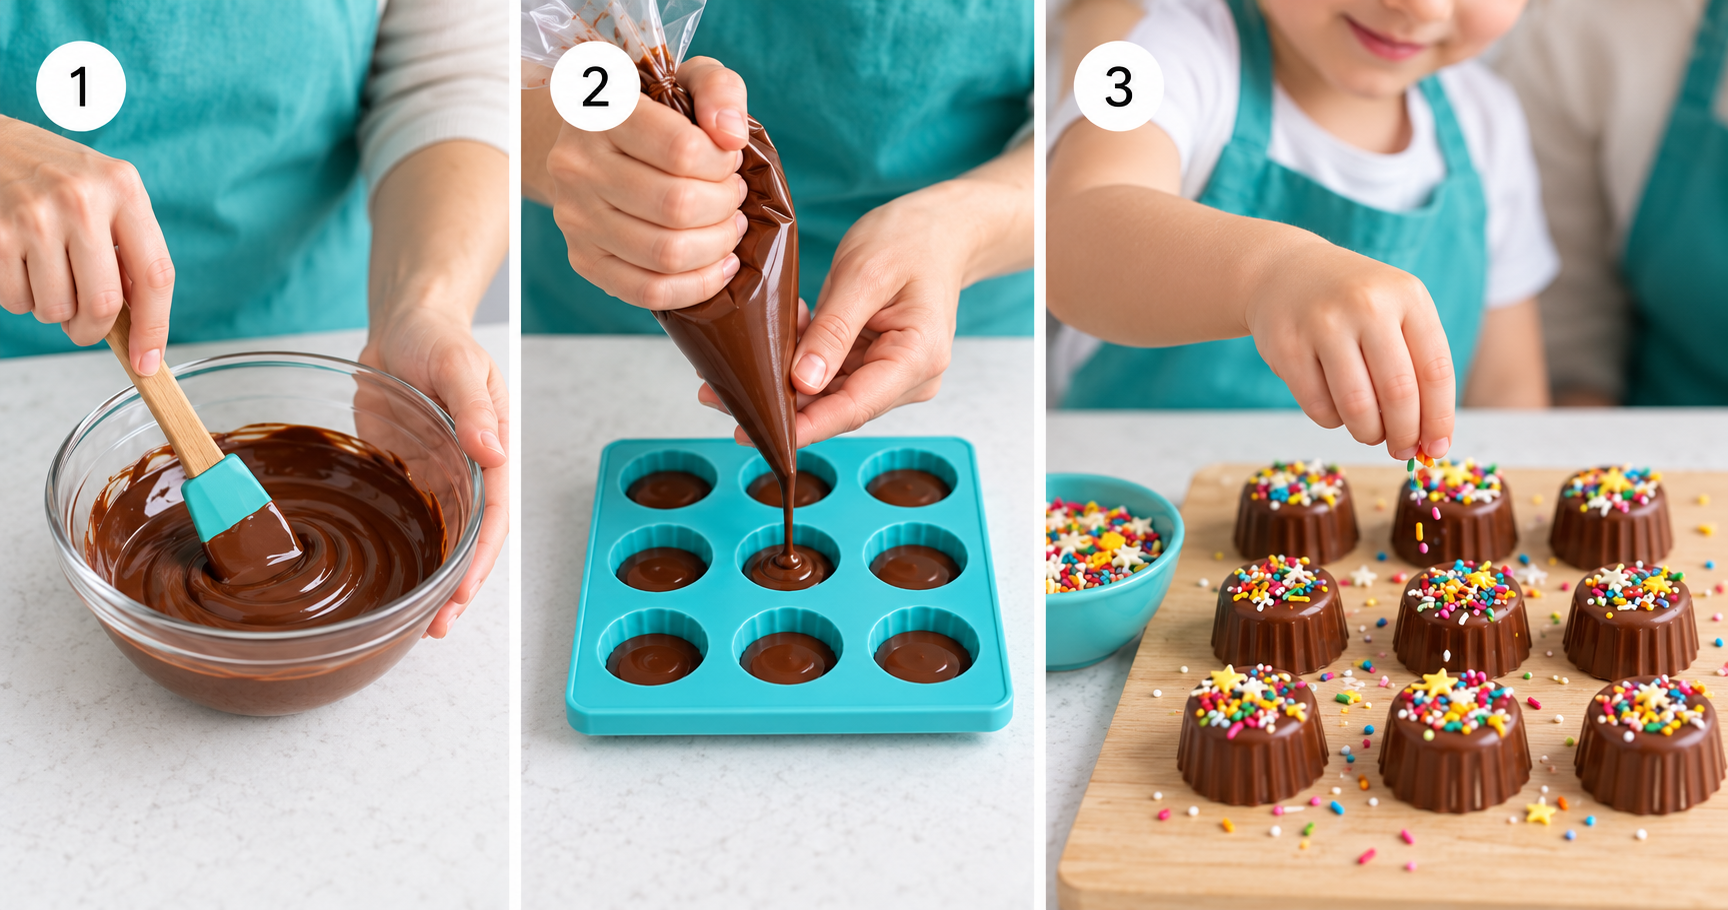
- An adult melts the chocolate. Break it into smaller pieces and put it in a clean, dry heatproof bowl. Melt gently over a bain-marie or in short microwave intervals, stirring and checking it regularly. The adult should handle the hot bowl, water and heating equipment. Follow the chocolate manufacturer’s tempering guidance where needed for moulded chocolates.
- Add the optional ingredients. Stir in suitable chopped nuts or dried fruit if using. Keep ingredients separate where dietary requirements call for it.
- Fill the moulds. Once the equipment and chocolate are at a suitable working temperature, the adult can help children spoon the chocolate into the moulds. Match each child’s task to their age and ability.
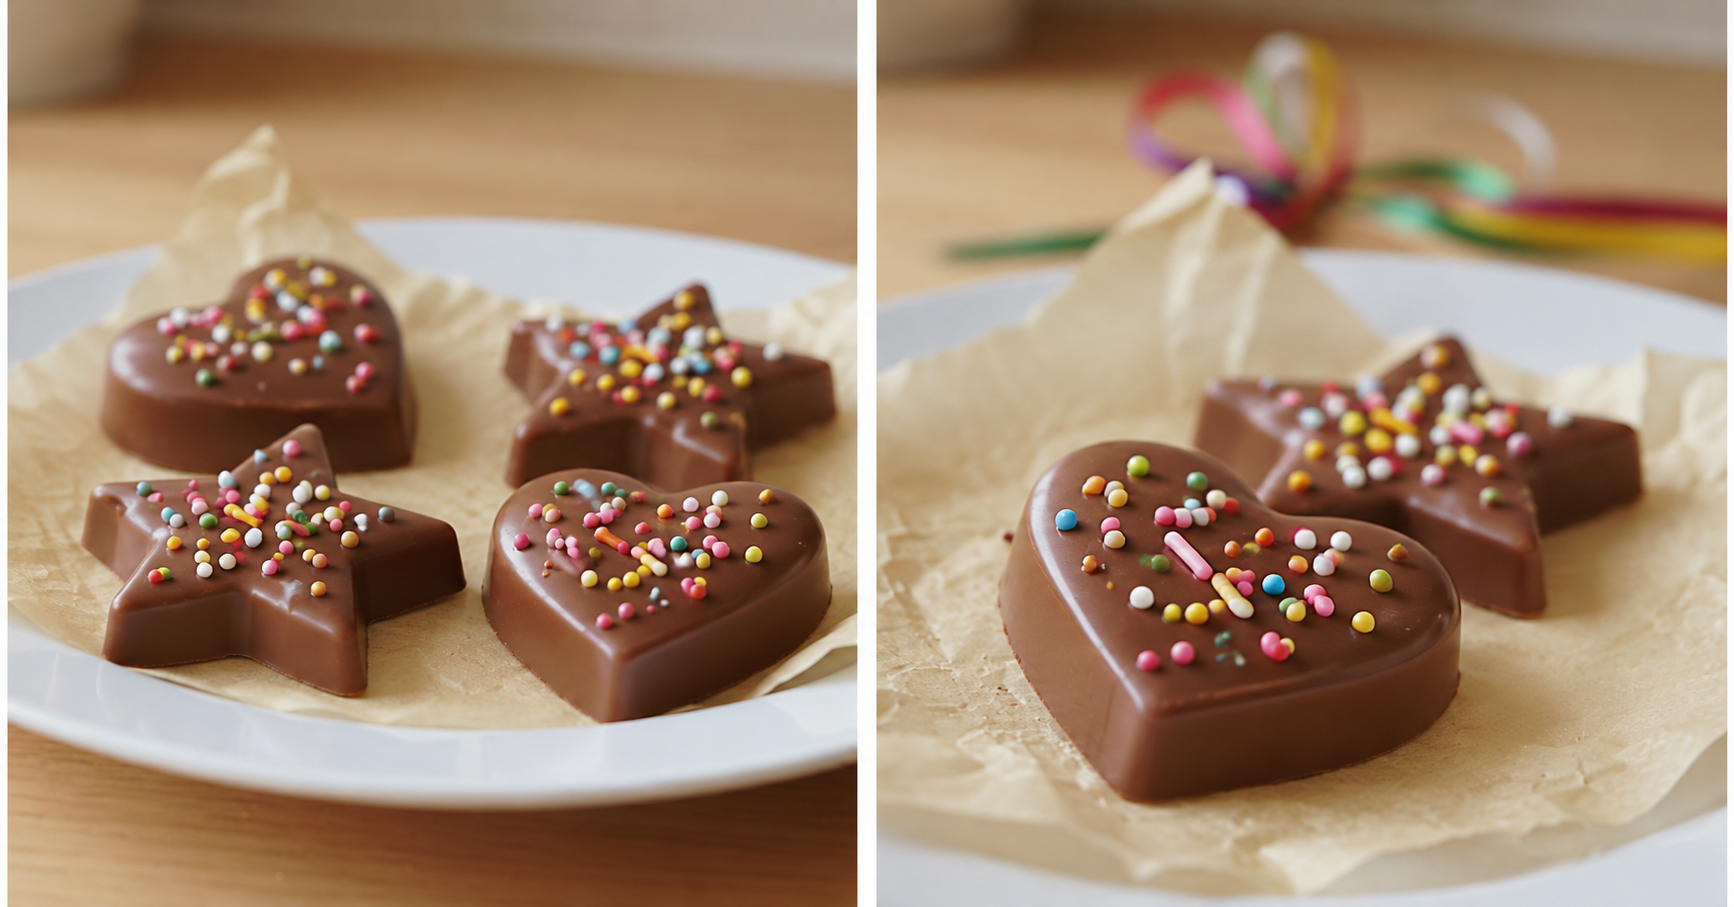
- Decorate. Let the children choose colours and add a few edible sprinkles before the surface sets. This is a good stage for individual designs.
- Allow to set. Allow approximately 30 minutes as a setting guide, following the chocolate manufacturer’s cooling instructions. Check that the chocolate is fully firm rather than relying only on the clock.
- Release the chocolates. Unmould gently according to the mould’s instructions. Children can help arrange the finished pieces once an adult has checked that they are ready.
Let the children see how their designs turned out, then choose which chocolates to put together in each gift.
Why make chocolate gifts at home?
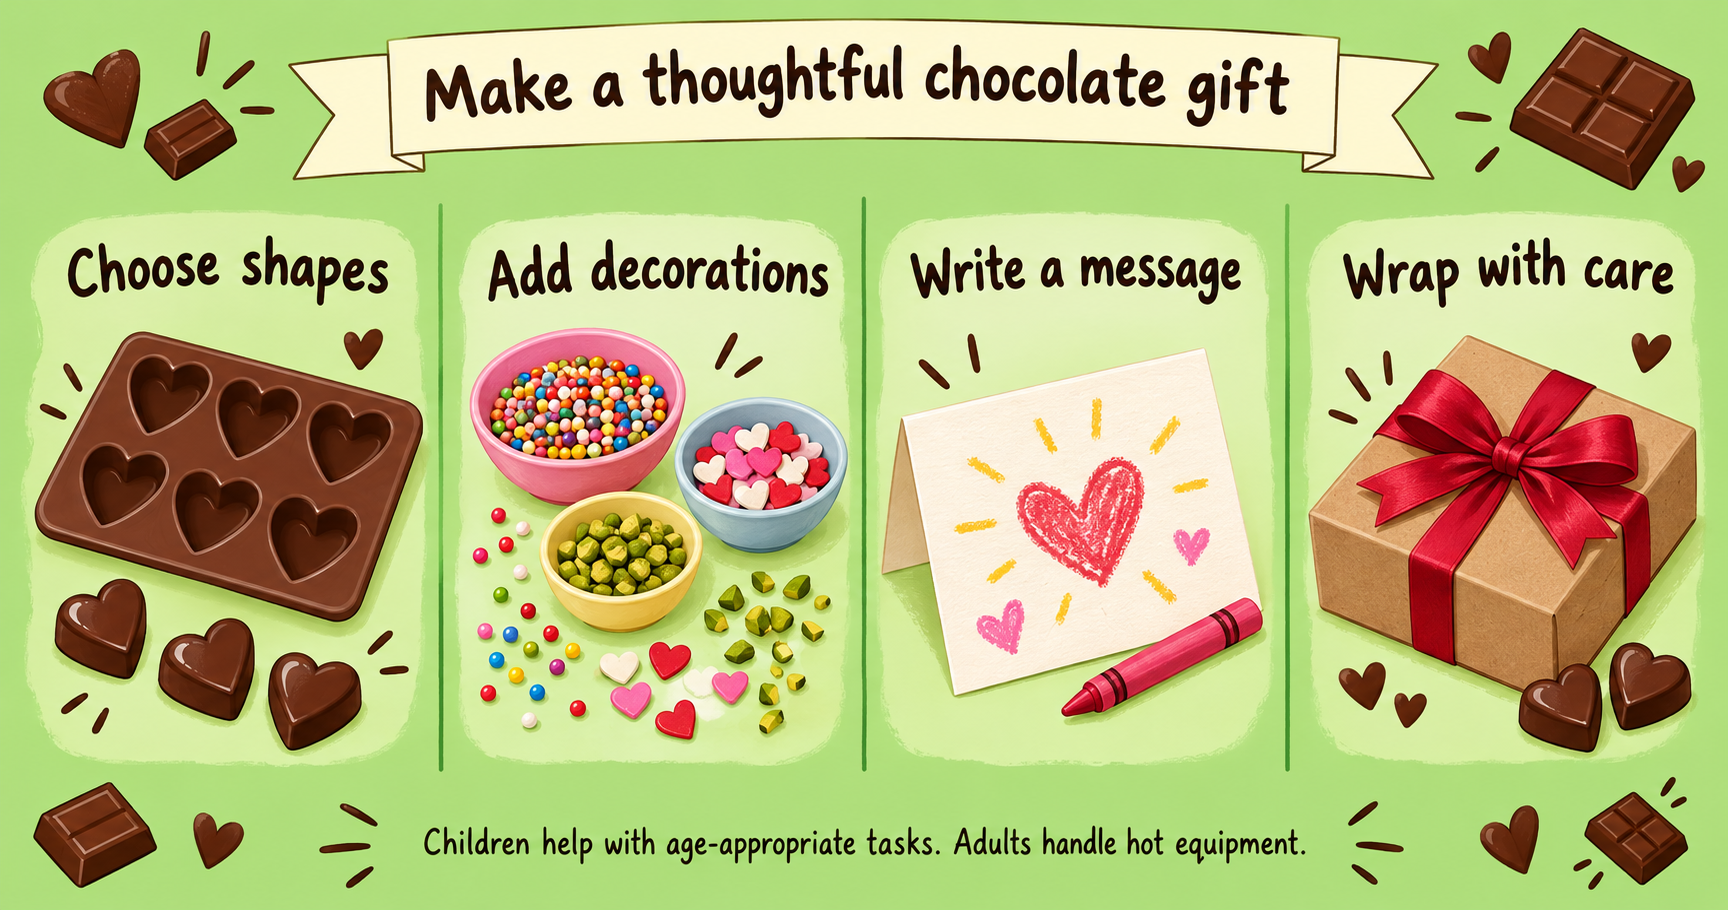
Making a gift is a practical way to show affection or thanks. The activity combines choosing, measuring, mixing and decorating, with a finished present to share at the end.
Homemade chocolates can be personalised with different shapes and toppings. Milk, dark and white chocolate offer different flavours, although each product needs its own handling instructions if you change the preparation.
The time and care involved make the activity worthwhile. A child’s card and choice of decoration give the gift its personal character.
Personalising the present
- Choose an occasion. A birthday, Mother’s Day or Christmas can guide the shapes and colours.
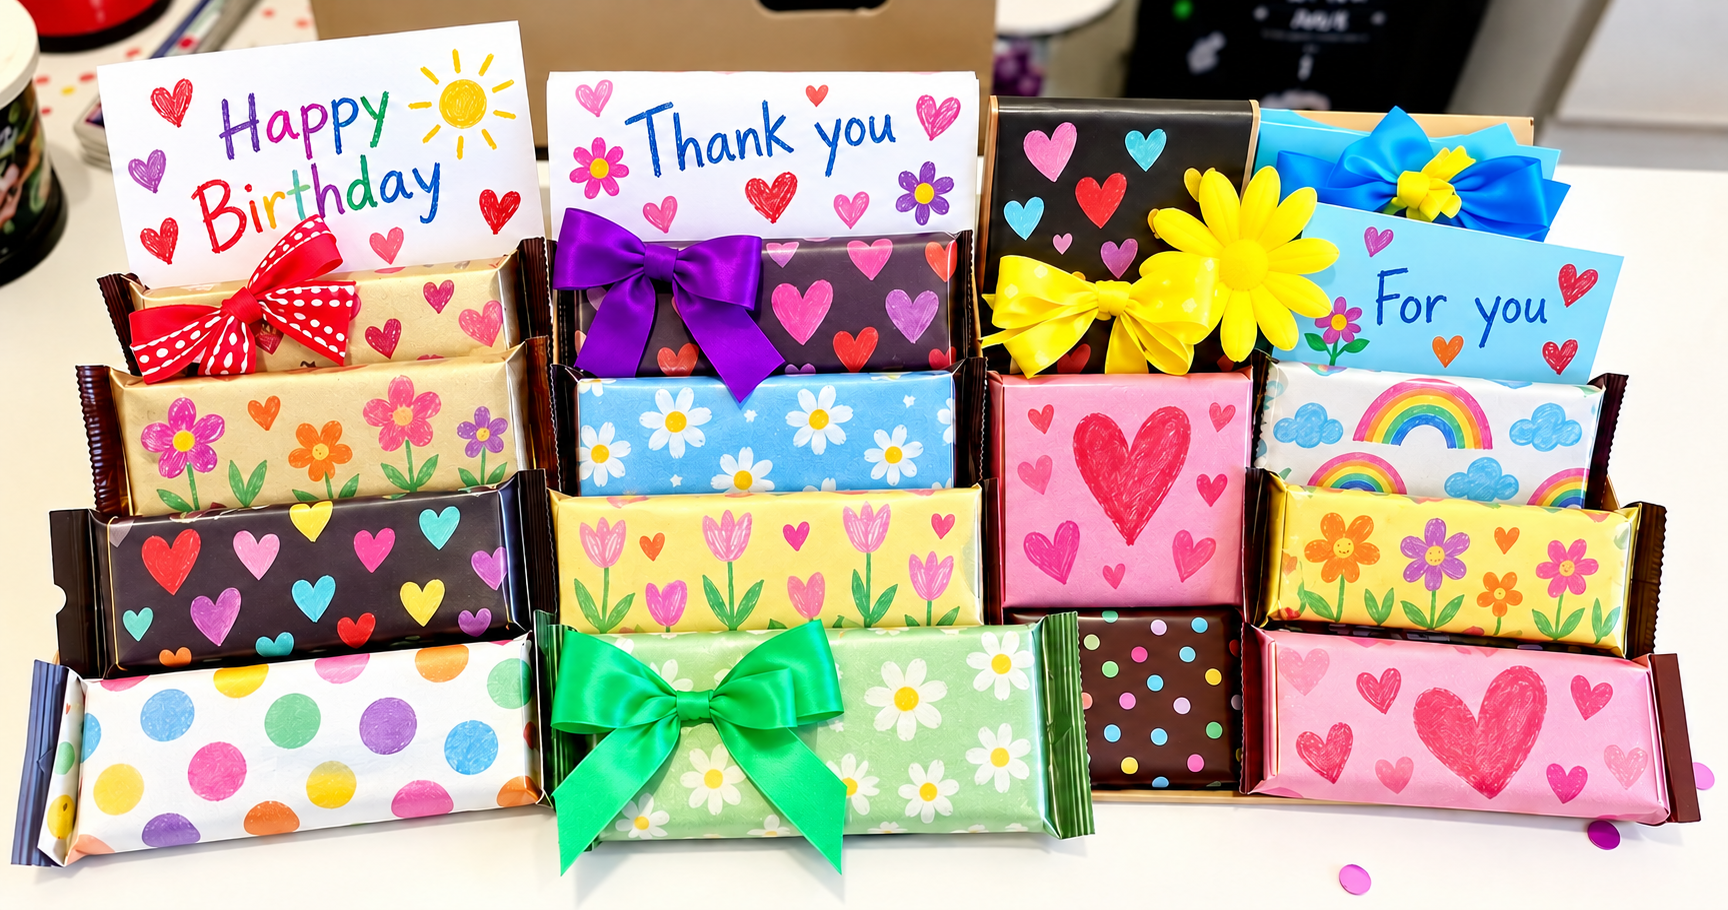
- Write a message. Let children write or draw a short card in their own style. Reused card can work well if it is clean and kept outside the food wrapping.
- Decorate the package. Use colourful paper, a small box or an appropriate clean food container, with food-safe wrapping around the chocolates.
- Think about flavour. Choose prepared flavoured chocolate or suitable dry additions if you want variety. Do not add arbitrary liquid coffee, mint flavouring or fresh fruit to this plain moulded-chocolate mixture.
- Coordinate the finish. Match the ribbon to a decoration or choose the recipient’s favourite colour.
Wrapping the chocolate gift
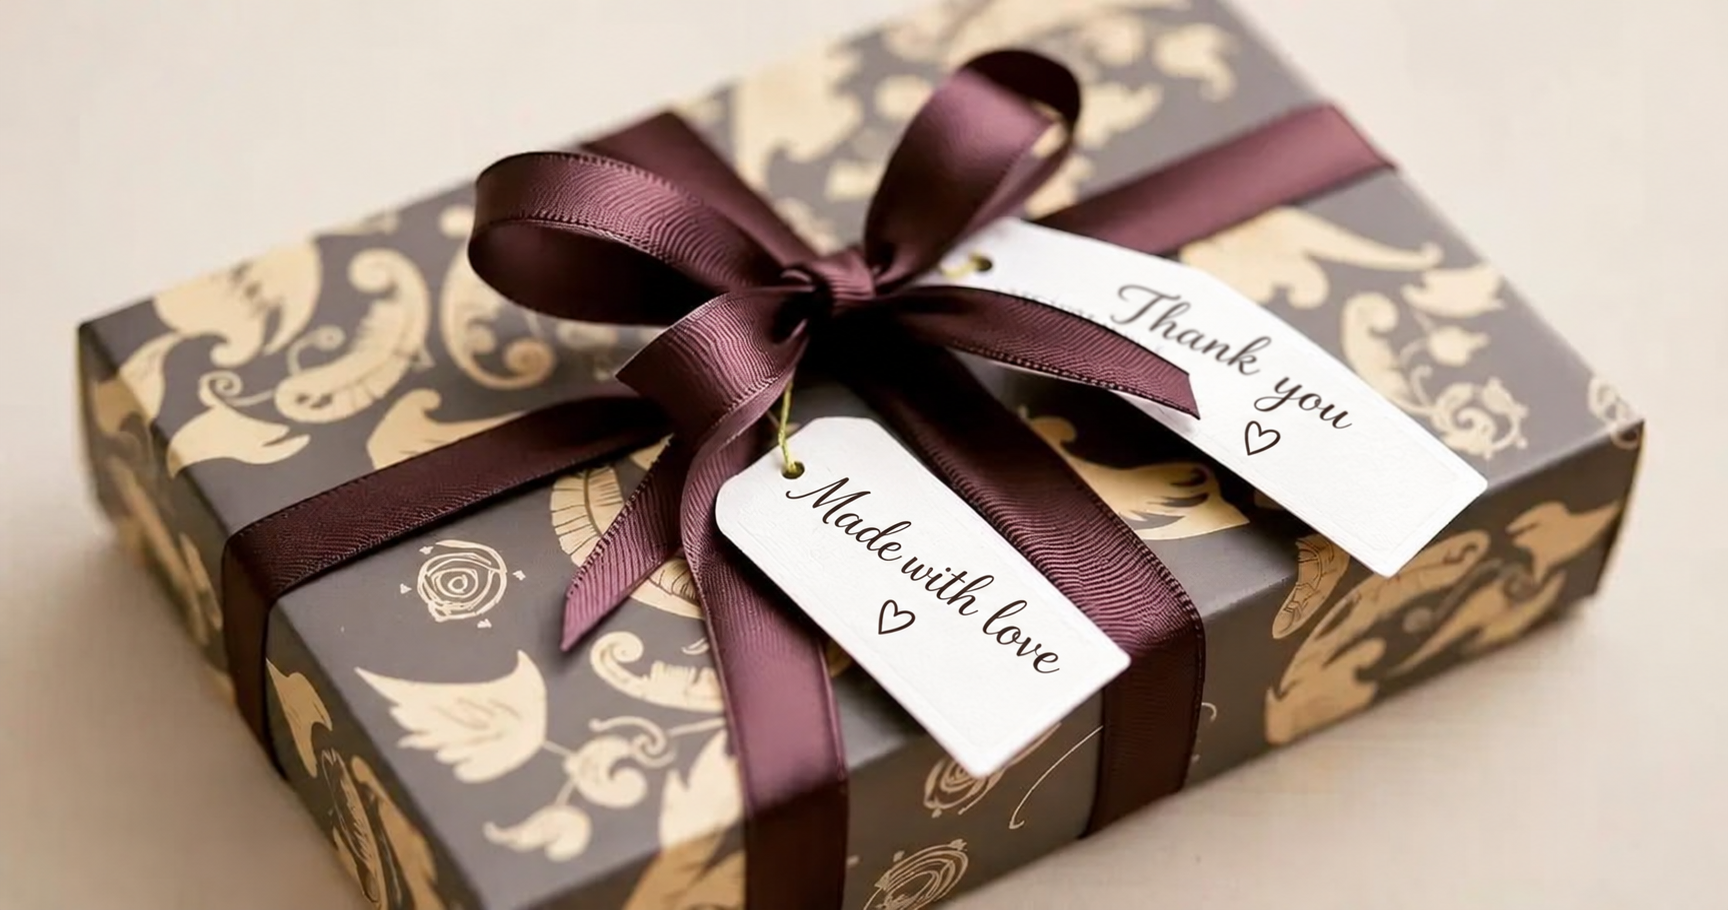
Start with packaging intended for food contact. Decorative gift wrap and kraft paper can form an outer layer, while a clear food-safe bag lets the recipient see the chocolates.
Use a box that supports the pieces without crushing them. The children can decorate its outside with their own drawings, then add ribbon, a bow or a tag. Keep flowers and craft materials away from the food itself.
A handwritten card is the finishing touch. It might say who made the chocolates, why they chose the colours or simply “Thank you”. Include relevant ingredient information for the recipient and follow the storage instructions for the chocolate and toppings.
A small gift with a personal touch
Enjoy choosing and decorating together, with adults taking responsibility for the hot and difficult stages. Find more kitchen inspiration at Receitas da Bella.
Frequently asked questions
What ingredients do I need?
The preparation uses 300 g milk or dark chocolate, edible sprinkles and optional chopped nuts or dried fruit. You also need suitable moulds and food-safe wrapping. An adult should check allergies and the suitability of toppings for the children involved.
How can children personalise the gift?
They can choose a theme, select colours and shapes, add suitable edible decorations and make a personal card or decorated outer box.
How is the chocolate prepared?
An adult melts the chocolate gently, follows any necessary tempering instructions and supervises filling the moulds. Add decorations before the surface sets, then allow the pieces to become fully firm before releasing them.
How can we wrap the gift attractively?
Use food-safe inner packaging inside a decorated box or outer wrapping. Finish with a ribbon and a card made by the children.
Which occasions suit these gifts?
Birthdays, Mother’s Day, Christmas and other celebrations are possibilities. They can also be a simple thank-you to someone special.
Can children help with every stage?
Children can help with age-appropriate measuring, choosing, decorating and wrapping. An adult must handle hot equipment, melting and sharp tools, and supervise the whole activity.