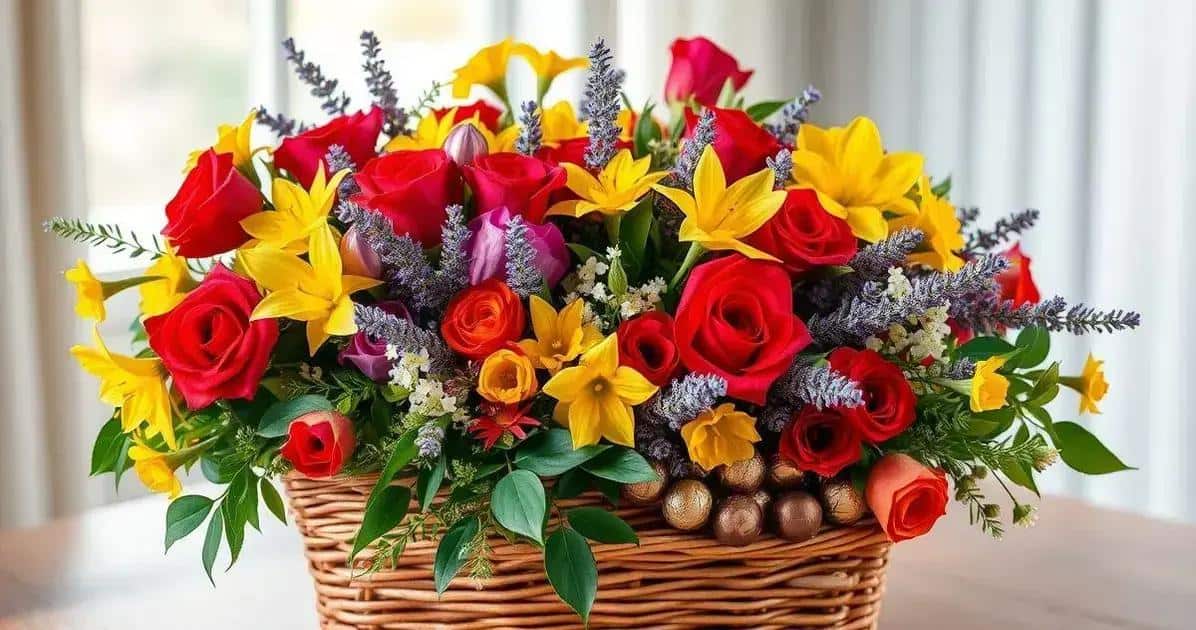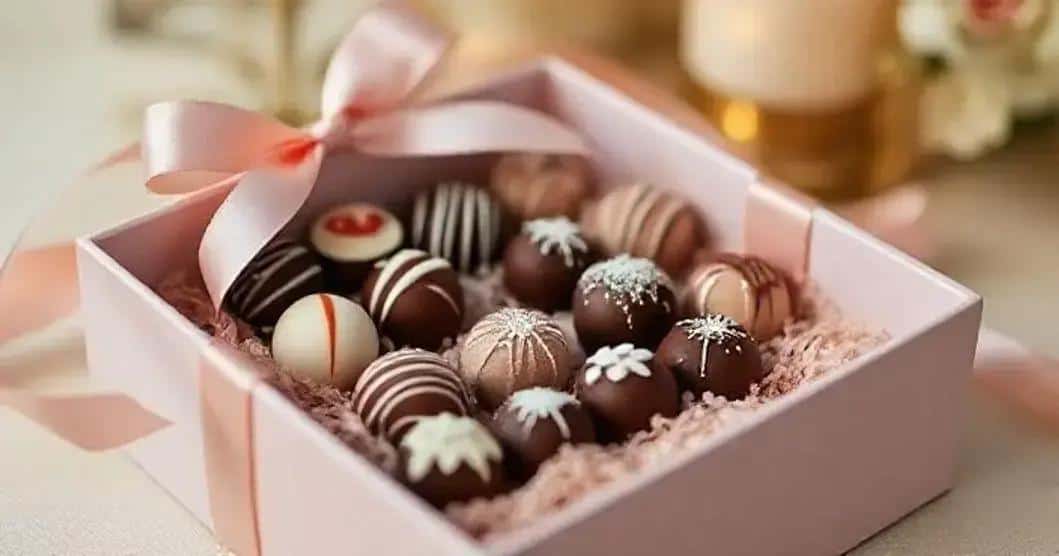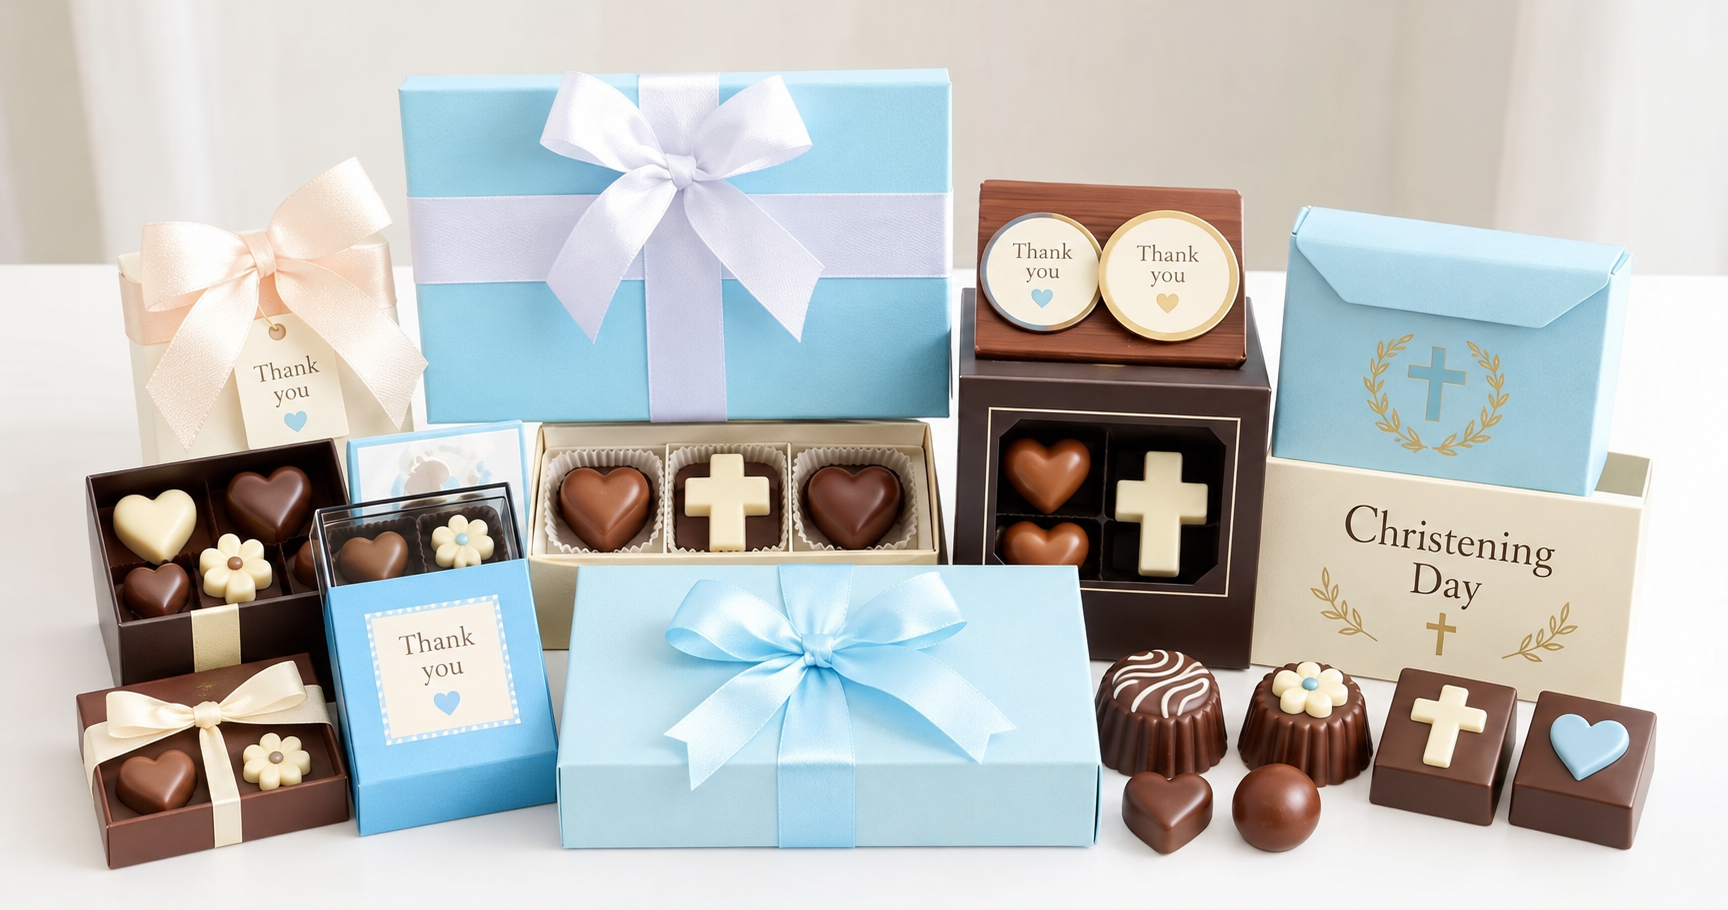

Chocolate christening favours offer guests a sweet keepsake. Use themed moulds, simple white chocolate details and personalised wrapping to make them part of the celebration.
From little angel-shaped chocolates to boxes tied with ribbon, there are plenty of ways to create chocolate favours for a christening. A name tag or a short thank-you message can make a modest homemade gift feel personal. This guide covers a basic moulded chocolate idea, packaging and variations for your celebration.
Ingredients and equipment for chocolate christening favours
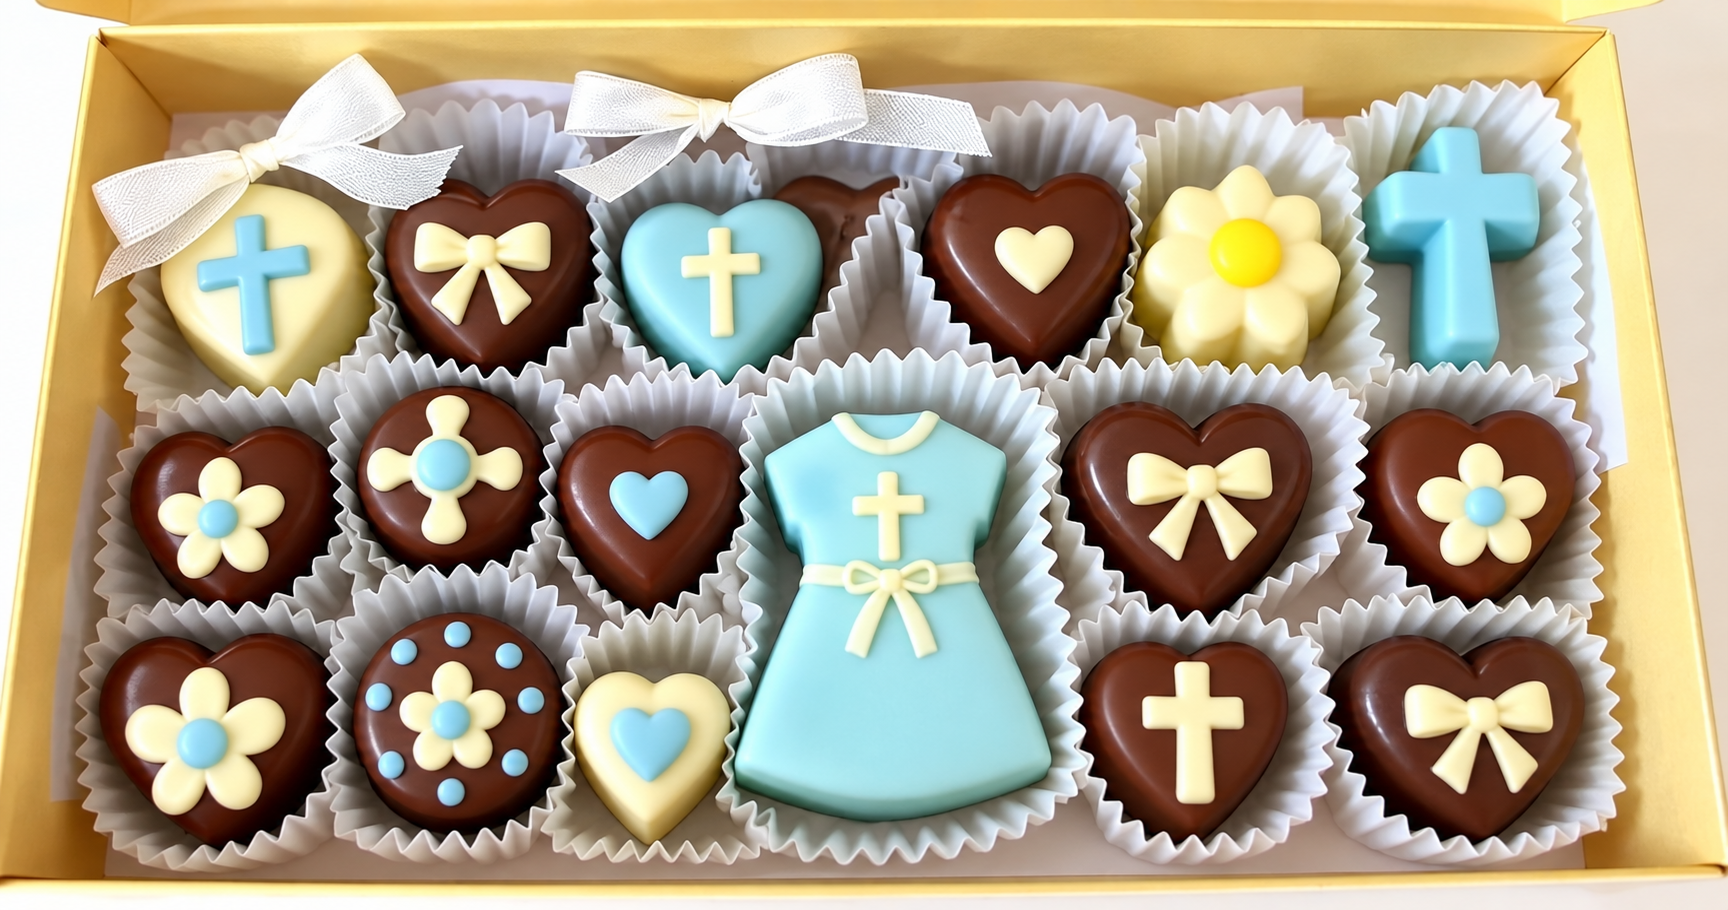
- 200 g dark chocolate, for the main shapes.
- 100 g white chocolate, for decoration.
- Sprinkles, to decorate.
- Food-safe silicone chocolate moulds, such as angels or crosses.
- Clear food-safe bags or wrapping, for individual favours.
- Decorative ribbon and tags, for the outside of the packaging.
Flavouring is optional. If you would like to add vanilla or orange flavour, choose a product specifically suitable for chocolate and follow its instructions. Ordinary liquid essences are not interchangeable with chocolate flavourings.
How to make the chocolate favours
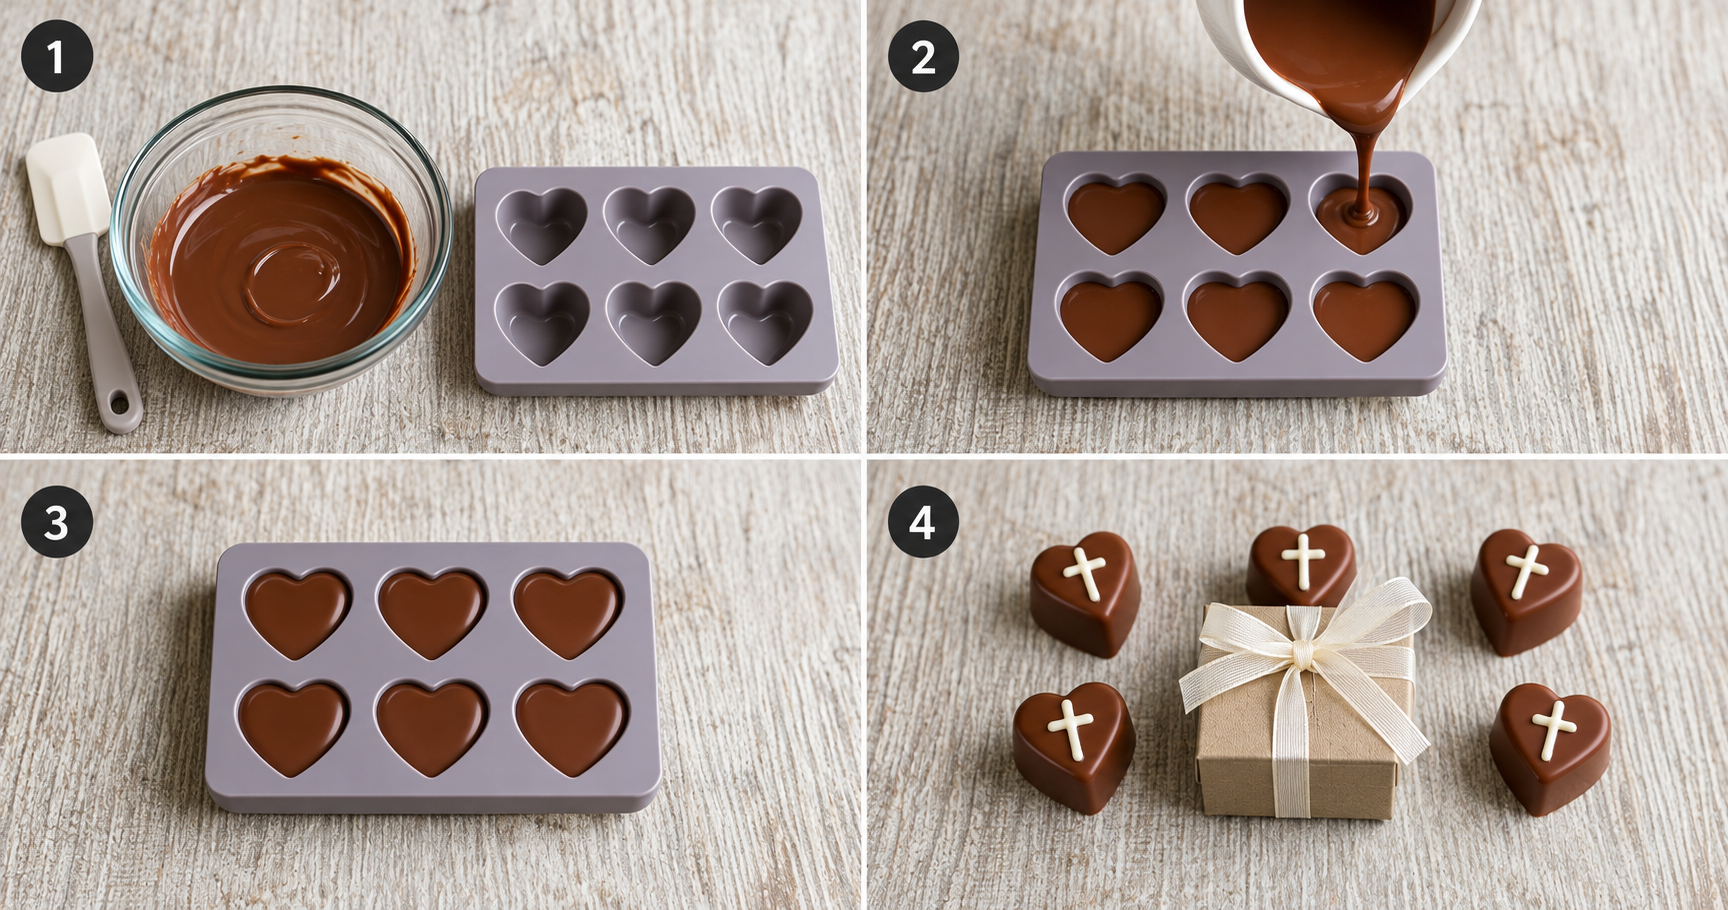
1. Prepare the chocolate
Chop the dark and white chocolate and work with them in separate clean, dry bowls. Melt gently over a pan of hot water, keeping the bowl clear of the water and avoiding splashes or steam in the chocolate. Alternatively, use short microwave bursts, stirring between each one.
For firm moulded chocolates with a glossy finish, follow the chocolate manufacturer’s tempering instructions. Melting alone does not perform the same job as tempering. Different chocolates need different temperature curves; see Callebaut’s tempering guidance for an introduction.
2. Fill the moulds
Spoon or pipe the prepared dark chocolate into your clean, dry moulds. Tap gently to release trapped air and scrape excess chocolate from the surface with a suitable scraper. You can add sprinkles while the chocolate is still soft.
3. Leave to set
Allow the chocolate to become completely firm, following the chocolate and mould manufacturers’ setting guidance. Setting time varies with the size of the pieces and the conditions in your kitchen, so check the chocolate rather than relying on a fixed thirty-minute deadline.
4. Unmould and decorate
Release the chocolates gently once they have set. Use the prepared white chocolate to pipe details, draw patterns or coat part of each piece. Let this decoration set fully too.
5. Wrap the favours
Put each chocolate into food-safe wrapping, then finish with ribbon and a tag. Keep craft materials outside the food-contact layer. Pack the finished favours so that the small shapes cannot knock against one another.
A personal touch for the christening
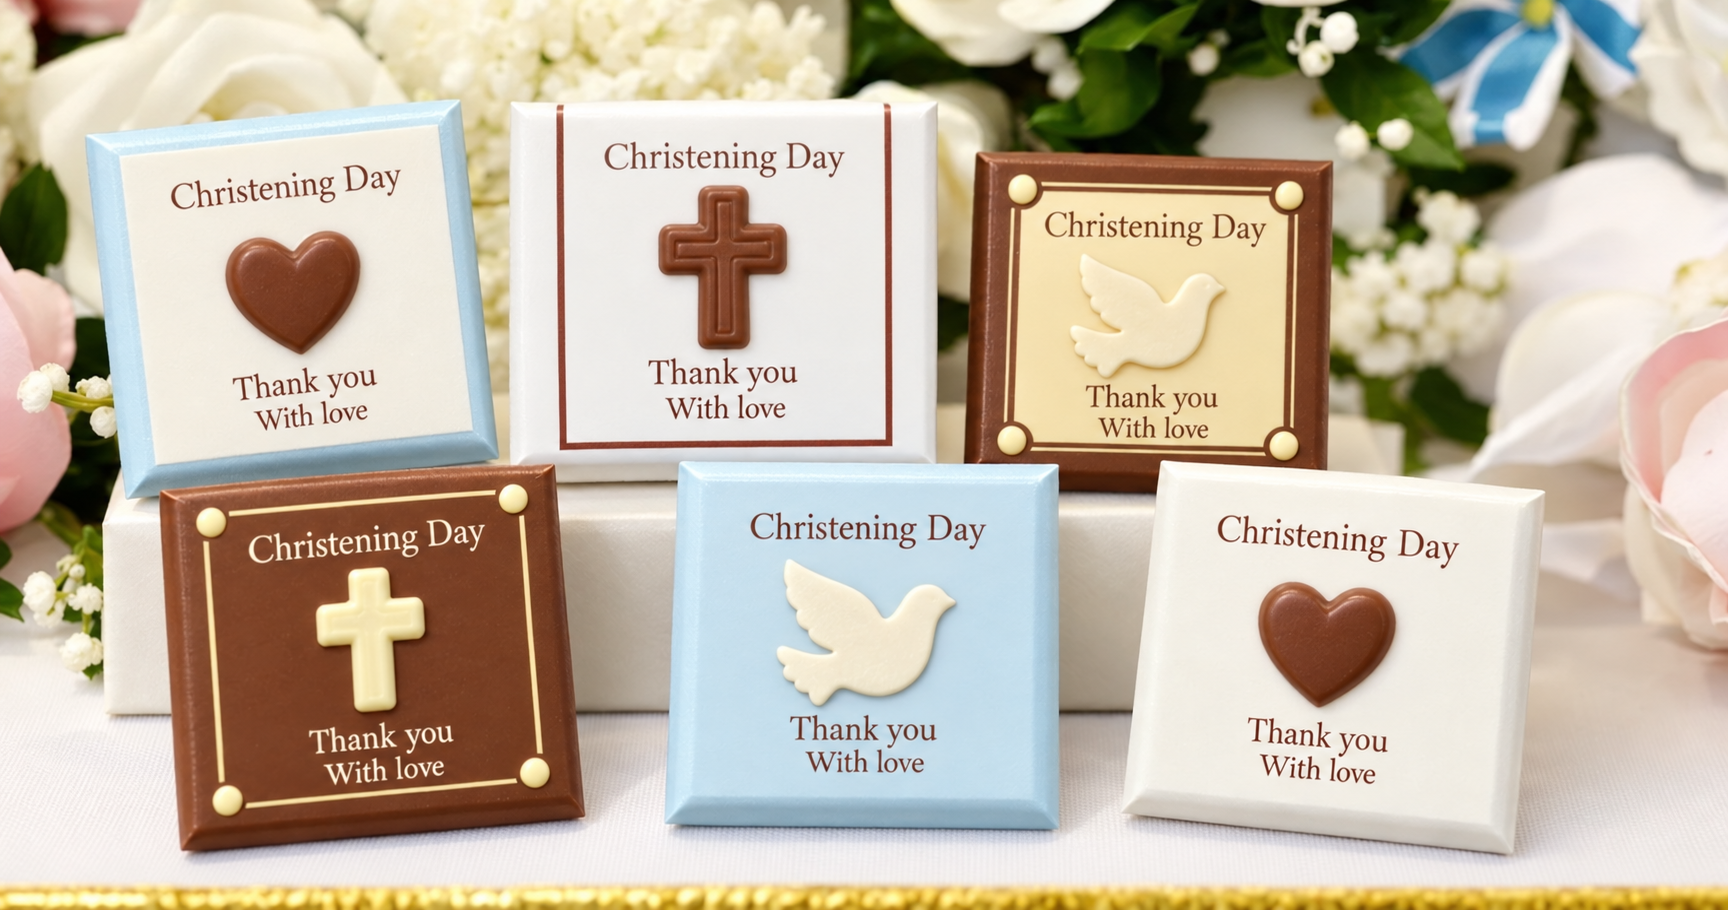
A chocolate favour can be a simple way to thank the people sharing your family’s celebration. Its meaning comes from the occasion and the care you put into it, rather than from any particular type of chocolate.
Angel and cross shapes can reflect the religious theme. If you prefer a simpler design, use a plain chocolate with the baby’s name and the christening date on its wrapper. A short message makes either option personal.
Families celebrate in different ways, so choose symbols, wording and colours that fit your own event. There is no need to follow a single style for every christening.
Wrapping ideas for christening favours
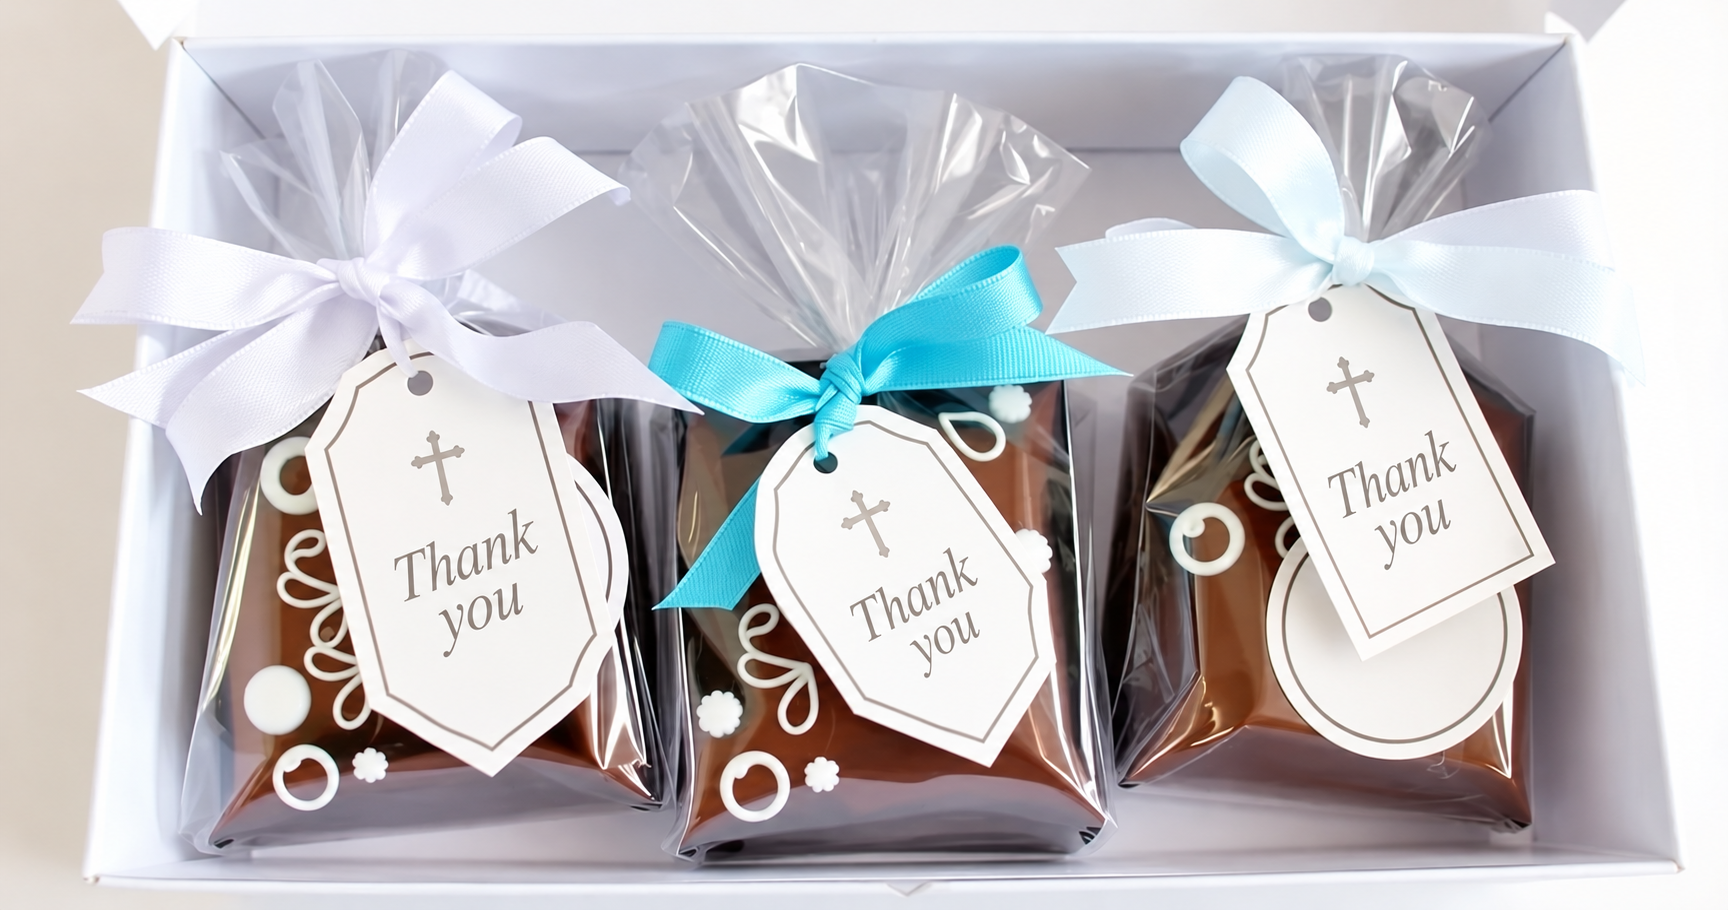
Choose suitable wrapping
Clear food-safe wrapping shows off the chocolates. A kraft-style outer bag or small box gives a more understated finish; use a suitable food-contact liner or an individually wrapped chocolate inside it.
Add a name tag
Write the baby’s name, the date or a brief thank-you message on a tag attached outside the packaging. Make sure any ink or adhesive stays away from the food.
Finish with ribbon
Satin ribbon gives a smooth finish, while a jute-style tie can suit a rustic theme. Match the colour to the table decorations if you would like a coordinated display.
Arrange the favours together
Place the wrapped chocolates in a small basket or decorated box ready for guests to take. Keep fragile shapes supported and leave enough space to lift them out easily.
Use a small themed detail
An angel illustration, a cross or another symbol meaningful to your family can go on the outer tag. A little detail is often enough; elaborate wrapping is not essential.
More chocolate favour ideas
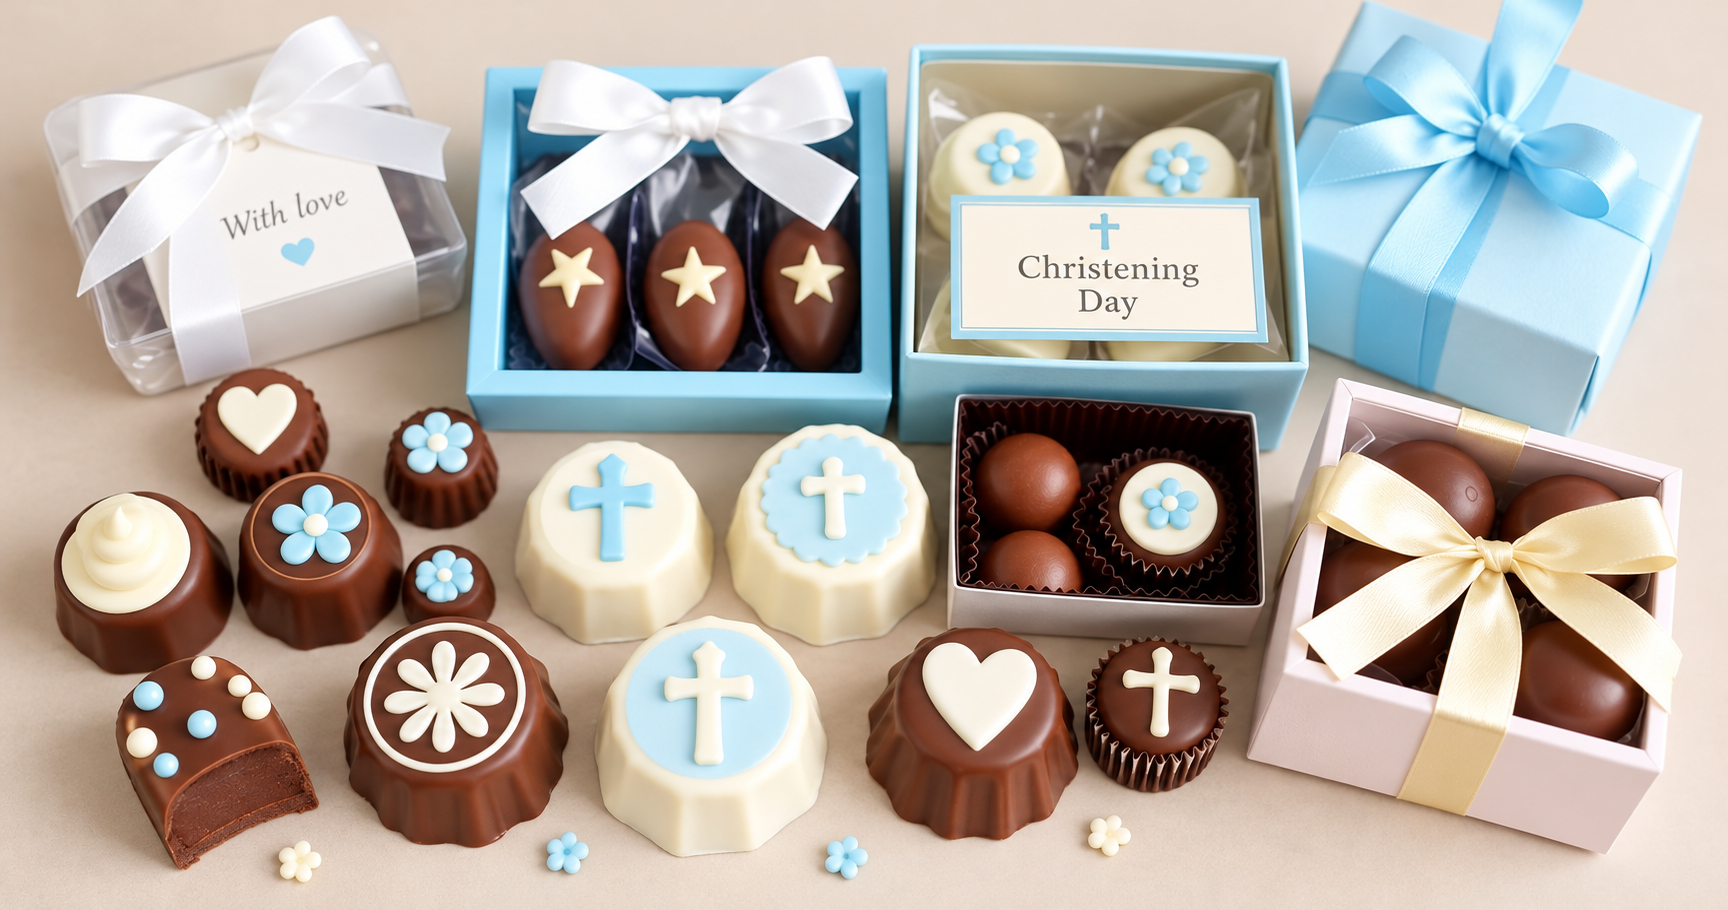
- Personalised truffles: use a complete truffle recipe, then wrap each finished truffle with a name-and-date tag. Follow that recipe’s storage instructions, especially if it contains cream.
- Themed moulded chocolates: make angels or crosses using food-safe chocolate moulds.
- Chocolate lollipops: use lollipop moulds and food-safe sticks, add sprinkles and wrap with a ribbon.
- Small assorted boxes: arrange a selection of bars, truffles and filled chocolates, keeping the different fillings and allergens identifiable.
- Clear favour tubes: fill containers designed for food with miniature wrapped chocolates or suitable sprinkles, then decorate the outside.
These are presentation ideas rather than interchangeable recipes. Filled chocolates and truffles need their own preparation and storage guidance.
How to personalise your favours
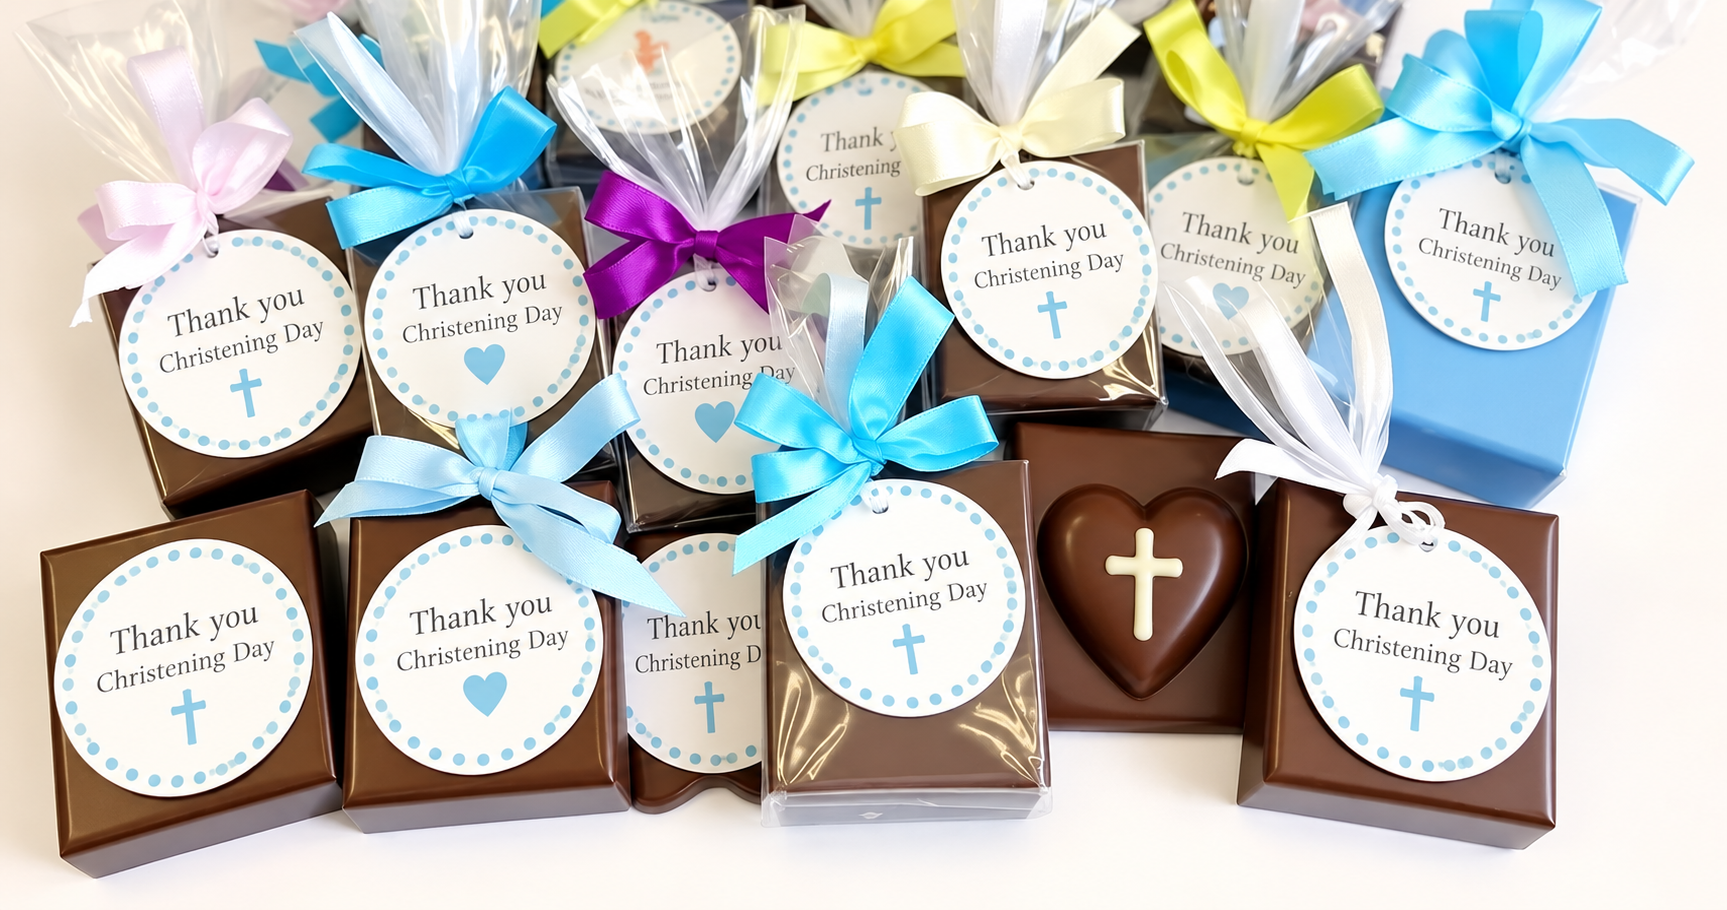
Start with the baby’s name and the christening date. A message such as “Thank you for sharing this special day” works well on a small tag. If it suits your family, you could include a short prayer on a separate card.
Choose edible decorations to match the theme, such as stars or clouds. Coordinate ribbons, boxes and tags with the event’s colour scheme. If you want to colour white chocolate, use an edible colouring made for chocolate and follow its directions.
Decorated boxes and baskets can make the display feel cohesive without changing the chocolates themselves. Keep any basket lining, glue, paint and ornamental details separate from exposed food.
Make it a thoughtful thank-you
A simple chocolate favour, neatly wrapped and chosen with your guests in mind, can be a lovely part of the celebration. For more cooking and gift ideas, visit Receitas da Bella.
Frequently asked questions
Which chocolate can I use for christening favours?
Dark, milk and white chocolate can all work. Choose according to taste, the decoration you want to make and the manufacturer’s moulding and tempering instructions. Check ingredients and allergens for your guests.
How can I personalise the chocolates?
Add the baby’s name and the date to an outer tag, choose ribbon to match the decorations or use themed edible sprinkles.
What is the best way to wrap them?
Use food-safe bags, wrapping or cases. Decorative kraft paper, ribbon and tags can form the outer presentation without touching exposed chocolate.
Can I make the favours at home?
Yes. Work with clean, dry equipment, follow the chocolate’s preparation instructions and allow every layer to set before wrapping.
How far ahead should I make them?
Allow time for setting, decoration and wrapping. Two or three days ahead may be useful for planning, but it is not a shelf-life guarantee: the ingredients, fillings and storage conditions determine how far in advance your chosen recipe can be made.
Where can I find more favour ideas?
Look at cooking guides and celebration displays for inspiration, including the ideas on Receitas da Bella. Choose a complete recipe whenever you move beyond simple moulded chocolate.