
Preparing the mould
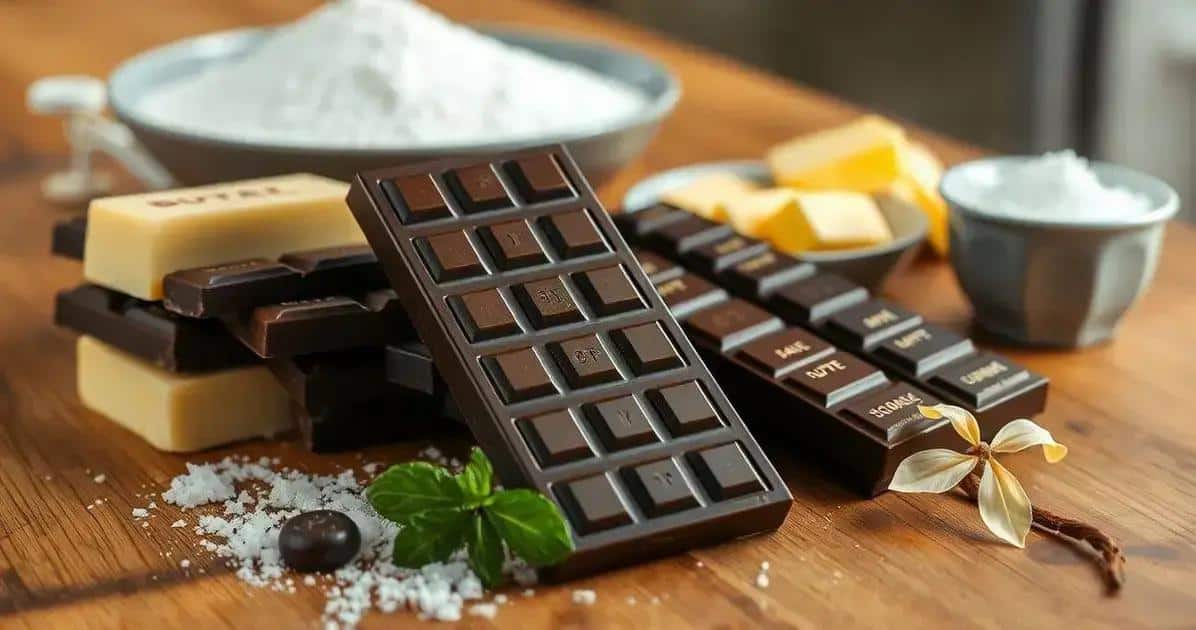
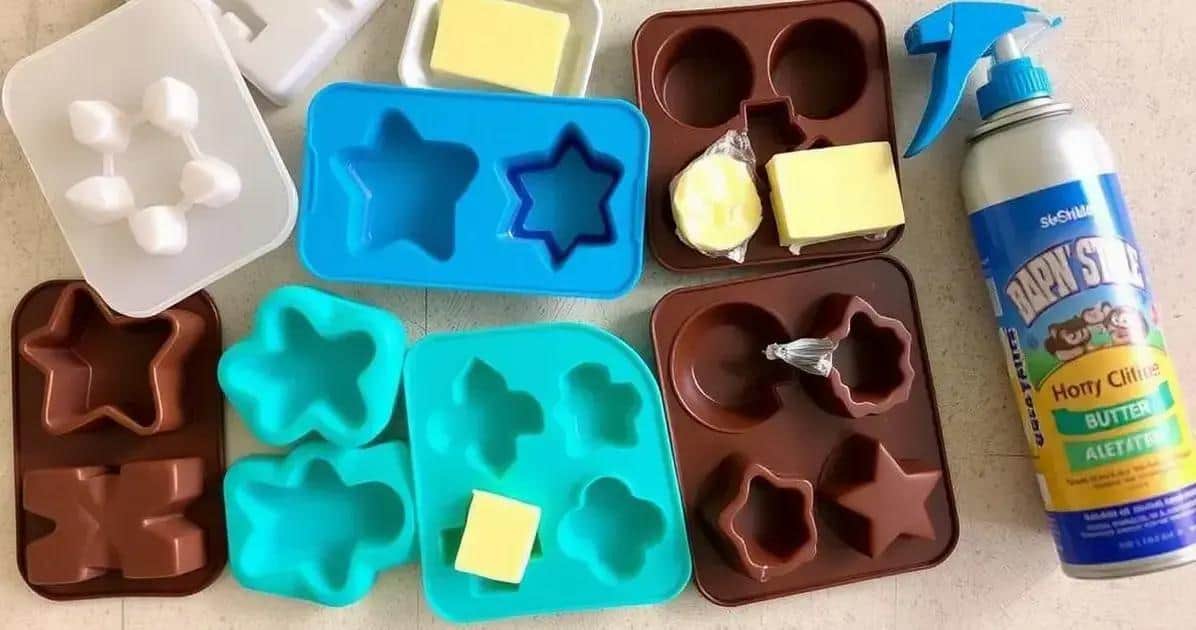
Polish rigid chocolate moulds with clean lint-free cotton and keep them completely dry. Grease is unnecessary and can dull the surface.
Tempering for contraction
Temper couverture chocolate according to its type. Stable cocoa-butter crystals help the chocolate contract slightly as it sets, which is what allows clean release.
Filling and scraping
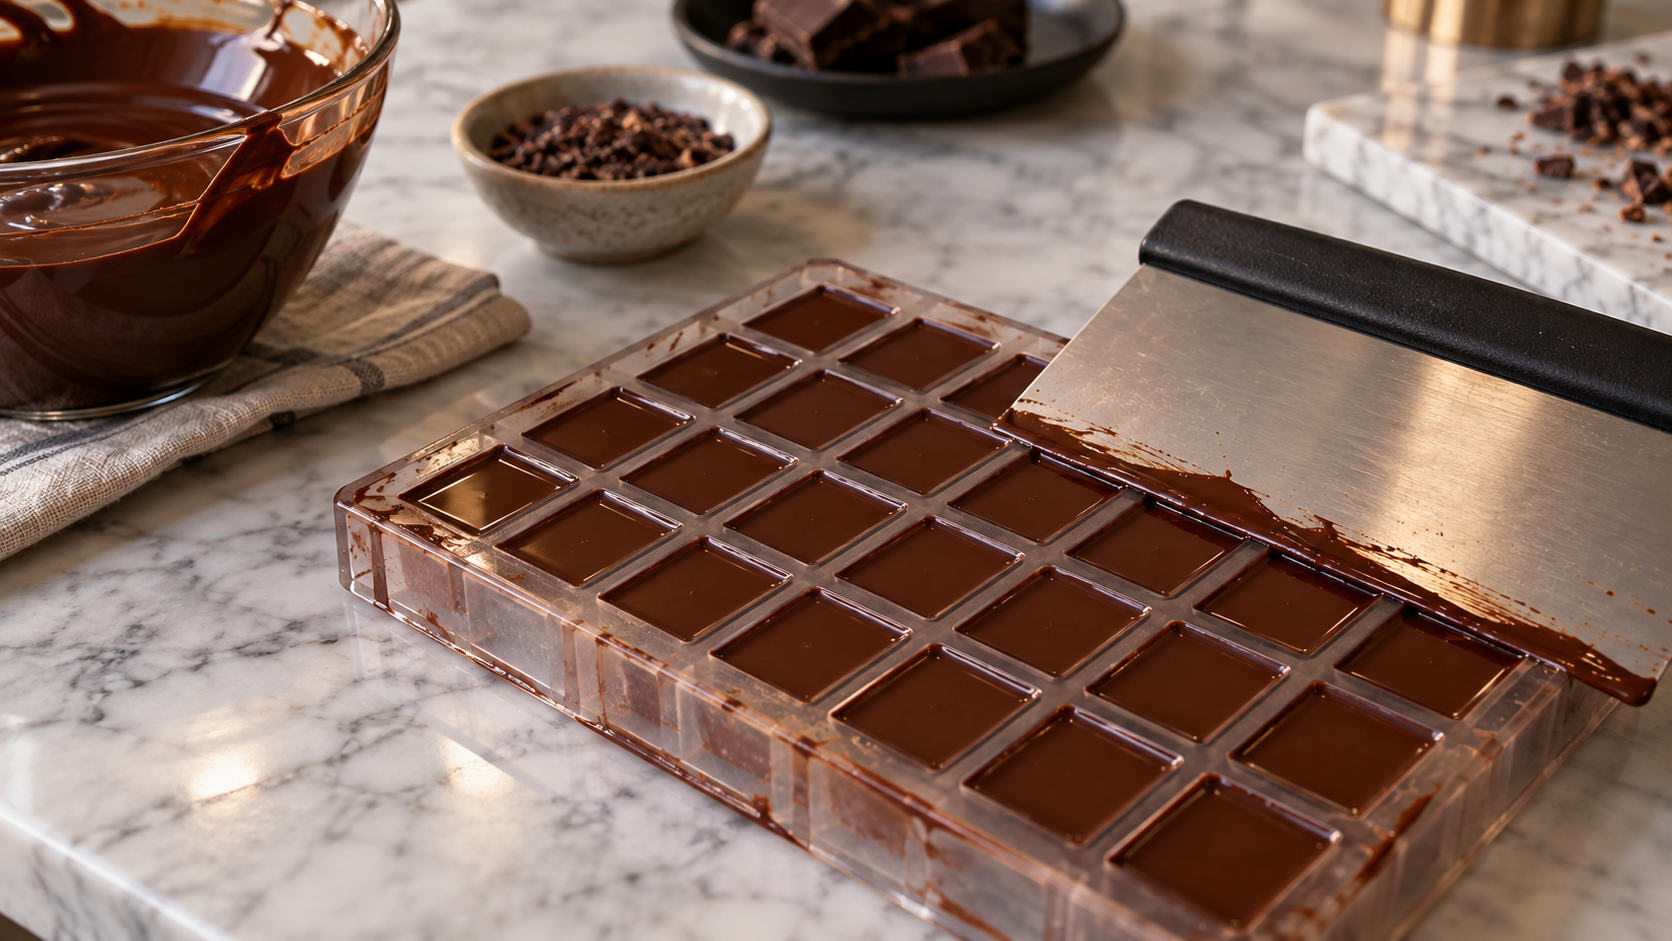
Fill the cavities, tap out bubbles and scrape the top level. Remove chocolate bridging neighbouring cavities because it can hold finished pieces in the mould.
Allowing enough setting time

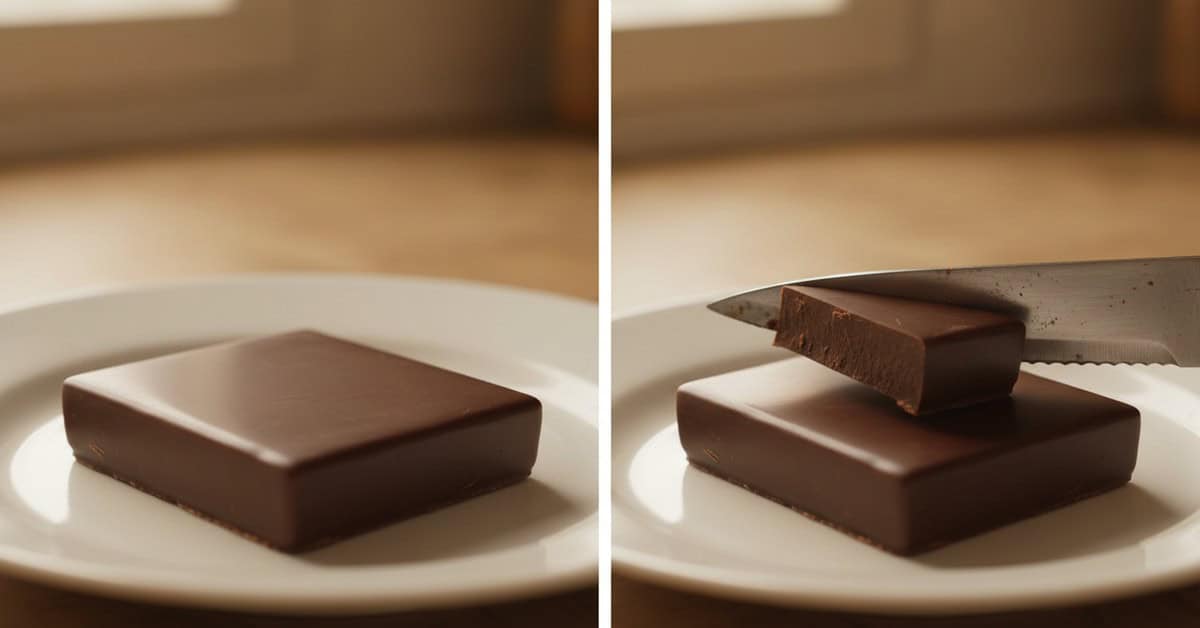
Leave the mould on a level surface in a cool, dry room until the underside looks even and the pieces have begun to pull away. Avoid freezing.
Releasing without force
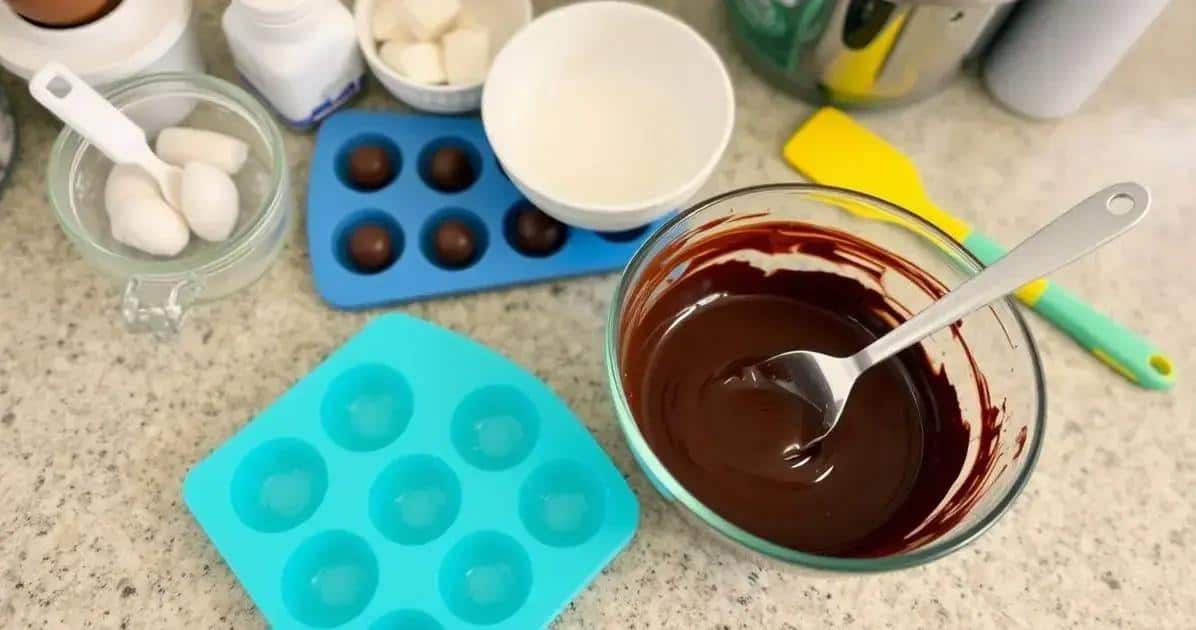
Invert over a clean padded surface and tap or flex gently. If pieces remain stuck, give them more time; do not prise them out with a knife.
Cleaning moulds after use
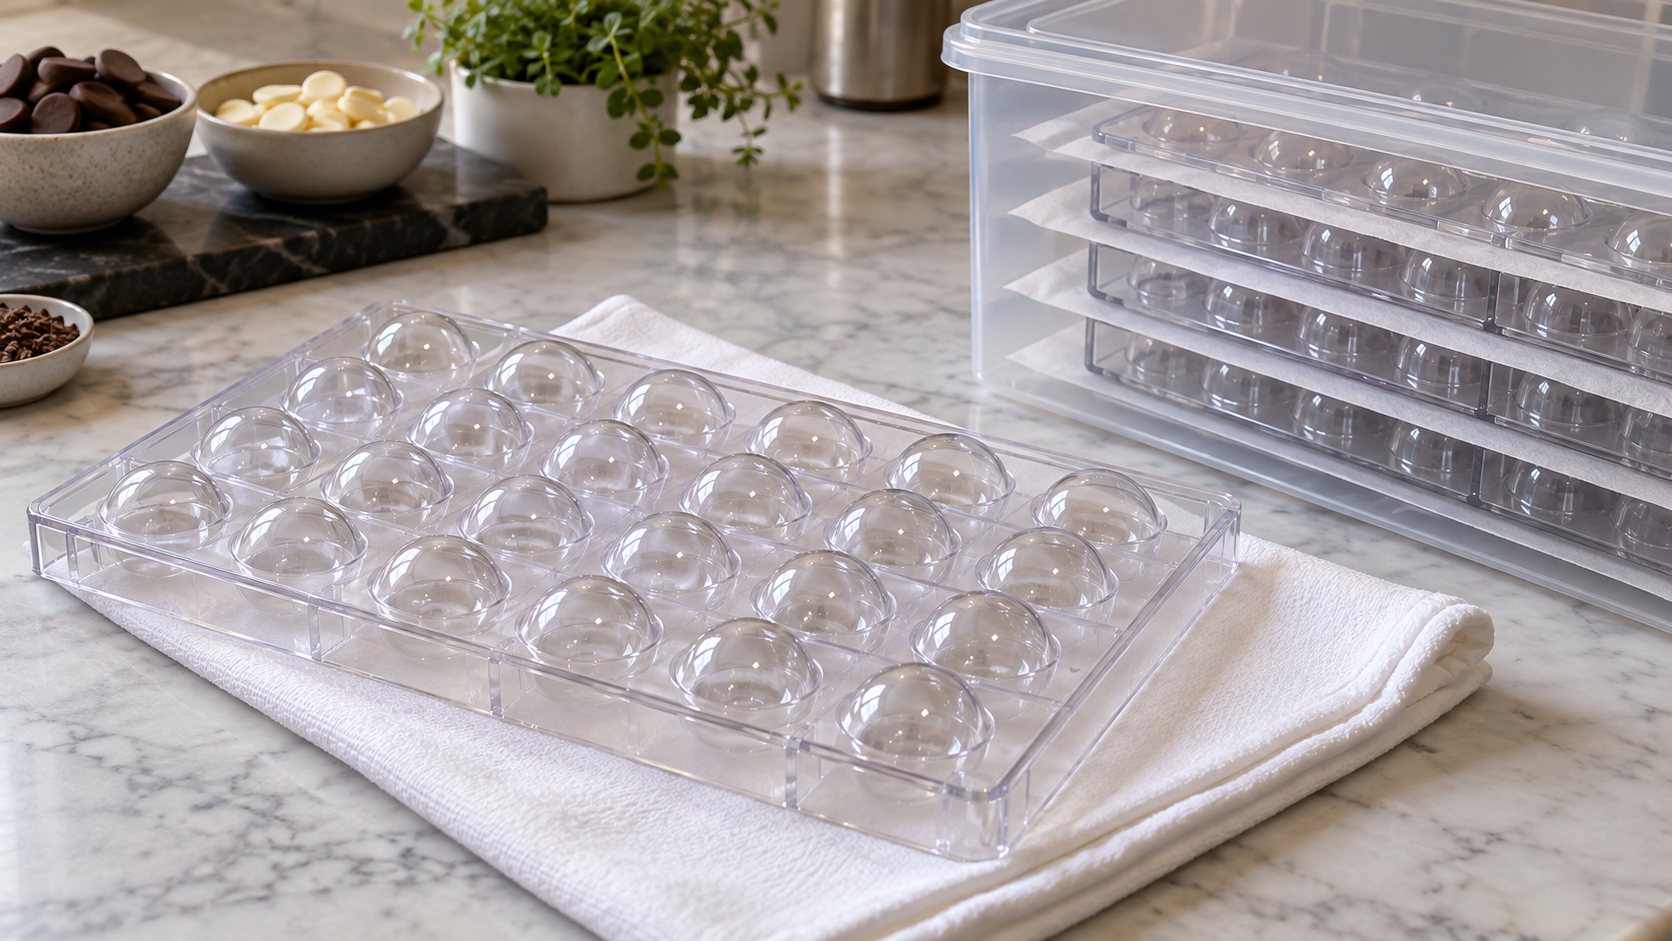
Remove set chocolate with a soft cloth and wash only when needed, following the mould maker’s instructions. Dry every cavity thoroughly before storage.
Frequently asked questions
Can it be prepared ahead?
Yes. Prepare stable components ahead and follow the storage guidance in the method.
Can I use another chocolate?
Yes, but cocoa percentage changes sweetness and firmness, so test a small amount first.
How should it be stored?
Keep plain chocolate cool and dry, and refrigerate items containing fresh cream or other perishable fillings.
Can I reduce the sugar?
A modest reduction may work, although sugar also affects moisture, texture and structure.
Which allergens should I check?
Check labels for milk, eggs, gluten, soya, nuts and all allergens relevant to the recipe or decorations.
What gives the best result?
Measure accurately, control temperature and use the visual texture cues in each step.