
Preparing chocolate and tools

Start with clean, dry tools and choose couverture chocolate when shine and snap matter. Temper it for free-standing decorations; ordinary melted chocolate is suitable for soft drizzles.
Drizzles and fine lines
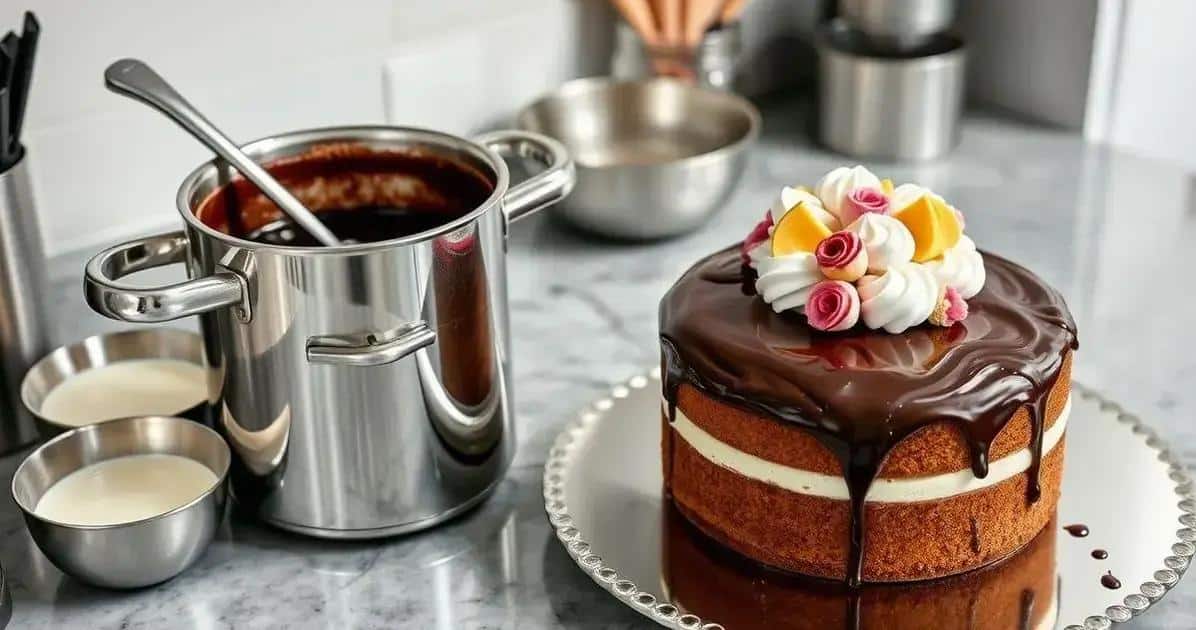
Spoon chocolate into a small piping bag and cut a tiny opening. Practise on baking paper, then pipe quick parallel lines or a restrained zigzag over a fully cooled cake.
Shards and panels
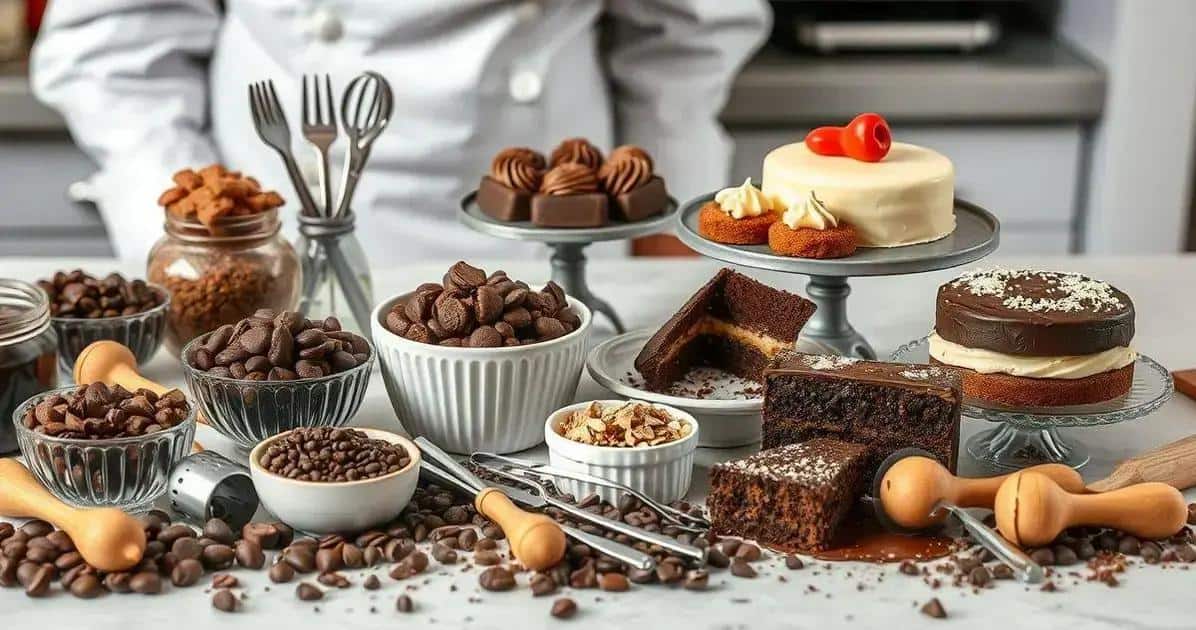
Spread tempered chocolate thinly on baking paper. Mark shapes just before it sets completely, allow it to harden, then break or cut along the guides.
Curls and grated chocolate

Use a vegetable peeler on a bar at cool room temperature for curls, or a fine grater for soft flakes. Handle them with a palette knife to avoid fingerprints.
Using moulded decorations

Fill clean small moulds with tempered chocolate, tap out bubbles and scrape level. Release only after the pieces have contracted and set.
Placing decorations neatly
Choose one main style and repeat it with even spacing. Add delicate pieces shortly before serving, particularly when the cake surface is moist or refrigerated.
Frequently asked questions
Can I use supermarket chocolate?
It can work for simple baking and drizzles, but couverture chocolate gives more predictable tempering, shine and snap.
Why did my chocolate become thick or grainy?
Water, steam or overheating may have caused it to seize. Keep every tool dry and melt with gentle heat.
Should chocolate go in the fridge?
Use a cool, dry cupboard when conditions are stable. Refrigerate only when heat or a perishable filling makes it necessary, and keep the container sealed.
How do I avoid fingerprints?
Handle set decorations with clean food-safe gloves, tweezers or a cool palette knife.
Can I prepare decorations ahead?
Yes. Store them airtight between sheets of baking paper in a cool, dark and dry place.
Which allergens should I declare?
Check every product label, particularly for milk, soya, nuts and possible traces from shared manufacturing equipment.